
|
These cupcakes are a favorite in our house, and everytime we made them they never lasted more than one day in our house :P We finally found a recipe that we really like because not only the cupcakes are soft and fluffy, they also rise beautifully :) In Indonesian they are called 'Bolu Kukus' and they are very simple and easy to make with only a few basic ingredients, however you need to have the cupcake moulds to steam them inside the steamer and it also handy to know a few tips and trick to get them to rise properly. 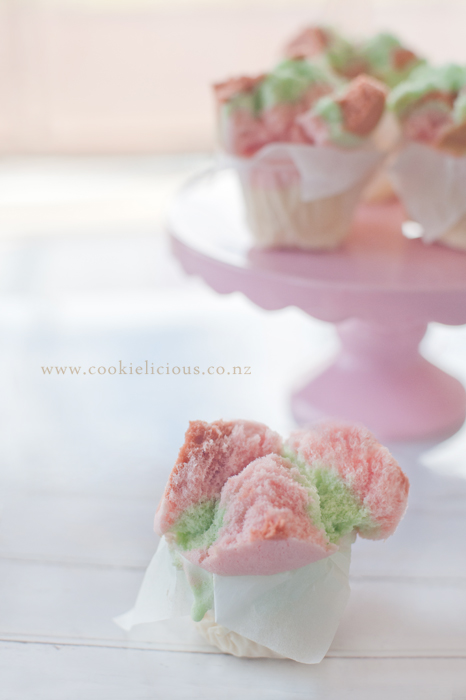 These are what the moulds look like. My mum brought them over from Indonesia so that we can try making these :) They are made of very light baking tins and it has holes on the sides to allow the steam cook the cupcakes. We lined them up individually with baking papers before putting them inside the steamer. NOTE: I was told that you can make these using a normal cupcake/muffin tin, however we never tried it so if you dont have these steam cupcake moulds you can try a normal muffin tin and please let me know if they work they same way ;-) 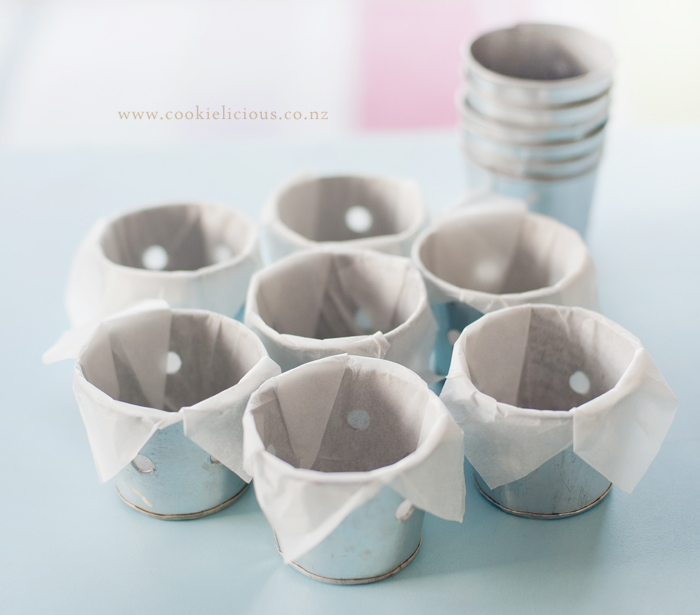 The recipe only needs a few simple ingredients:
Okay, so the first thing you need to do is prepare the steamer, make sure its nice and hot. But ensure you don't put too much water as it might splash up into the bottom of the cupcakes and it will prevent the cupcake from rising. This is how to make them:
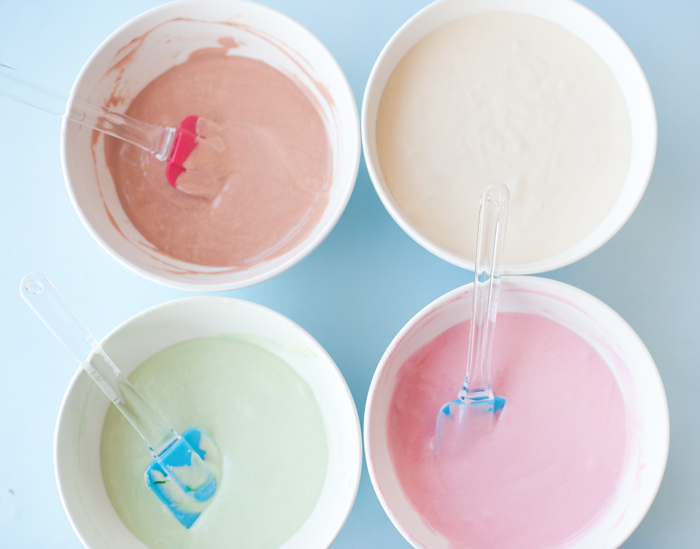 Fill the cupcake moulds with the mixture. We fill the mould with 1/2 of the white colour and then alternately put in the different colours, to the top of the mould until its full. You can experiment with different variation of colours and it will came out with all different lovely colourful cupcakes when they are done :) 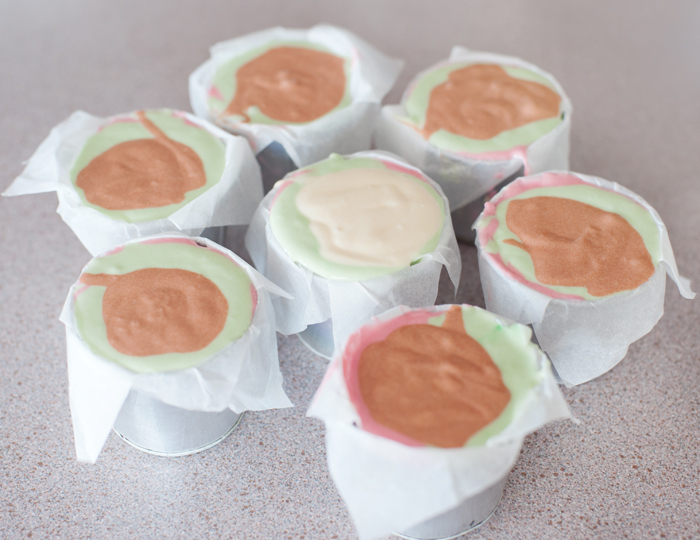 Make sure your steamer is nice and hot by this stage and put the ready mixture into the steamer. TIP: Make sure the lid of your steamer is sealed tightly and if you can cover the lid with a tea towel to prevent water from dripping from the lid onto the top of the cupcake, and steam for approx 15mins. TIP: DO NOT open the lid until the whole 15 mins is up, you wont get a good result if you open the lid to peak inside the steamer. No matter how tempted you are to check and see if the cupcake has risen properly. That is all you have to do and you get this yummy soft and fluffy steamed cupcakes :) 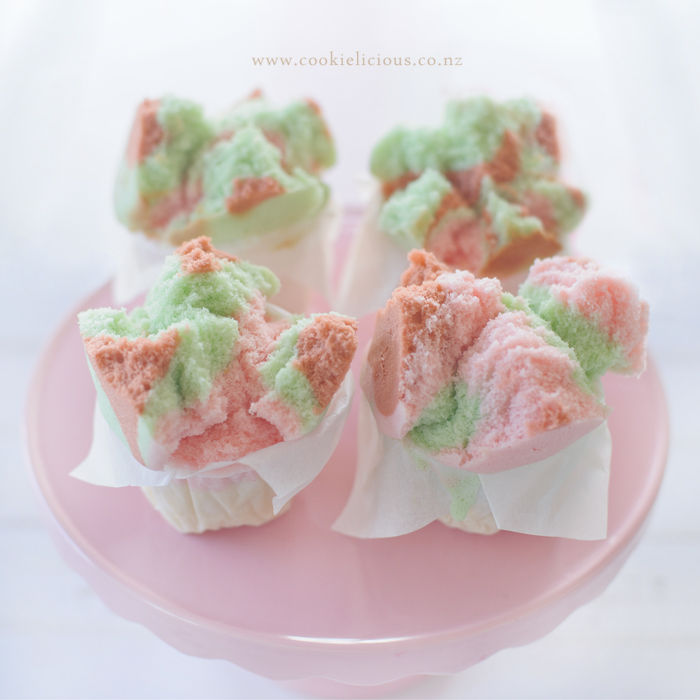 This recipe makes about a dozen of steamed cupcakes and my family can testify they are sooo yummy! 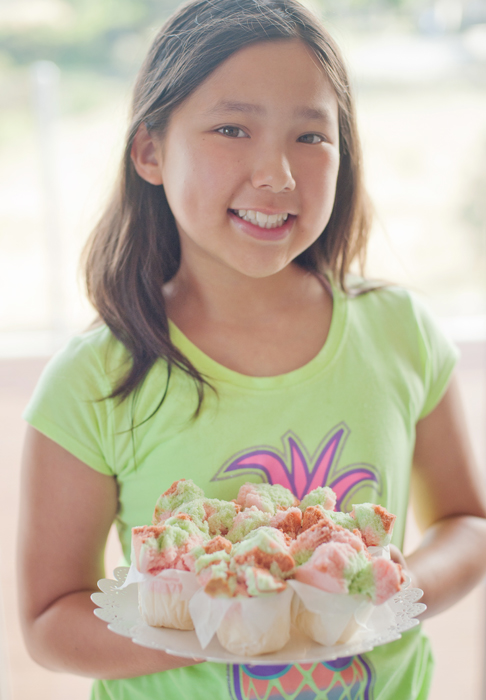 I love how they 'break-off' on the top and this one in particular looks like a nice rose :)  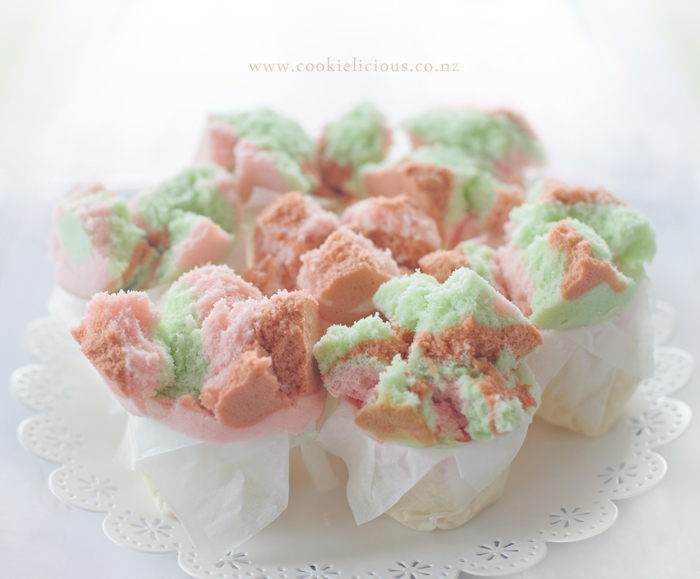 There you go, i hope you will give it a try at home and try these yummy steamed cupcakes ;-) 
2 Comments
I came home from work today only to find my daughter in the kitchen baking up a storm :) It is the first week of school holiday and as usual whenever she has free time she really enjoys baking, so this is one of her clever creations, she made an orange & raspberry cupcake all by herself and my hubby and I thought the rainbow design was so cute and so creative ;-) 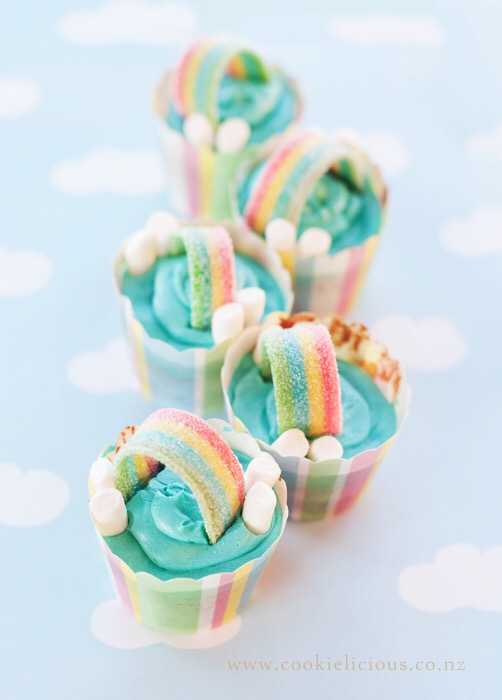 This is how I found her as i arrived home, in the kitchen with baking in progress... 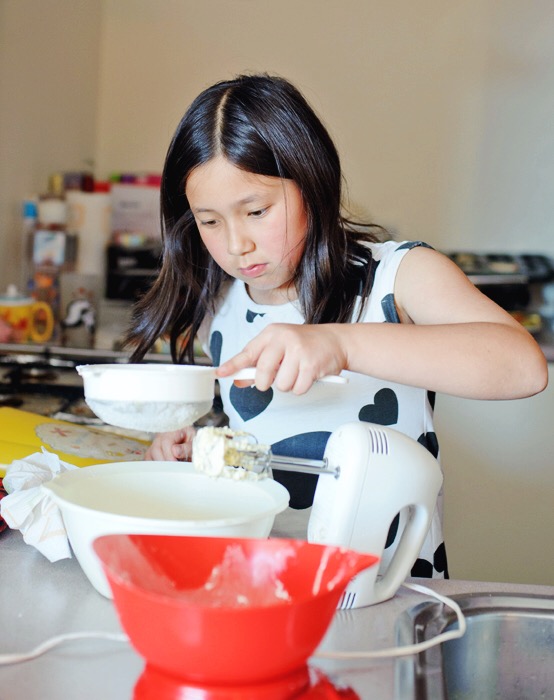 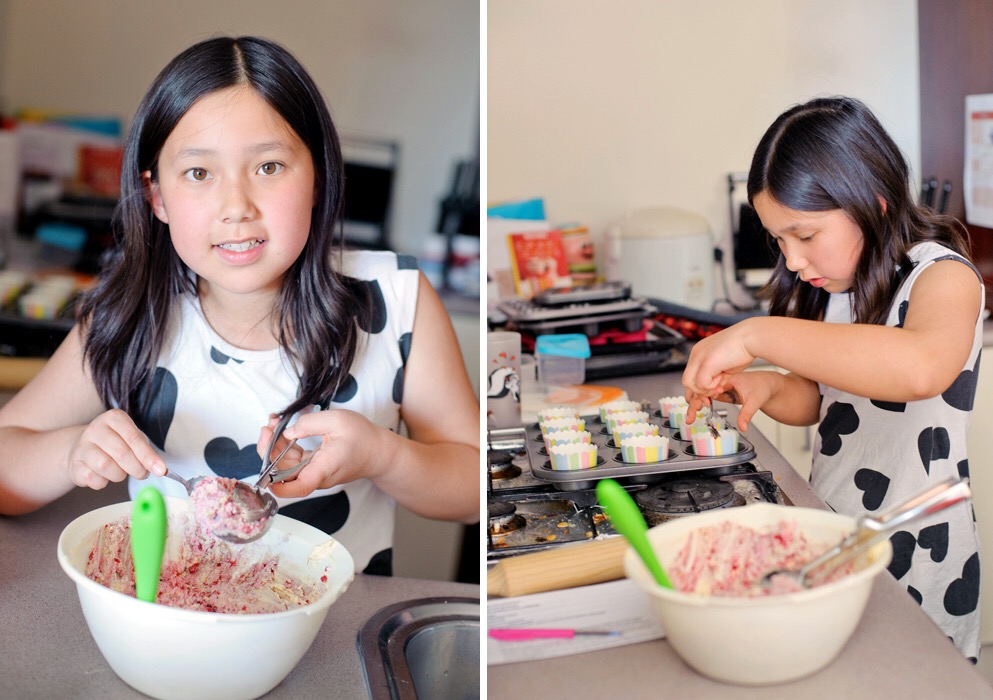 When the cupcakes are out and cooled, these are the stuff for the decorating that she prepared earlier. 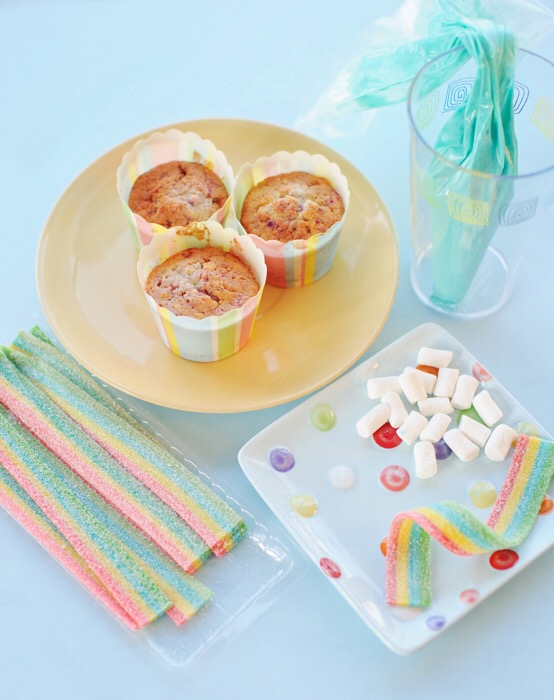 The finished result, she was so proud of her creations :) 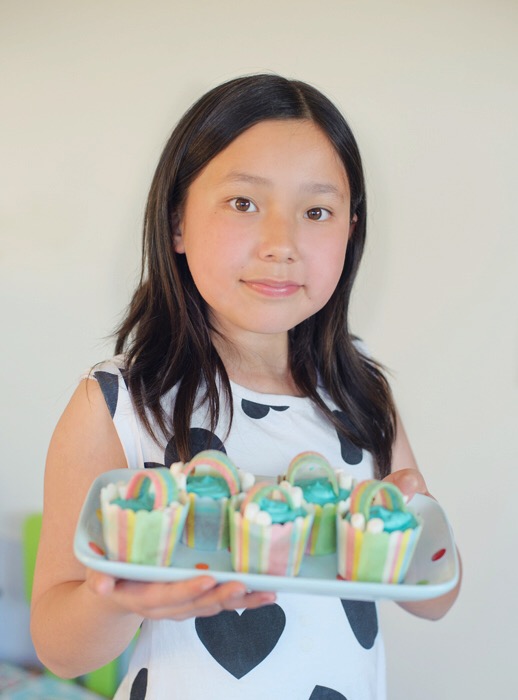 I can honestly say that its not only cute, it taste so scrumptious and super delicious! Yummm! :P 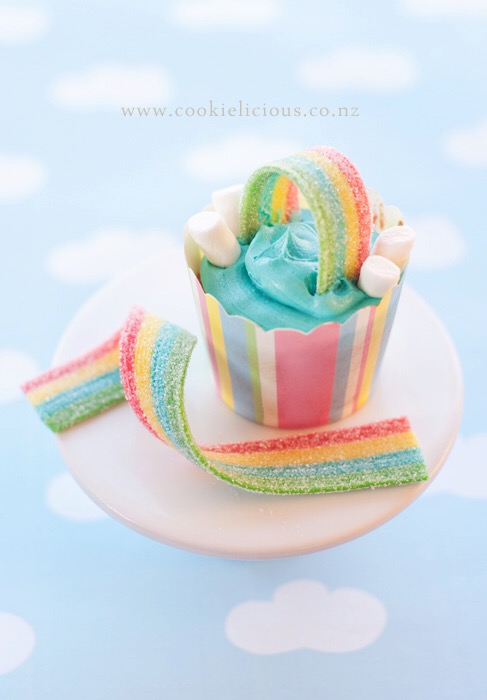 And of course my boy is more than happy to 'try' the cupcake (he loves the rainbow part) lol :) 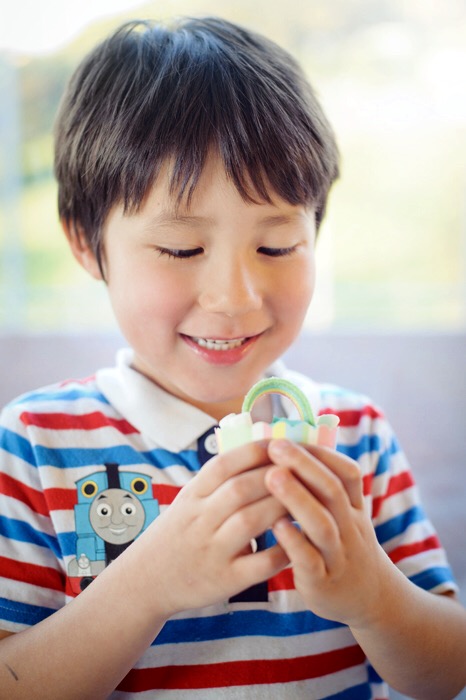 Its only the first week of school holiday...i have a feeling that there may be more baking to come in the next couple of weeks :)  My lovely daughter wanted to have chocolate cupcake and i told her to look thru our recipe book and just make whatever cupcakes she wants. She made all these cupcakes by herself and it was so delicious! So proud of her for trying out a recipe all on her own :) If you are into dark chocolate... this is definitely the cupcake for you. 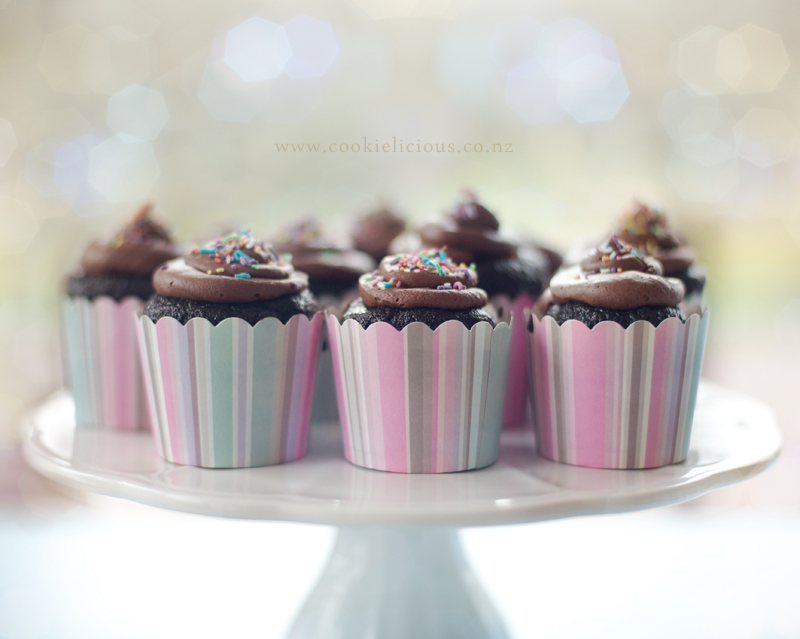 Here she is right after she finished putting the finishing touches on the chocolate buttercream :) 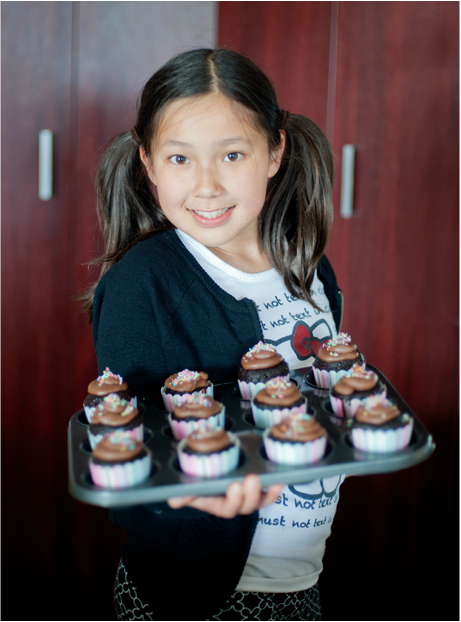 And of course my boy is the first 'cupcake tester' just to make sure it taste yumm :P 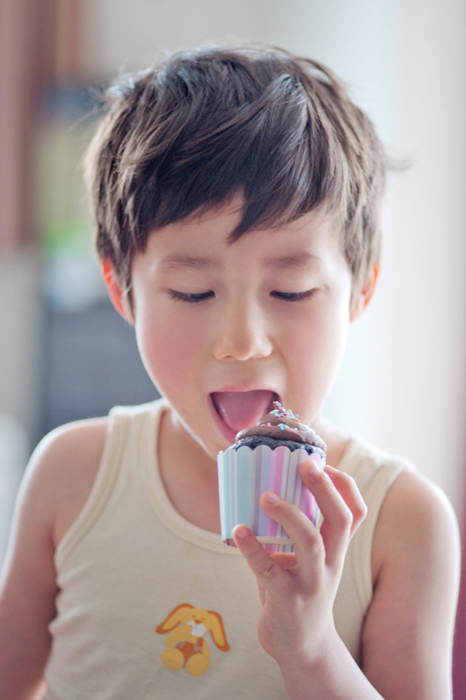 Will be posting the recipe for this yummy dark chocolate cupcake in the recipe section a bit later. 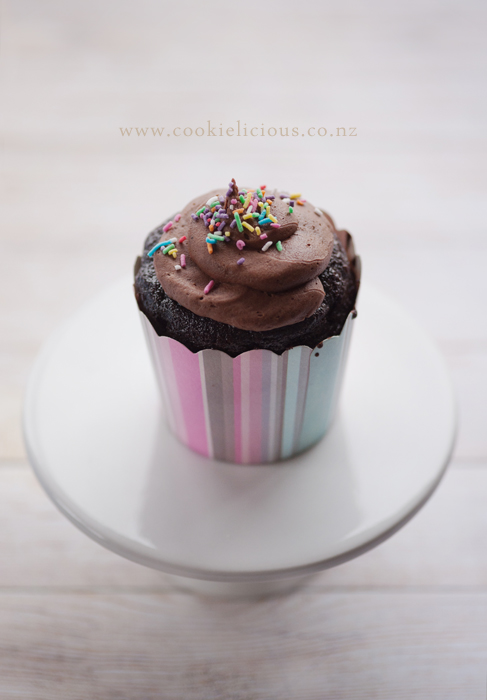 So proud of her sweet creations :) 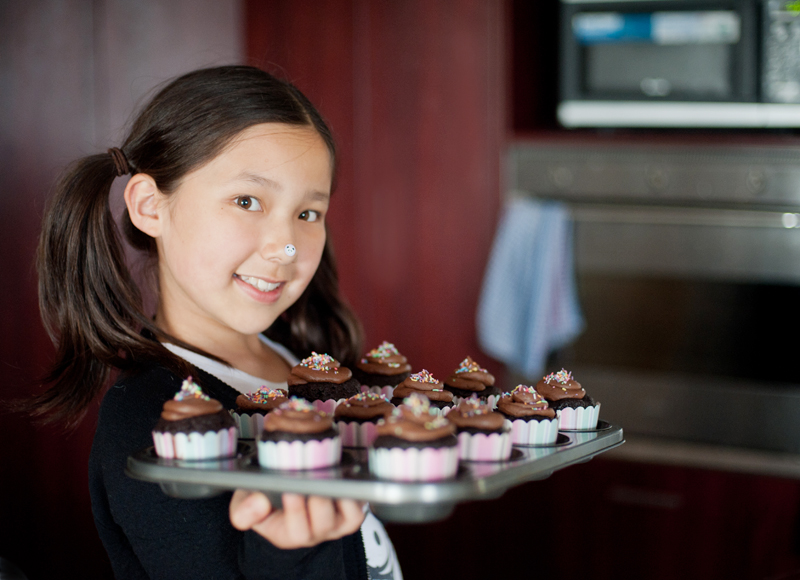 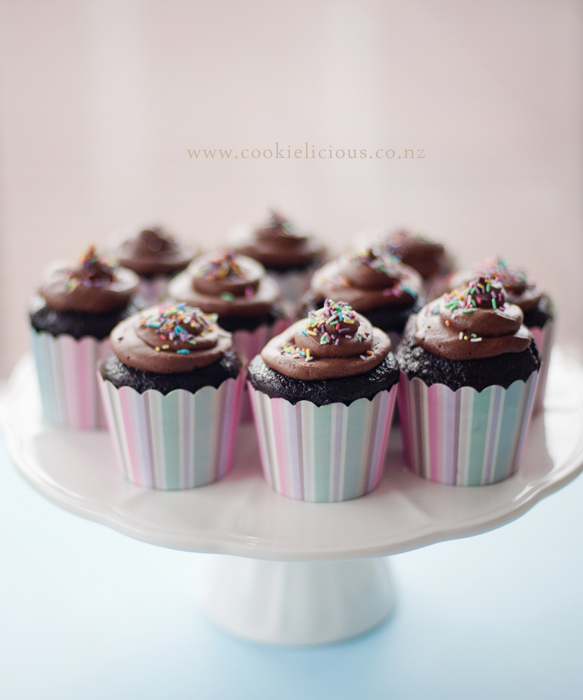 Have a great weekend everyone! ;-)  Its Claudia's first year at school camp and she is very excited :) Each year her school do a cupcake fundraising to support the team of people that are involved in organizing camp and to keep the cost down as well. So this is the first year we get to participate as its Claudia's first year at camp. We were going to do dark chocolate cupcakes but Claudia said that there will be too many others that will do chocolate cupcakes, so we decided to stick with our usual lemon cupcakes ;) We wanted to do something different with the icing so we tried a different buttercream recipe and we also wanted to do a two tone icings, with 2 colours swirling on top of the cupcakes. Claudia chose the colours, she wanted turquoise & purple. Here are the cupcakes... 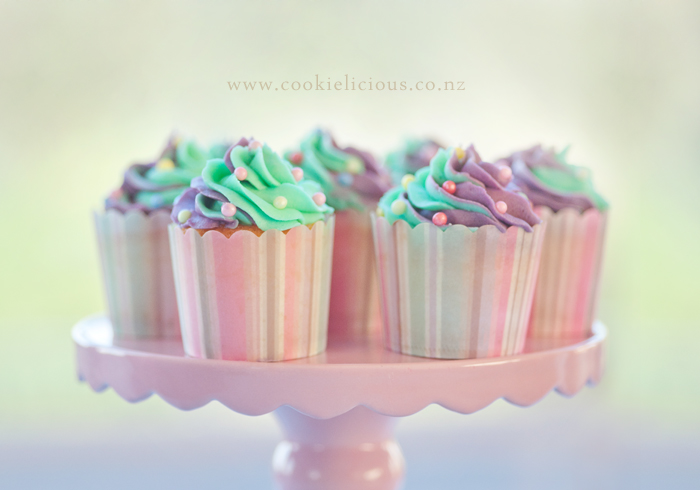 We made a couple of dozen of cupcakes but the school only wants a dozen from each student that goes to camp, so we get to keep the left over....yummmm! ;-) Here are the cupcakes, fresh out of the oven 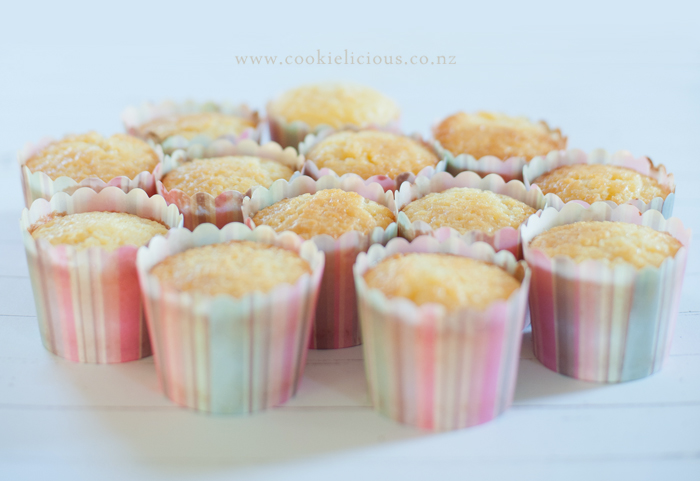 To make the two tone icing, firstly we divided the buttercream into 2 bowls and colour the icing with the gel food colouring and then put each colours in it two separate piping bags. Then grab a bigger piping bag and put the two separate icings into one bag. Here is a visual for you - Ps: Claudia was the hand model lol :P 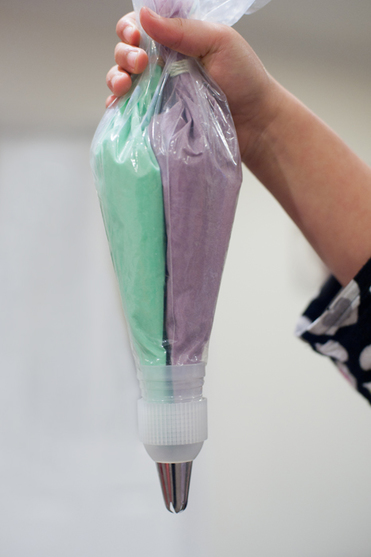 We used Wilton 2D piping tips to make the swirls and then Claudia put some colourful sugar pearls on top of the icing to make them look prettier. Here is what it looks like up close & personal :) 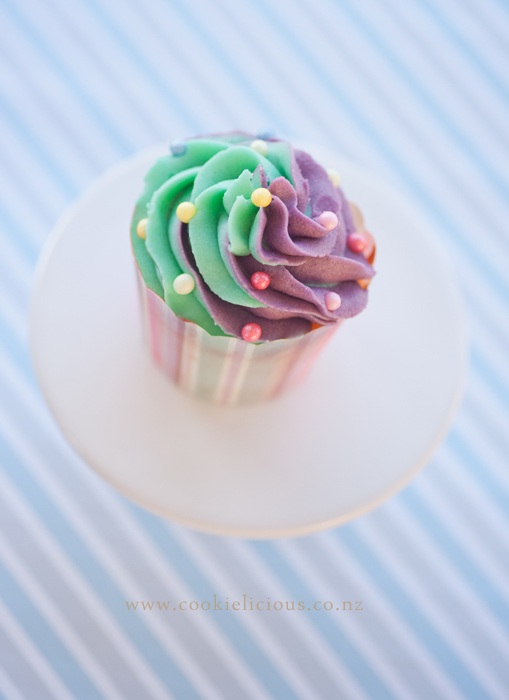 That was it, she took some to school for the fundraising and it was the first batch that was gone :) 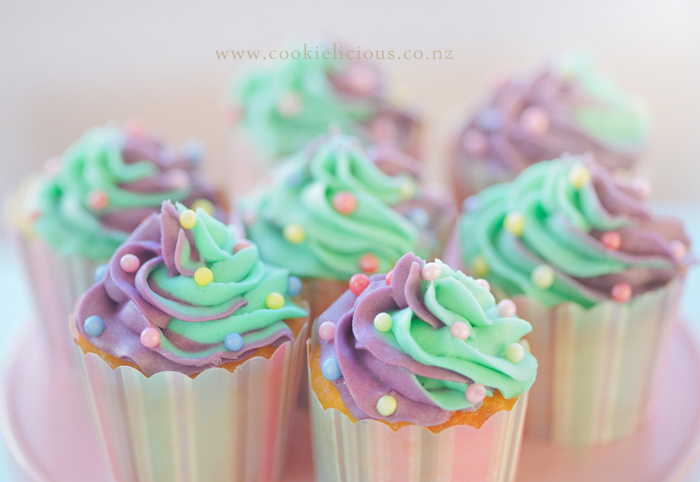 Hope everyone is having a great relaxing weekend! ;-)  We baked cupcakes for the SPCA Cupcake day, so glad to do this for a very good cause :) This is all happening all over the country, the official day is on Monday 24 August but someone from my work has organised for our Cupcake day today instead, she asked for volunteer to do this event at our office, Spark Central in Wellington today. We had 4 cupcake bakers and we raised a total of $462! Isn't that awesome? Here is our cupcake that we contribute to the the event :) 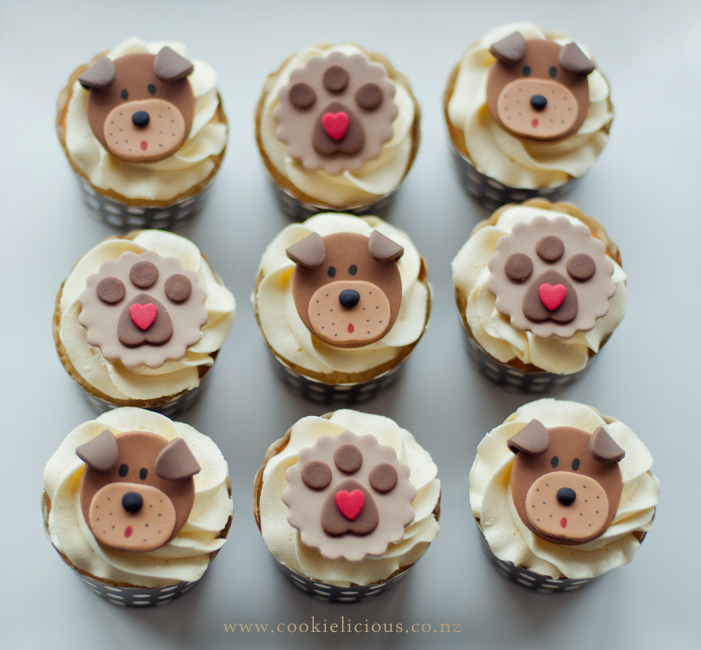  So the preparation and the baking was done yesterday, today was the actual cupcake selling day. First of all, we made the cupcake topper the day before so its ready to be used when the cupcake are done. All you need to make the fondant doggy and paw print topper are:
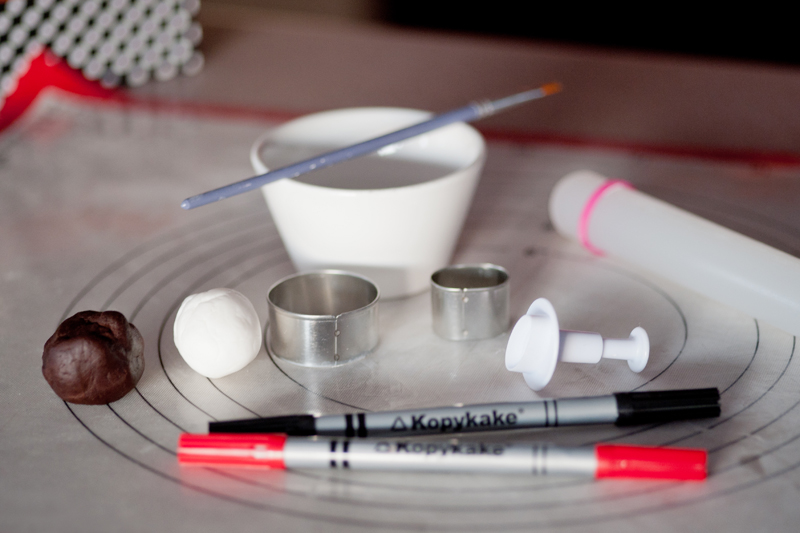 Mix the brown fondant with some of the white to get the desired brown colour. We made 3 differemt brown shades, light brown, medium brown & dark brown. Use some water and to stick the fondant together and then add the eyes and the dots around the cheeks with black edible marker, then lastly use the red edible marker to draw in the mouth. This is what they will look like...soo cute! :) 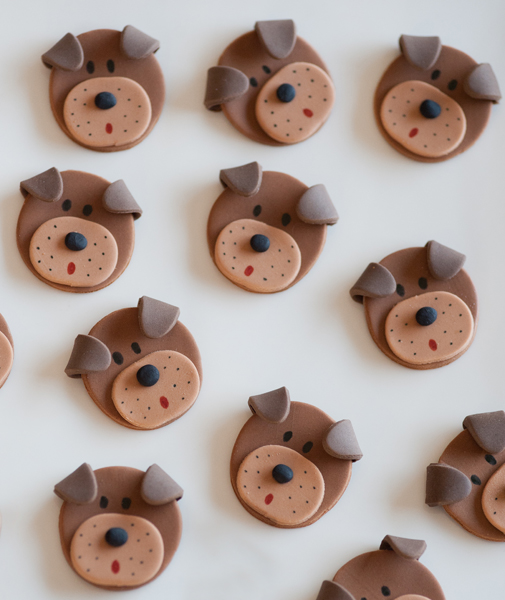 Next we make the paw prints, we need:
The picture below should give you a clear idea of how to put them together. Its very simple and we only used some water with the same brush we use to make the doggy topper. 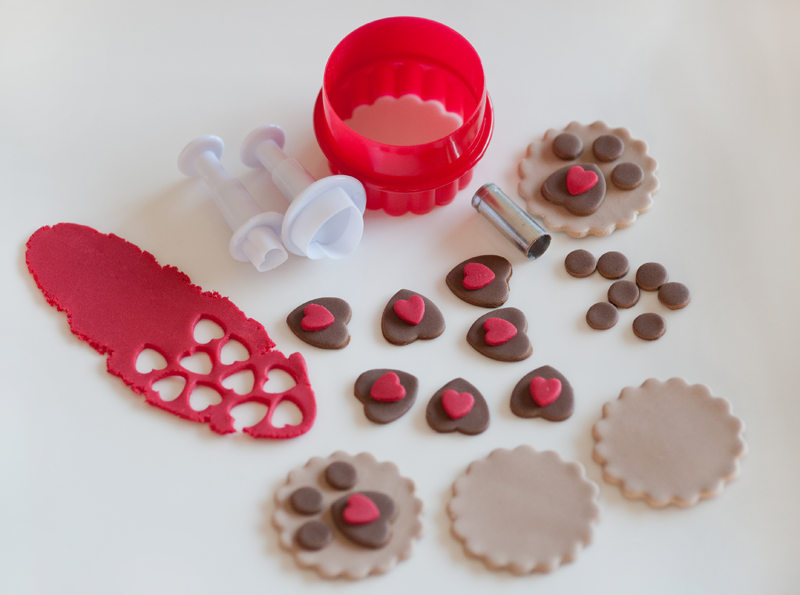 This is what they will look like as the finished result...aren't they cute? :P 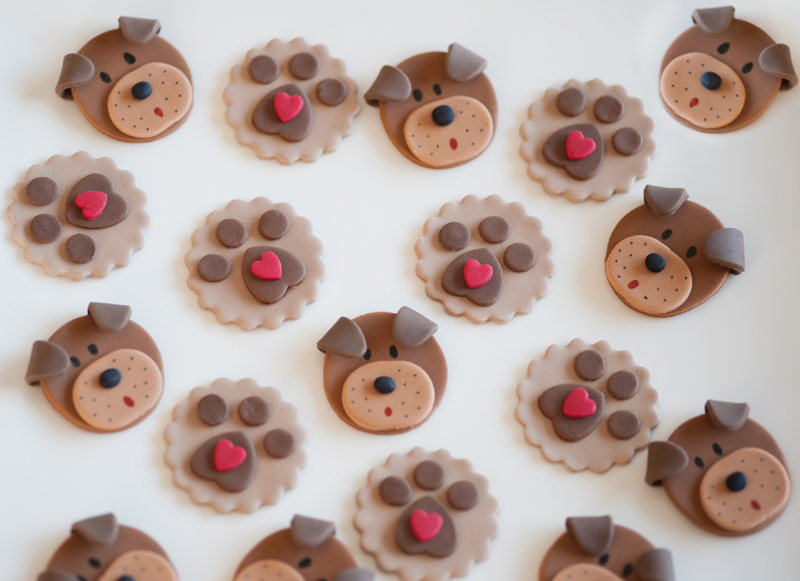 Now that the toppers are ready, its time to make the cupcakes. We made our fave lemon cupcakes, the recipe is in our recipe section HERE. 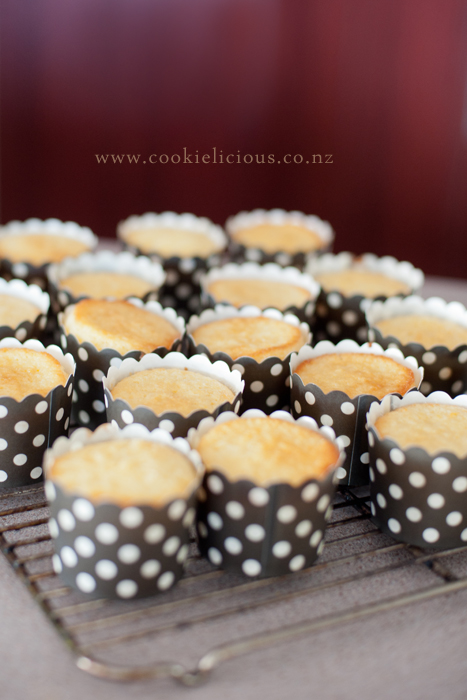 While we wait for the cupcakes to cool in the cooling rack we made the icing. Usually we make lemon whipped cream but seeing that we are making a lot to sell the next day we decided buttercream icing is a better way to go. We made the buttercream icing then pipe it on top of the cupcake using Wilton 2D piping tip, after they are completely cooled. 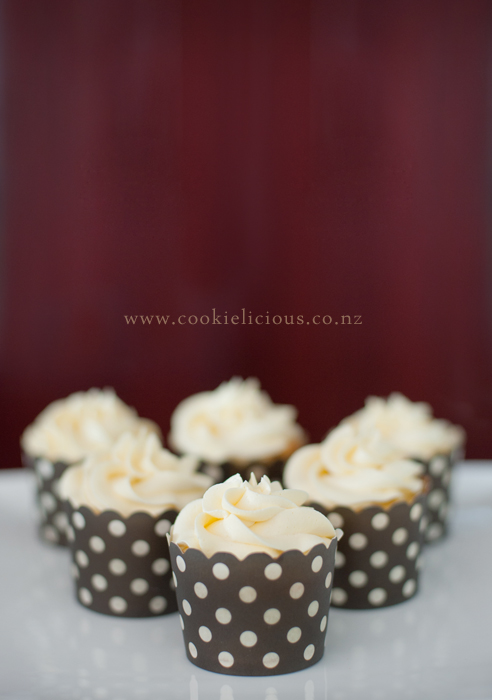 They are almost ready, so lastly just put the topper we have prepared on top of the icing :) 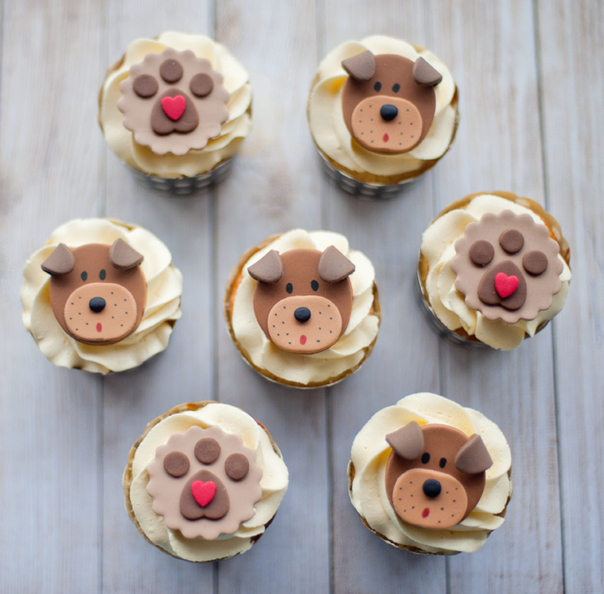 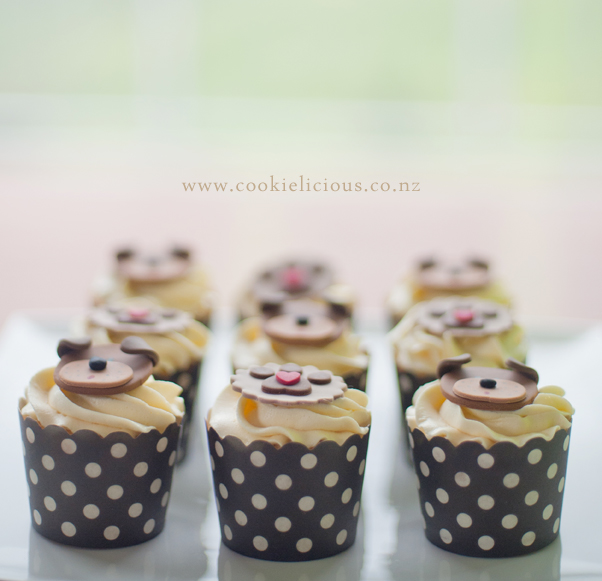 Tadaa! That's it, we're all done! Here they are in our cupcake carrier, ready to be transported for SPCA Cupcake Day :) 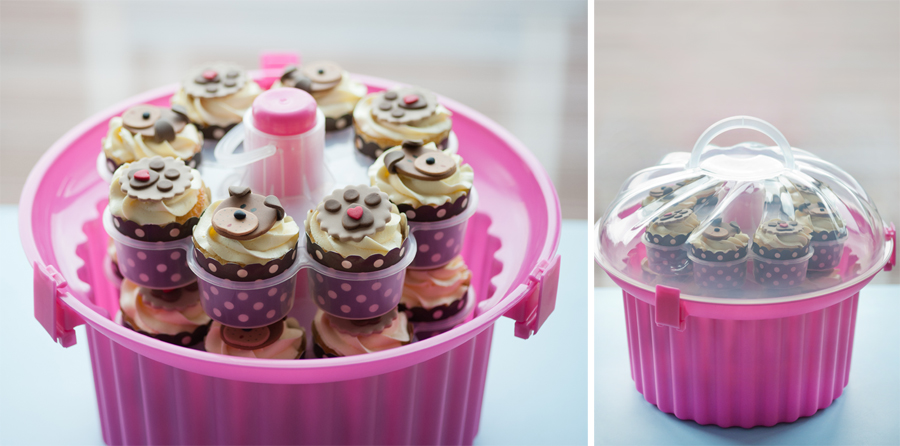 Its so awesome to be a part of a worthwhile cause to help the SPCA. We might have to do it again next year ;-)  A special order for these cupcakes from my next door neighbor, was asked yesterday if i could make them for her son's birthday. A bit last minute but i couldn't say no as she wanted to do something special for her son :) Made another batch of lemon cupcakes, you can find the recipe HERE, they are the same ones as the ones i gave her to try last week and she really loves them. And because this one is for a birthday celebration i put them on a cake stand and dress it up nicely with a bow. 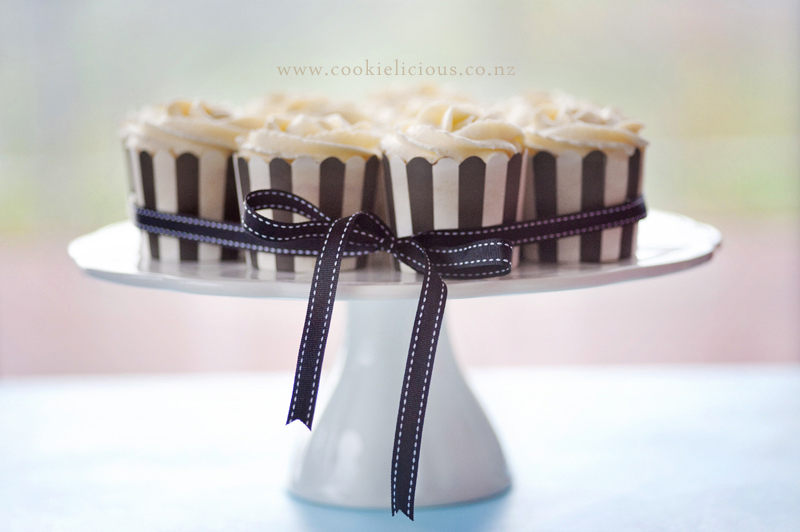 Because these cupcakes are for a male recipient, we choose a more of a neutral colours instead of yellow and pink like last week :) 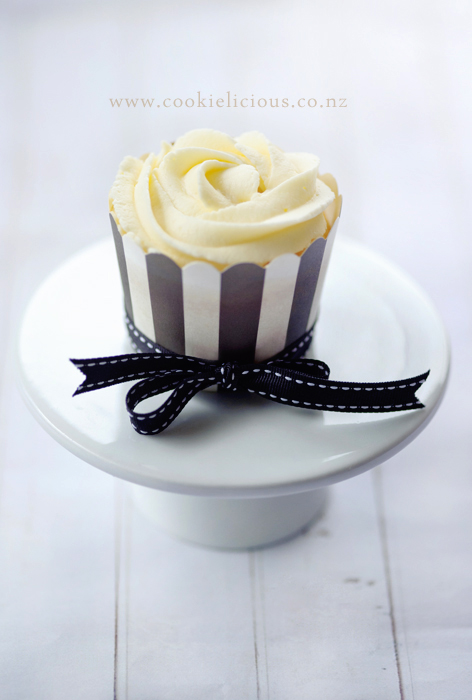 They are just as light and fluffy as the ones last week, this time i remembered to take a picture of the inside of the cupcake to show you how delish they are :P 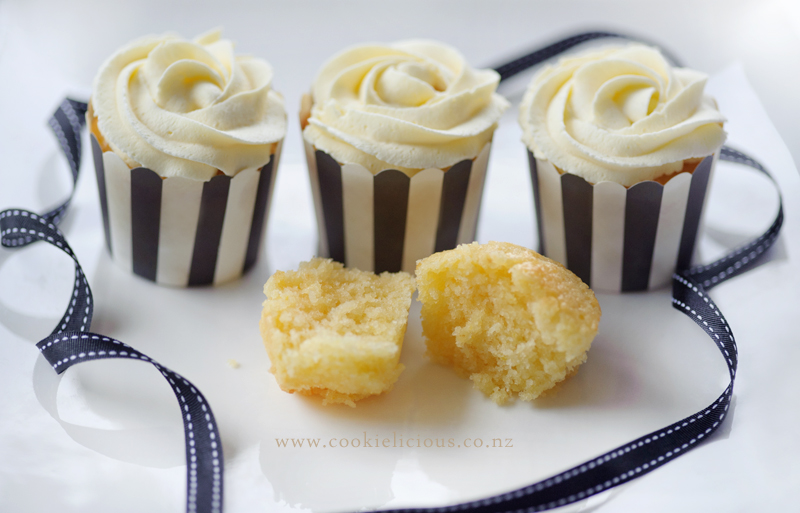 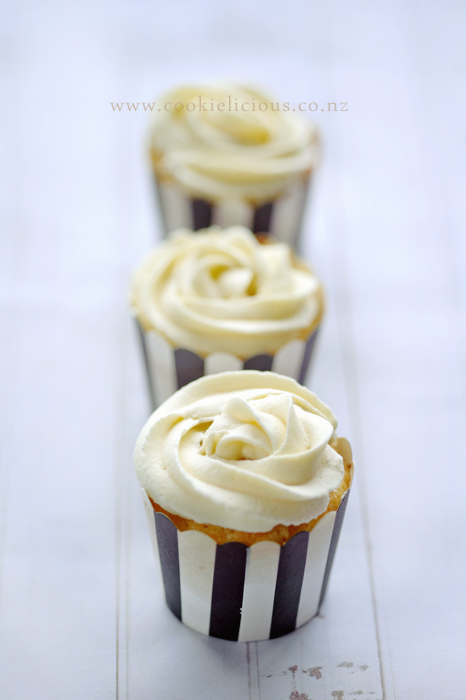 As usual i can't decide which photos to post coz i love them all :) 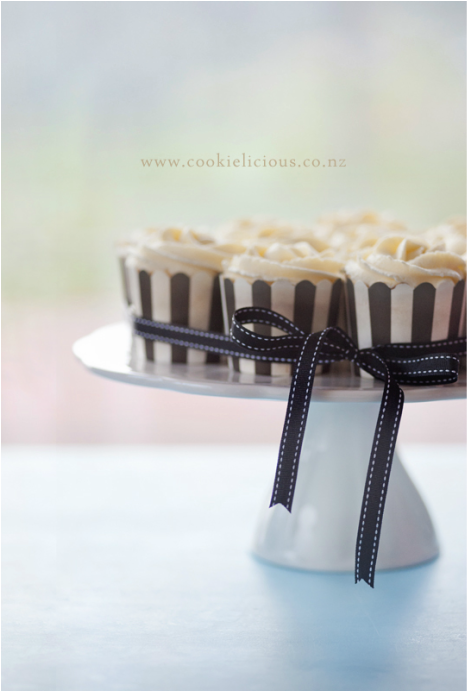 This is how they look from the top view, i love how the rosette swirl looks :) 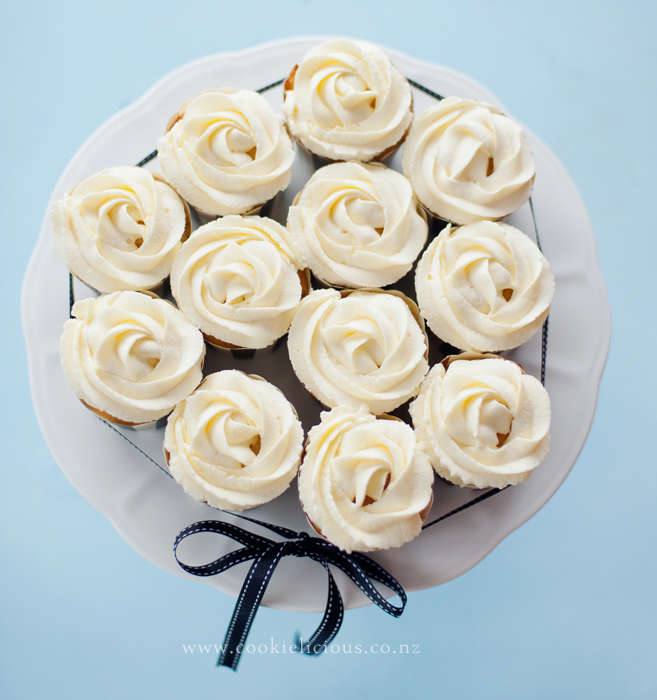 Hope everyone is having a fantastic weekend!  This weekend we decided to take a break from cookies and make cupcakes instead :) Lemons must be in season right now becoz they are on special in our local supermarket, so we decided to make these lemon cupcakes. We posted the recipe HERE in our recipe sections.  And instead of making the usual buttercream icing we are trying out a different topping for these cupcakes. We made a lemon whipped cream icing instead, and they are so zesty and so delish! You've just got to try making them as they came out so light & fluffy! Love the moist cupcake taste and they just melt in your mouth! Yummmm ;-) 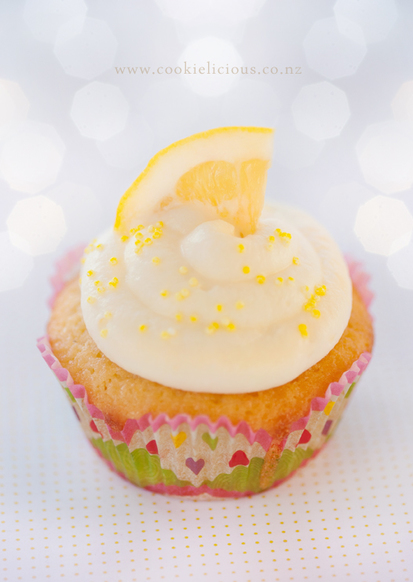 Making the icing is really easy, you only need fresh cream, icing sugar & fresh lemon juice. These are an alternative from the normal buttercream icing, we prefer it actually (less buttery) and who doesn't like the taste of whipped cream right? :P We posted the instructions on how to make the icing on the recipe section too. Here is the link in case you missed it earlier. 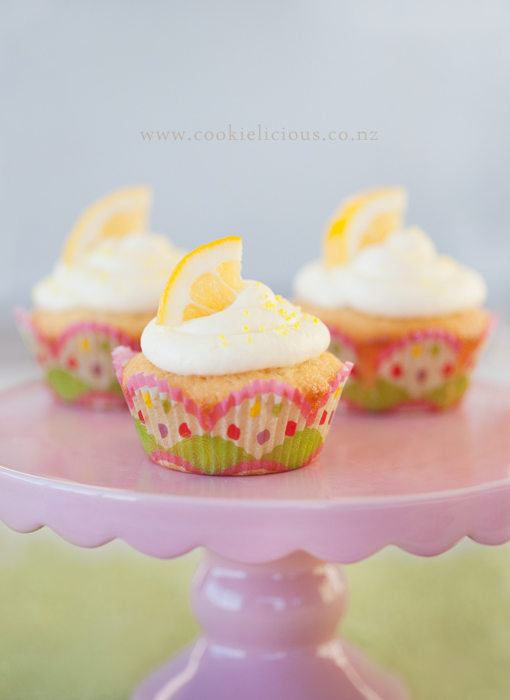 Okay i realized that these are a lot of photos, but in my defense these cupcakes are so photogenic i just can't help myself :P lol 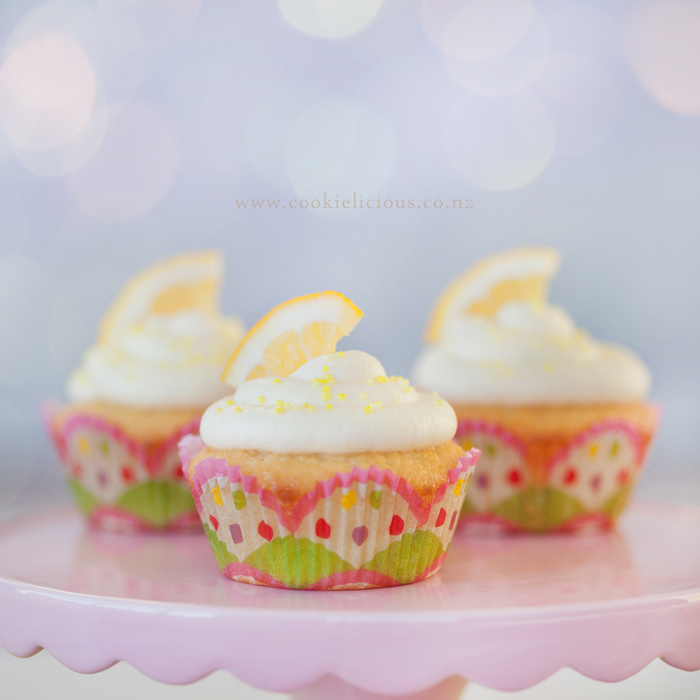 Okay, okay... i promised that was the last one, these cupcakes are a hit in our house. I would highly recommend trying out this recipe, you family will love you for it ;-) Hope everyone is having a fabulous weekend!  We found a carrot cupcake recipe online that sounds pretty easy to make, so we thought we give it a go one weekend. The recipe seems easy enough...however the trickiest part was making the cream cheese icing. It was too runny and the vanilla essence made it look pretty yellow instead of the off-white stiff icing that we like. However i can honestly say that the cupcakes were yummy and moist :) So I think the next time we make this cupcakes we will try a different cream cheese recipe, one that has a stiffer icing, and we might subtitute the vanilla essence with almond essence instead so it won't look so yellow. Here is the finished result... 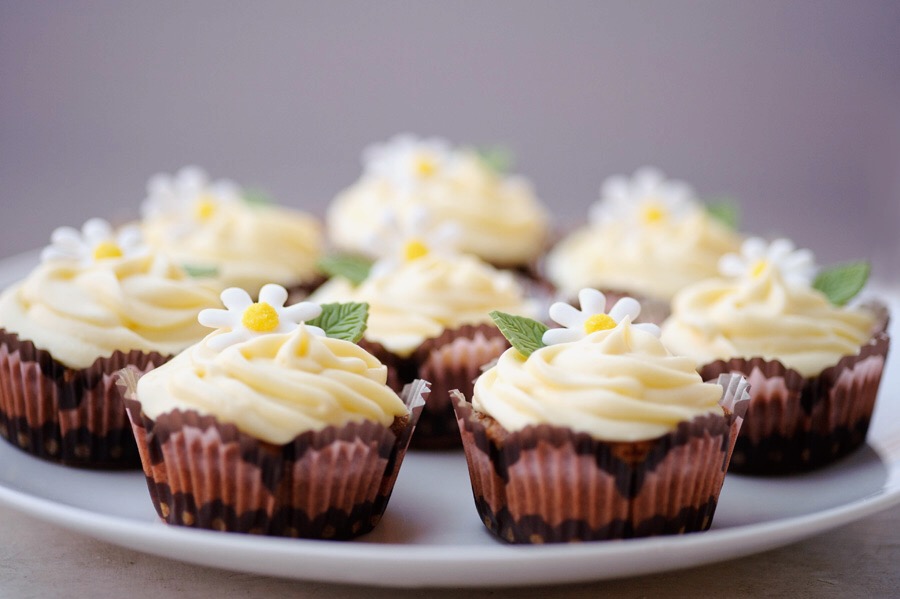 Dont you just love those cupcake cases? they are so pretty! Oh and we made the little daisies and leaf decoration on top of the icing. Here is a mug shot of the cupcake for your viewing pleasure...i guess the photographer in me just wont stop at one photo lol :P 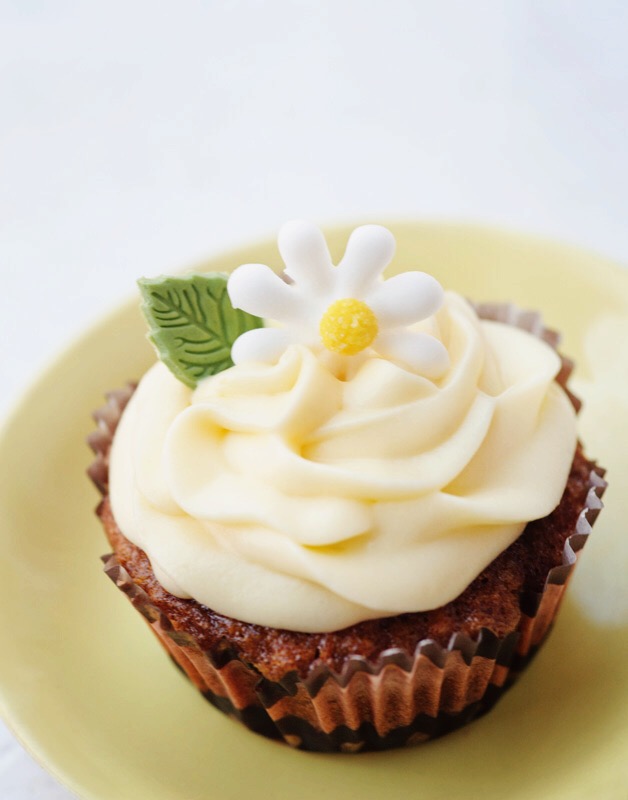 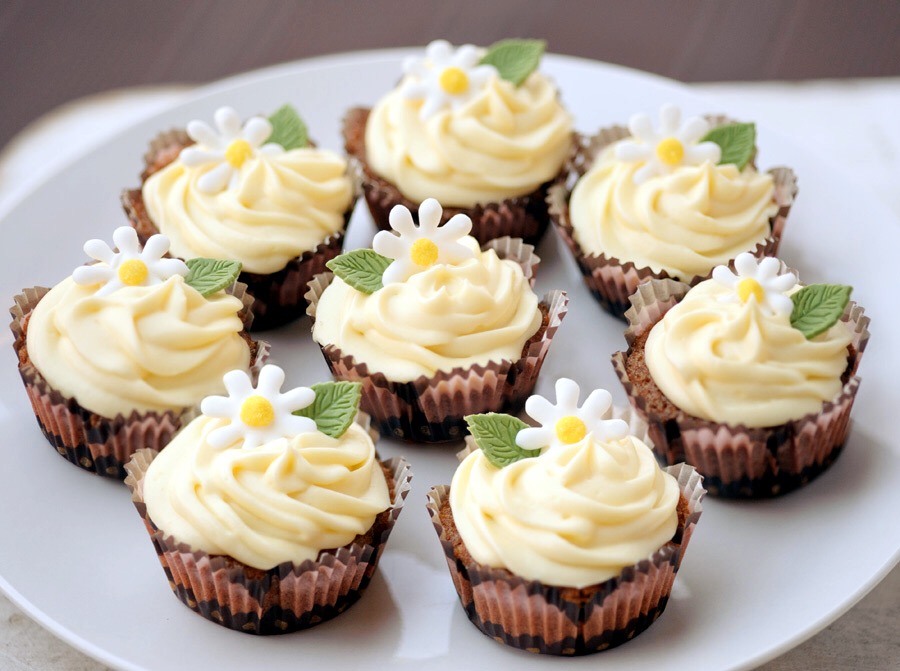 We also use a normal cupcake cases 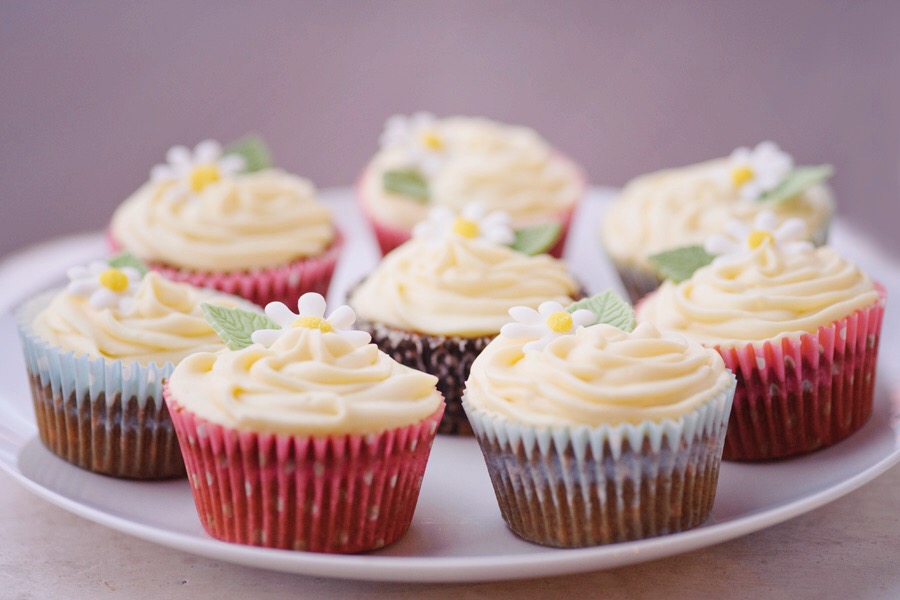 They are so photogenic that i can't help taking more close-up photo :) 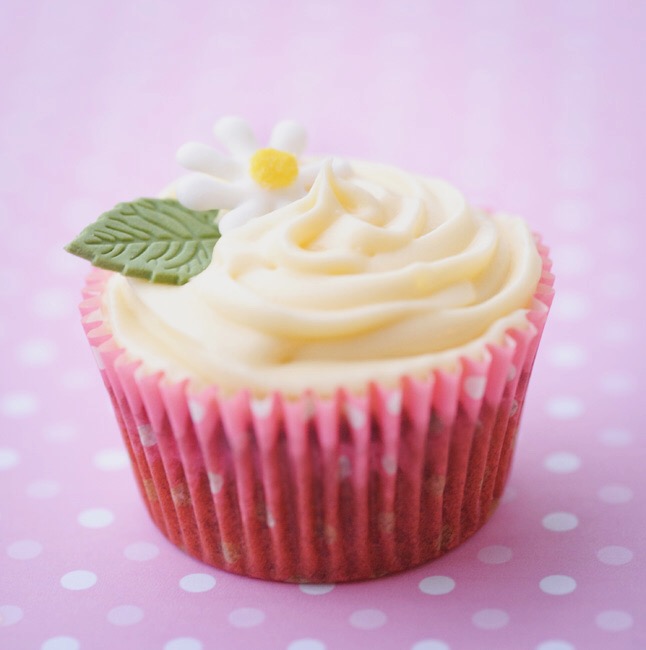 |
Archives
February 2016
Categories |
 RSS Feed