|
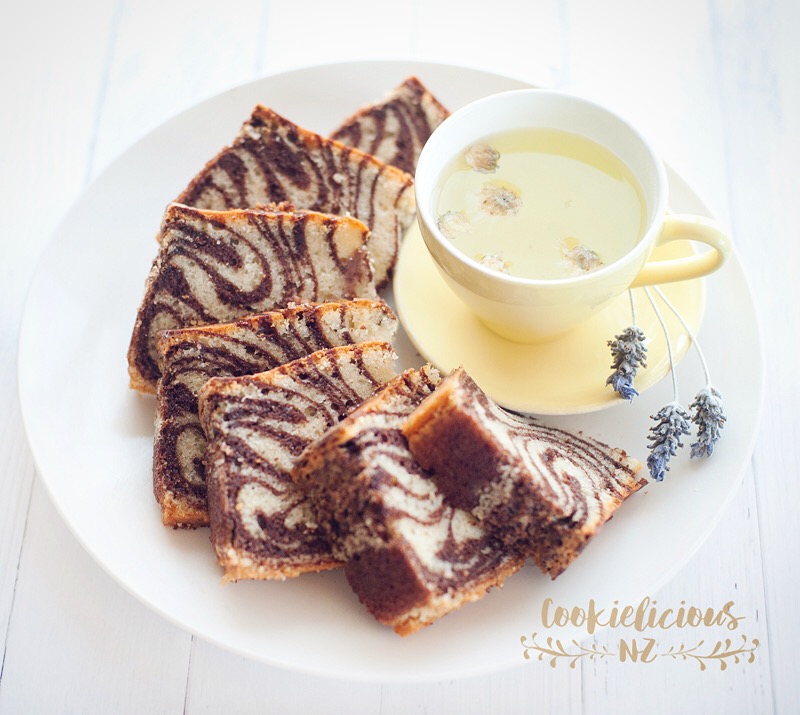
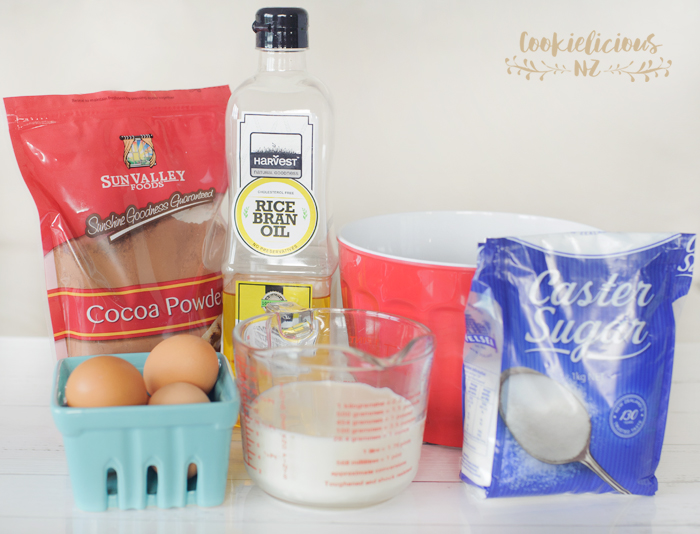
Today we attempted something a bit different and boy the result was so delicious that we had to share here :) We made Zebra Cake for the first time and let me assure you that we will be making this cake again as they turned out so yummy! This recipe is quite easy as we only need to use a few simple ingredients as listed below :) Main ingredients consisting of 5 items:
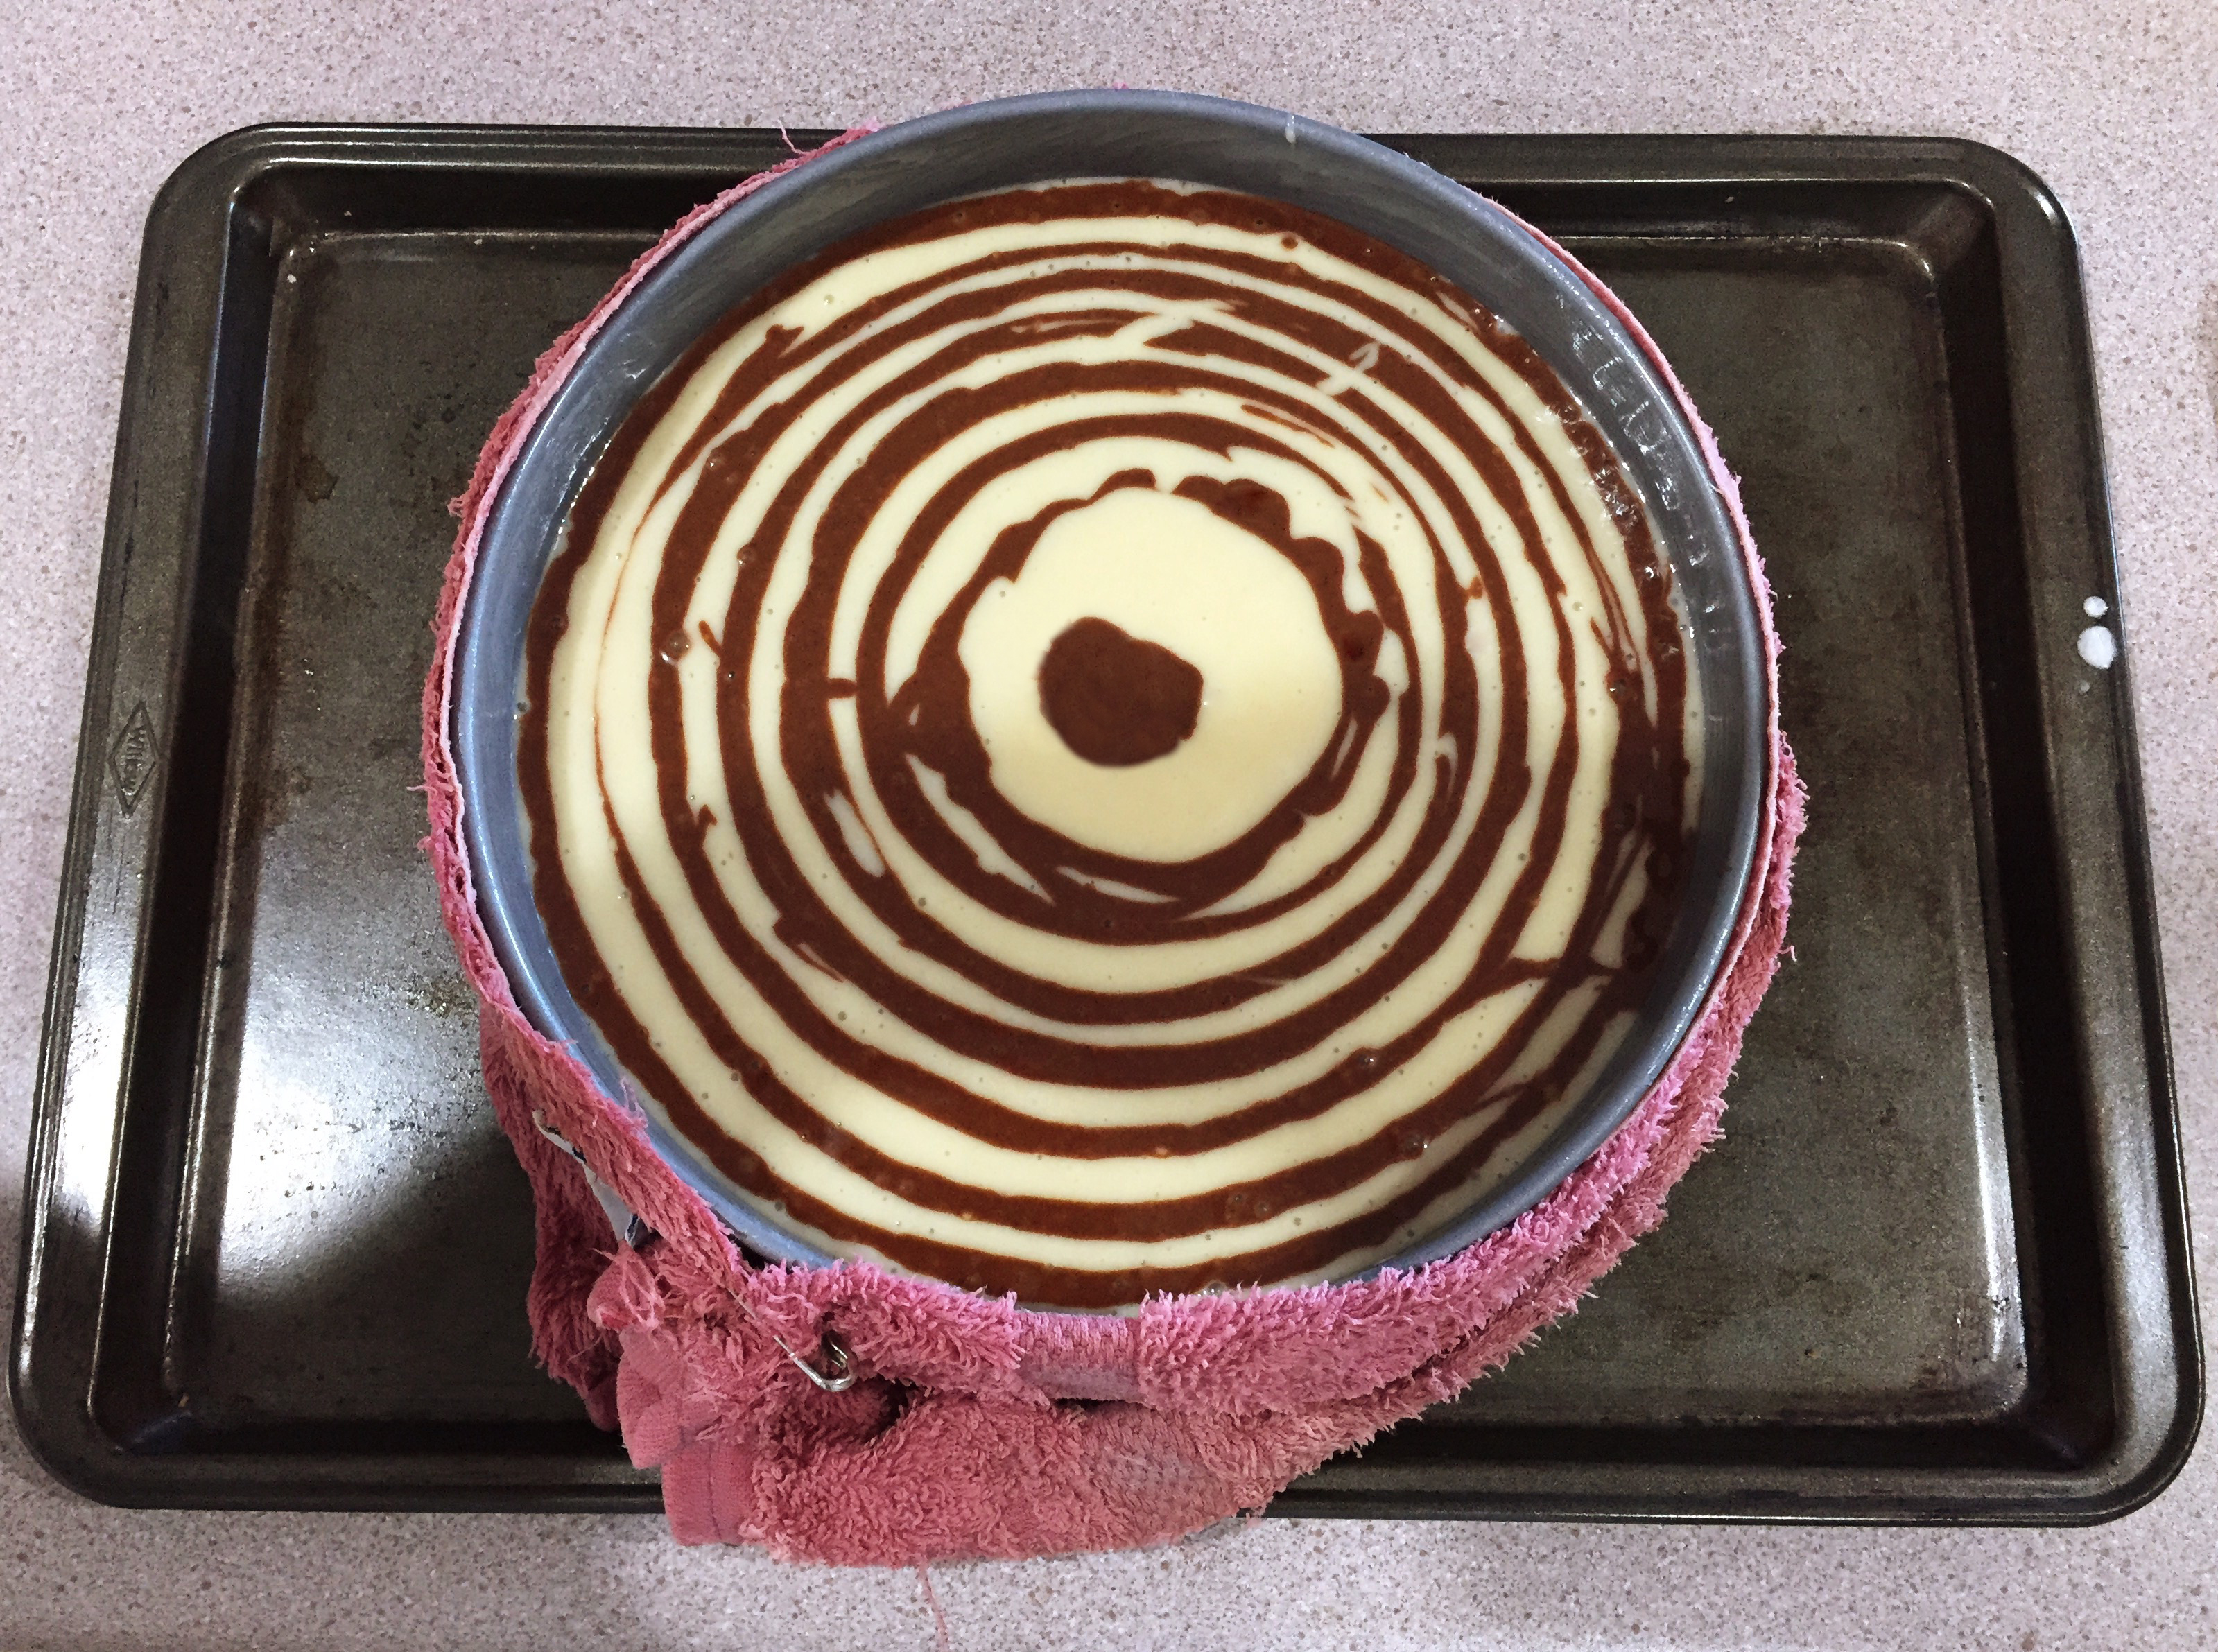
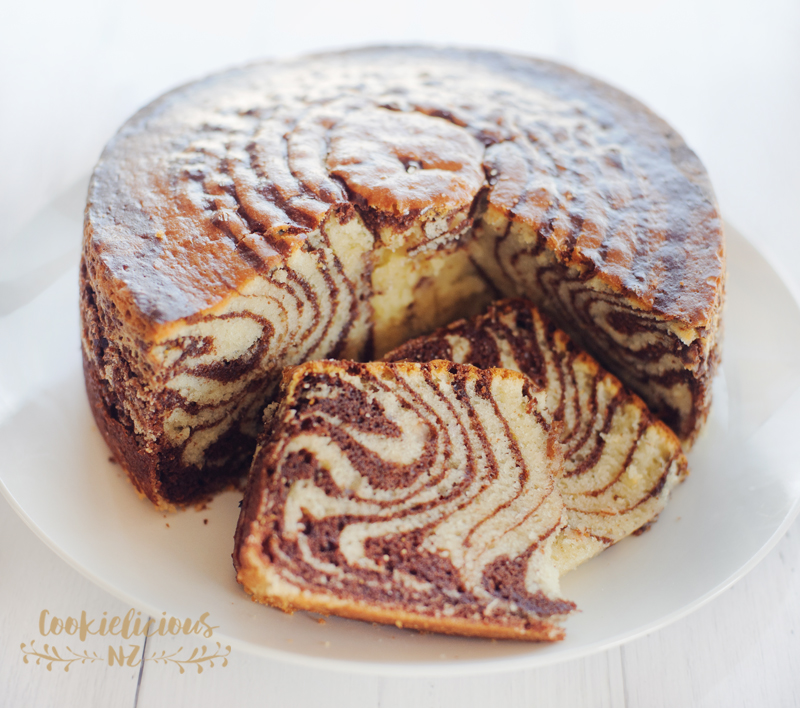
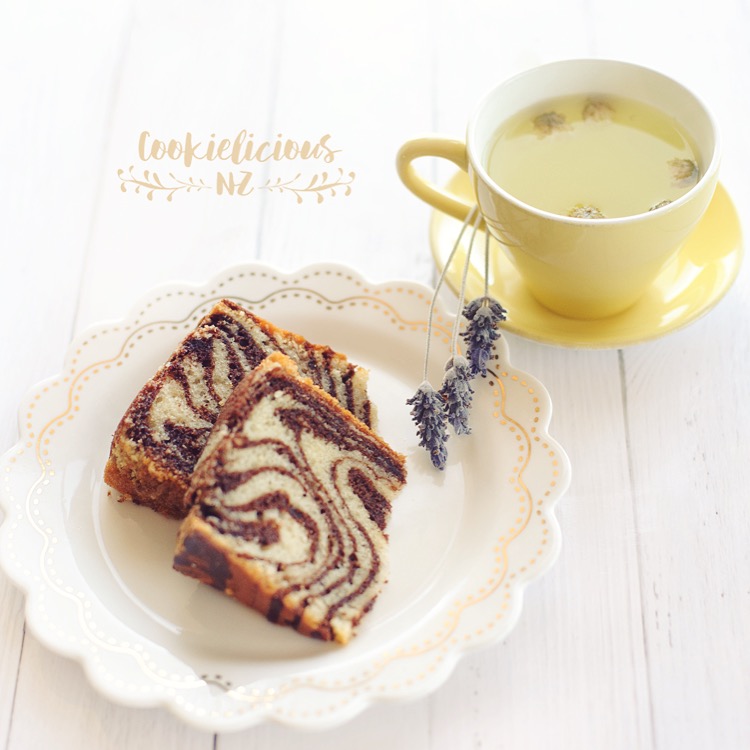
Put all the main ingredients into a big bowl and mix it all together until combined. Then once they have all incorporated, split the batter evenly into in 2 different bowls. Bowl 1: add the additional 2 tablespoons of flour, mix it well & set aside (this makes the cream batter) Bowl 2: add 2 tablespoons of cocoa powder, mix it well & set aside (this makes the chocolate batter) The next step is to prepare your cake tin, we used the 21cm round cake tin. Make sure you have greased and lined your cake tin to ensure the cake won't stick to the cake tin after we finished baking. Now that we have both the creamy and chocolate batter ready we need to pour it into the cake tin. Pour 2 big spoonfulls of the creamy batter and then alternately pour another 2 big spoonfulls of the chocolate batter and then pour another 2 big spoonfulls of the creamy batter followed by another 2 big spoonfulls of the chocolate batter....do this alternate pouring motion continuously until all the batter is finished. The end result should look similar to this picture (see below) in your cake tin before putting it into the oven. PS: We didn't split the batter evenly between the 2 bowls, we seemed to have more creamy batter than chocolate batter, but it doesn't matter they still look great in the end ;-) So now bake it in the oven at 180 degrees for approximately 45 mins. Each oven may vary slightly as you get to know your oven better, you will be the best judge if you need to lower the temp a bit or increase t or decrease the baking time. Btw, if you are wondering what that pink towel is doing around my cake tin, its actually a little trick that we learned a while back. This towel will prevent the cake from forming a dome in the middle of the cake. This is just an old hand towel that we ripped into 2 pieces (length wise) and we wet the towel under the kitchen tap and squeezed excess water out of the towel until its just damp (not dripping) and then wrapped it around the cake tin. We secured it with a safety pin as you can see in the photo above. This trick works everytime and very handy tip to know ;-) Okay so the end result of the cake should look like this inside, similar to a zebra stripes :) There you go, very simple and easy to make...and very yummy too! This doesn't last long in our house and its already diminishing as we speak (read: only 2 slices left on our kitchen table lol) :P Hope that helps and I will be posting this zebra cake recipe in the recipe section of this blog for easy reference in the future ;-) Have a great weekend everyone!
0 Comments
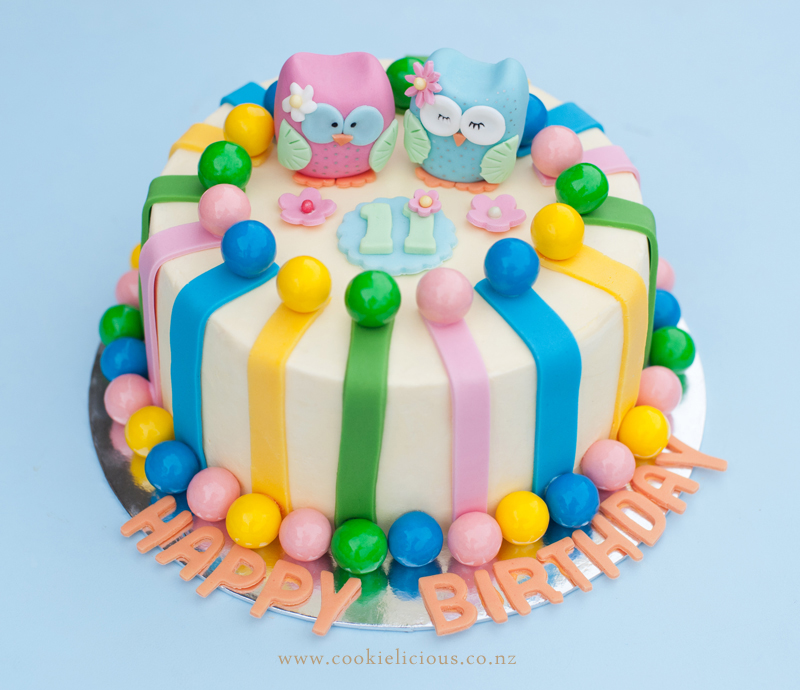
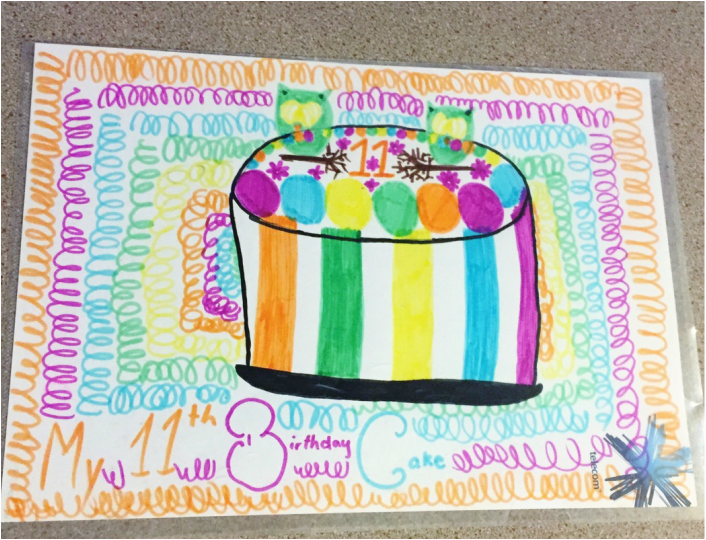
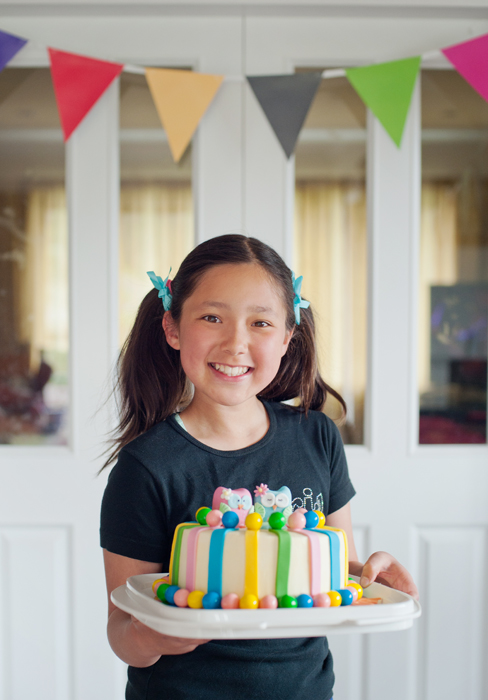
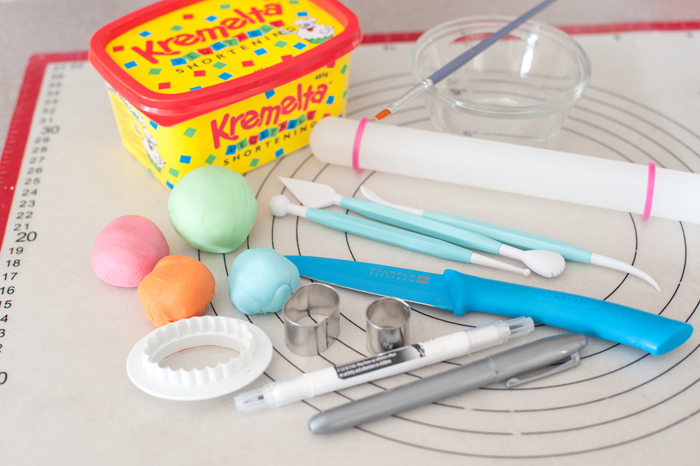
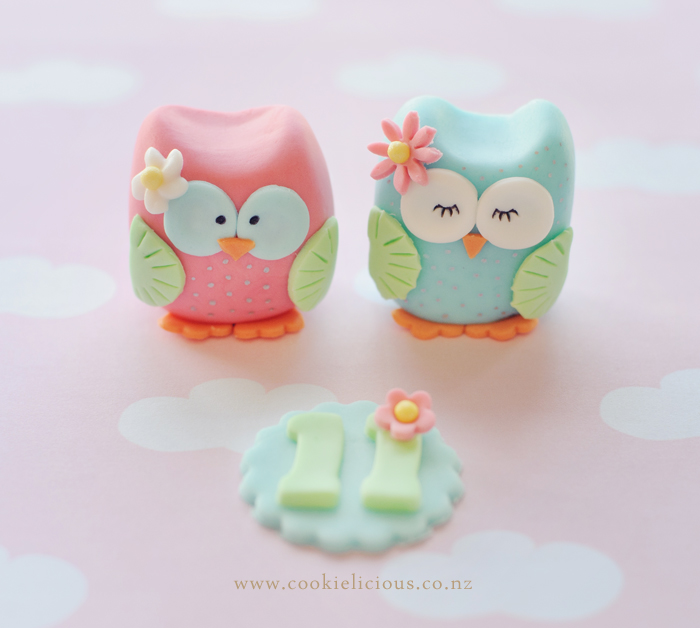
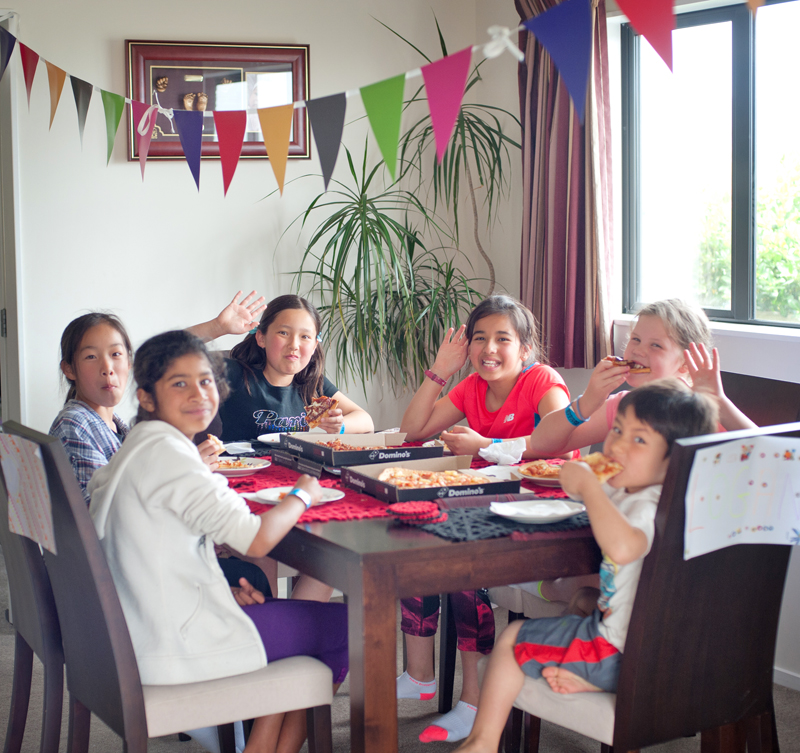
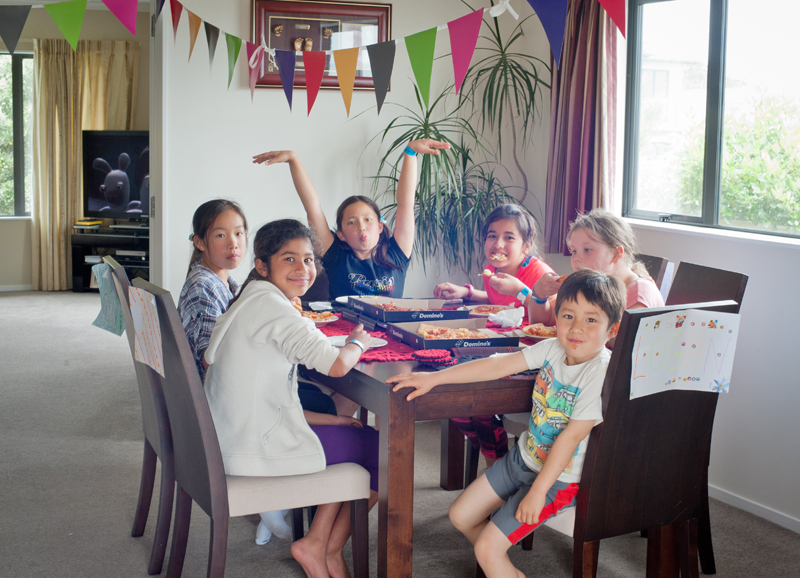
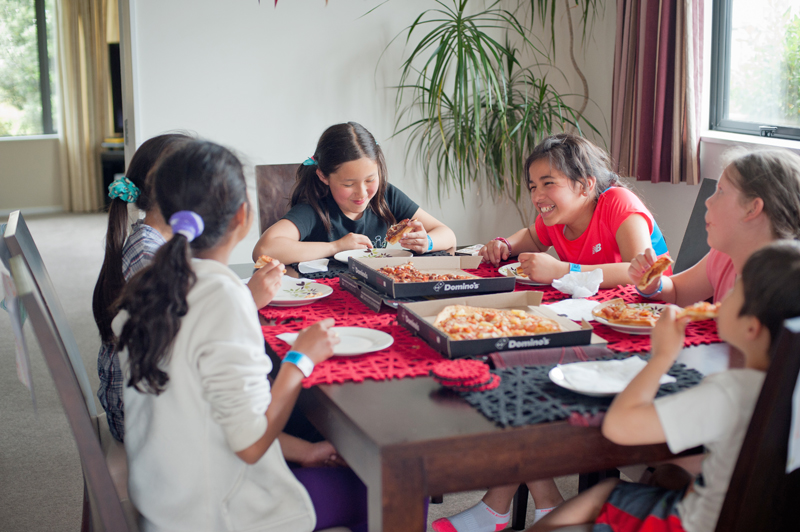
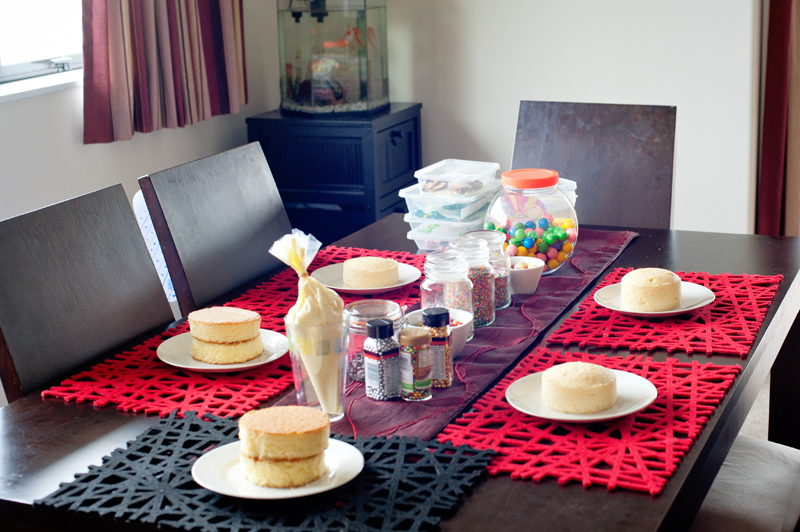
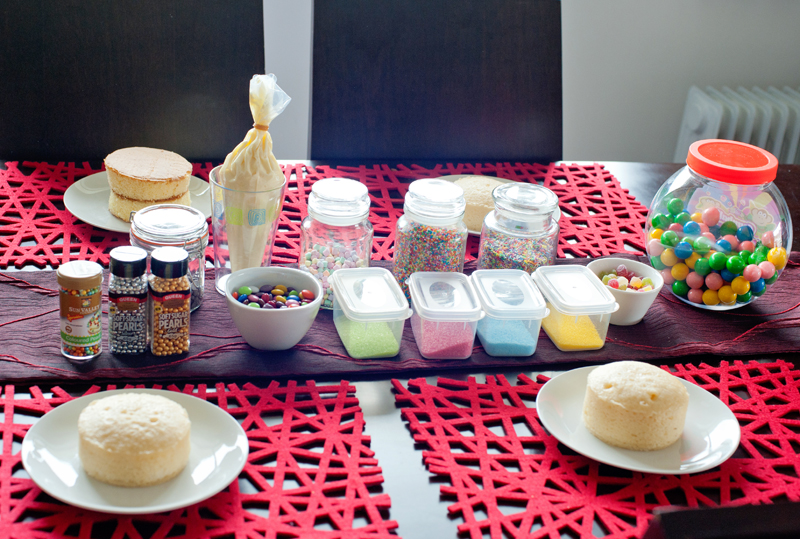
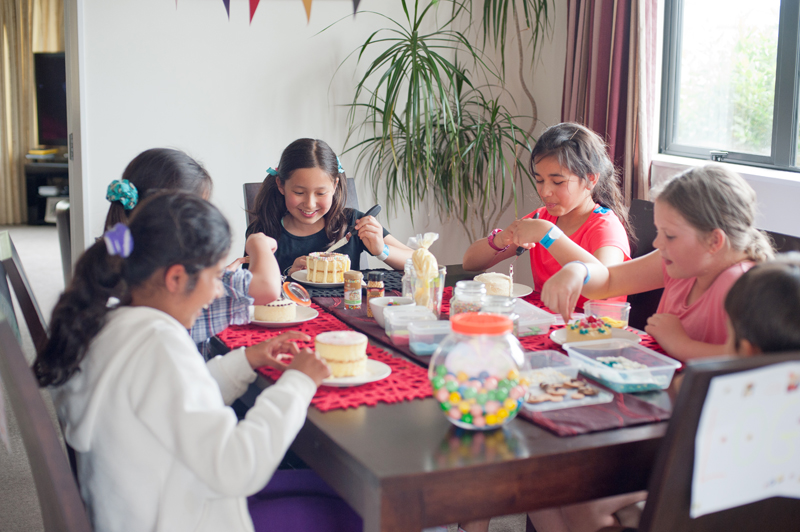
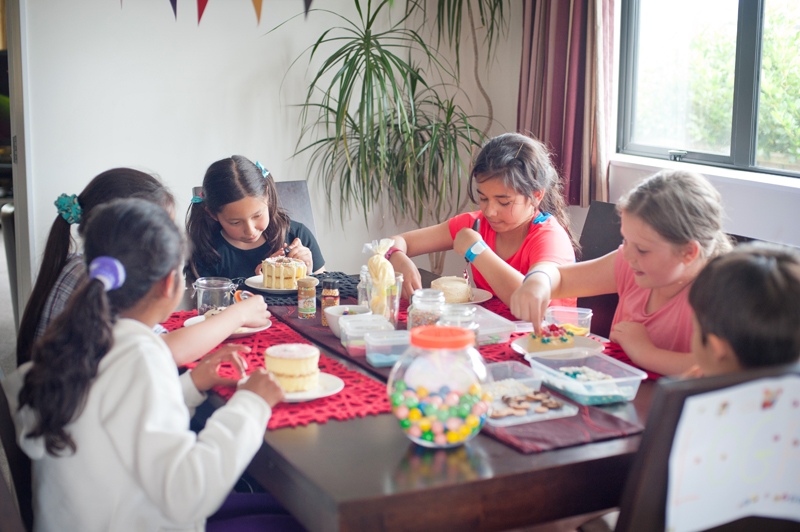
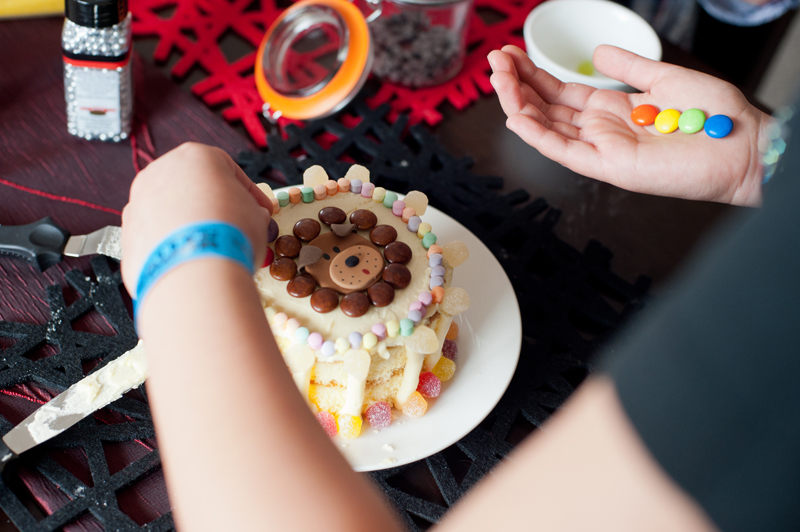
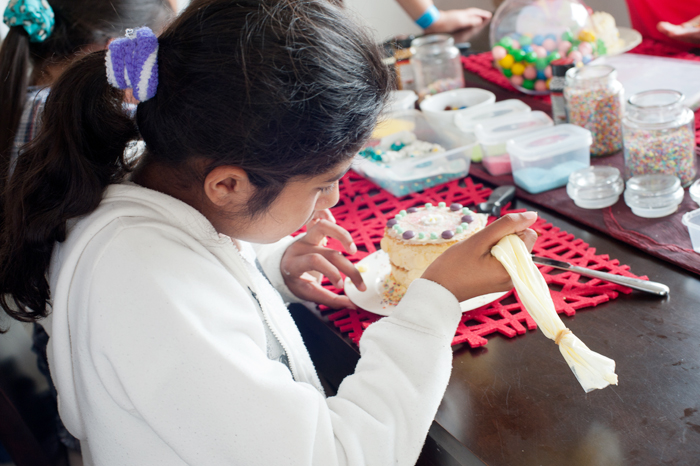
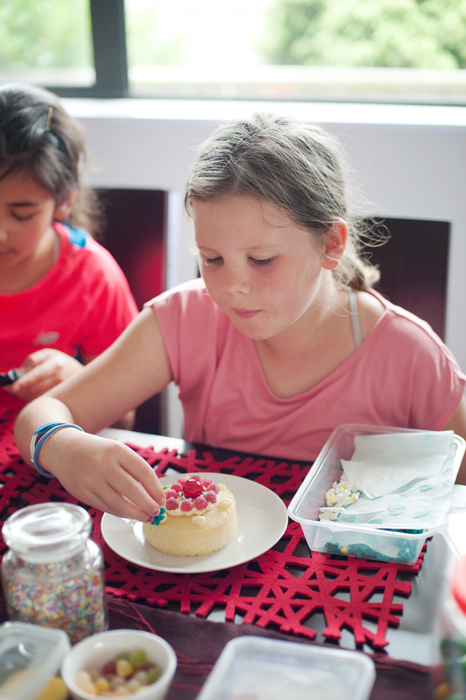
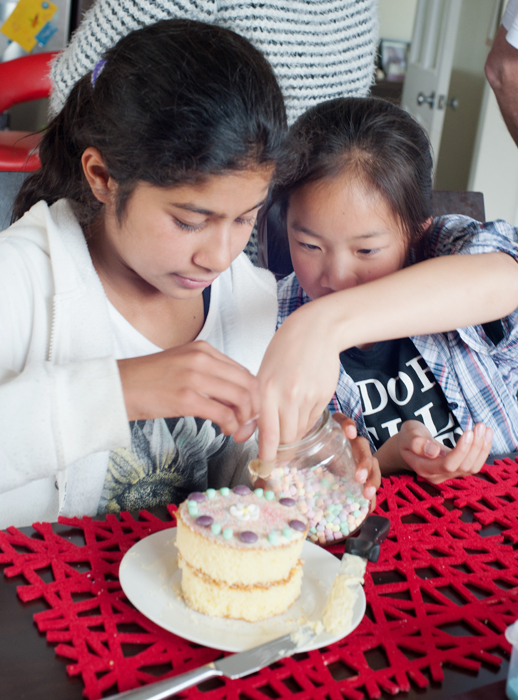
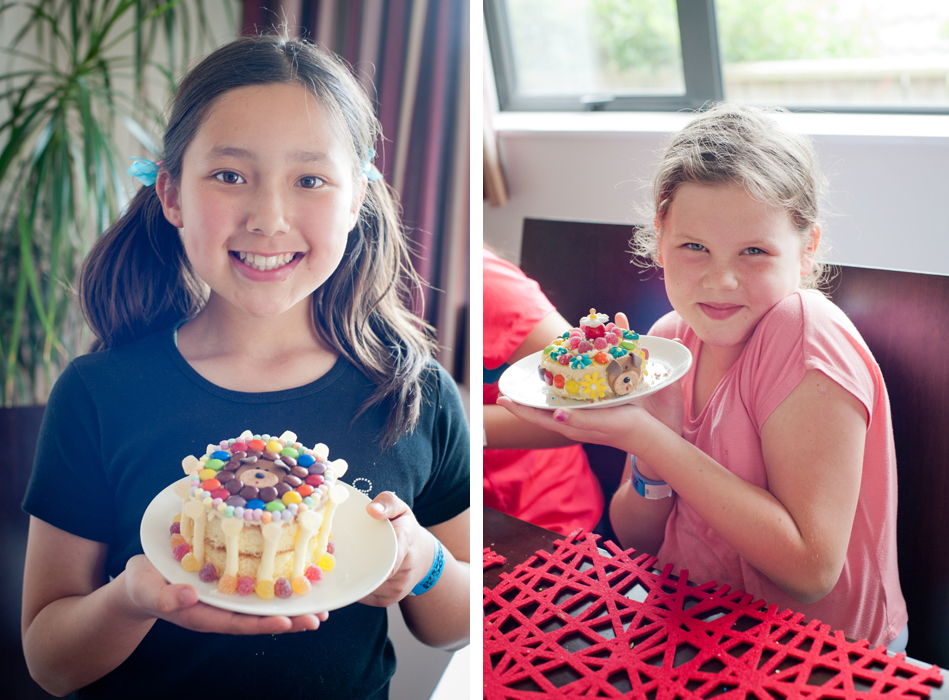
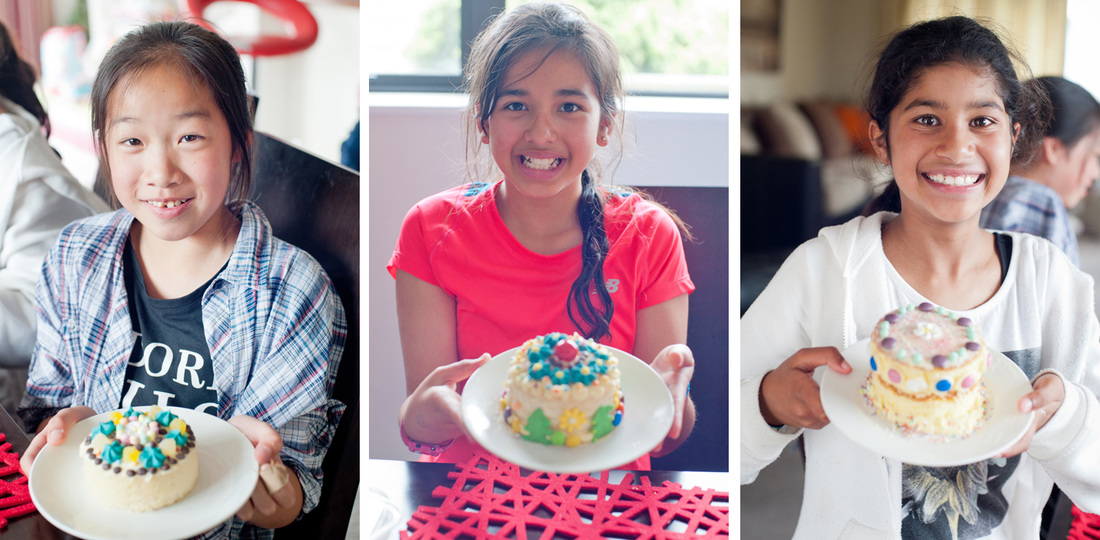
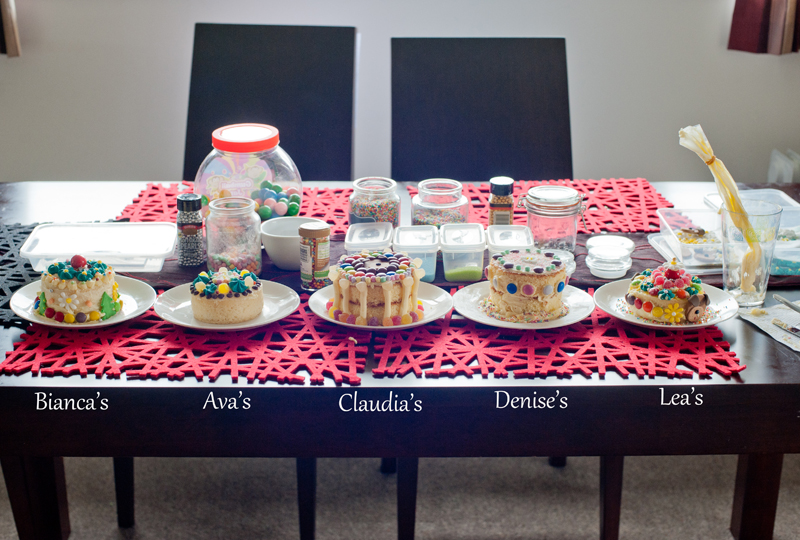
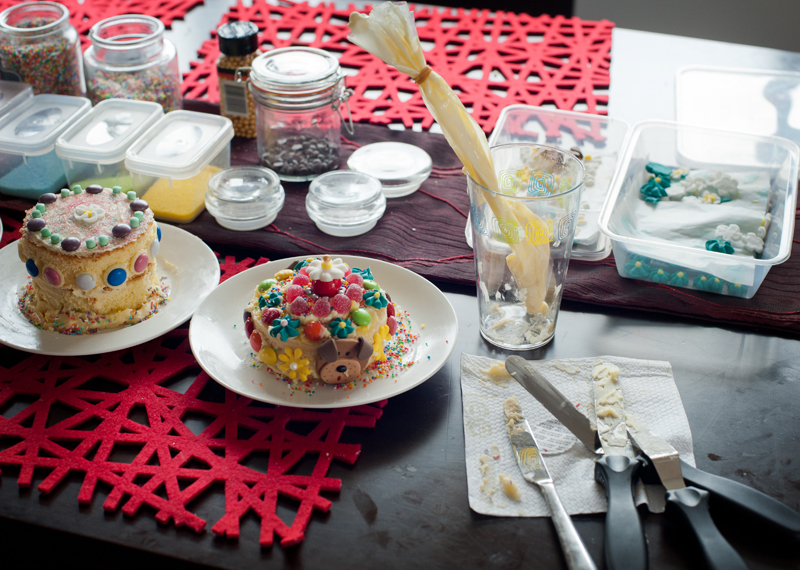
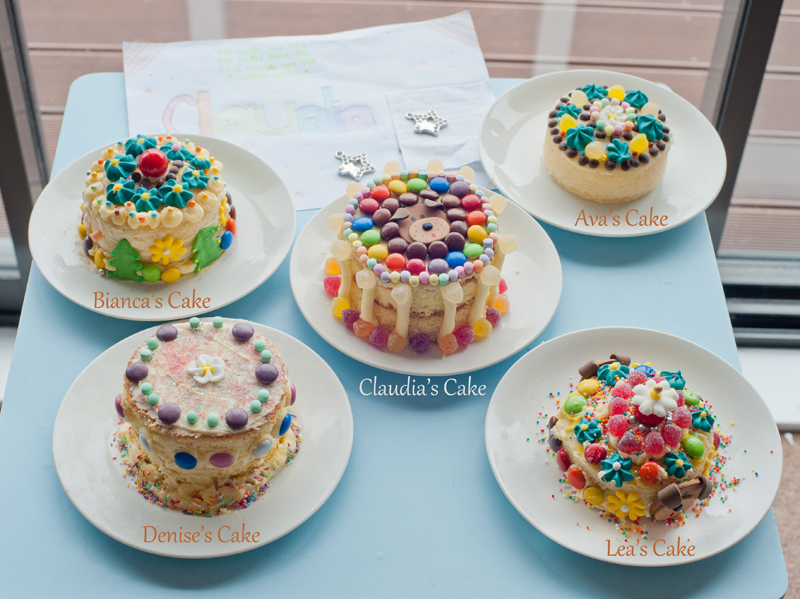
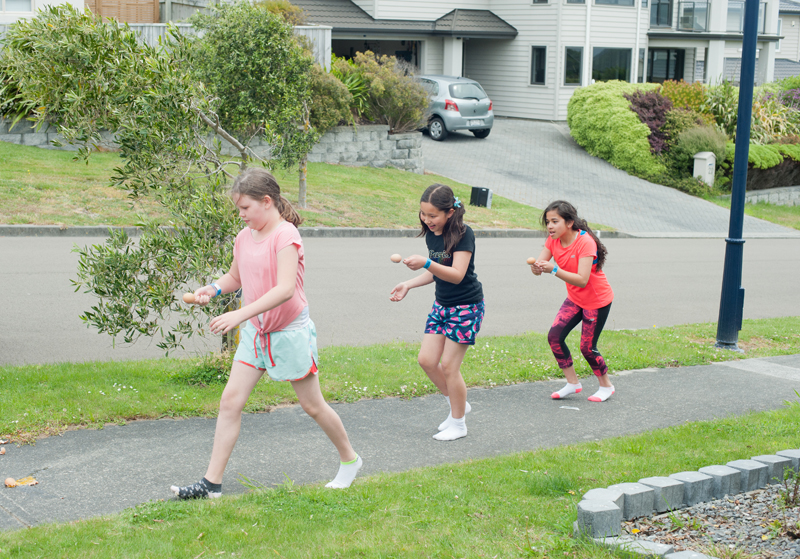
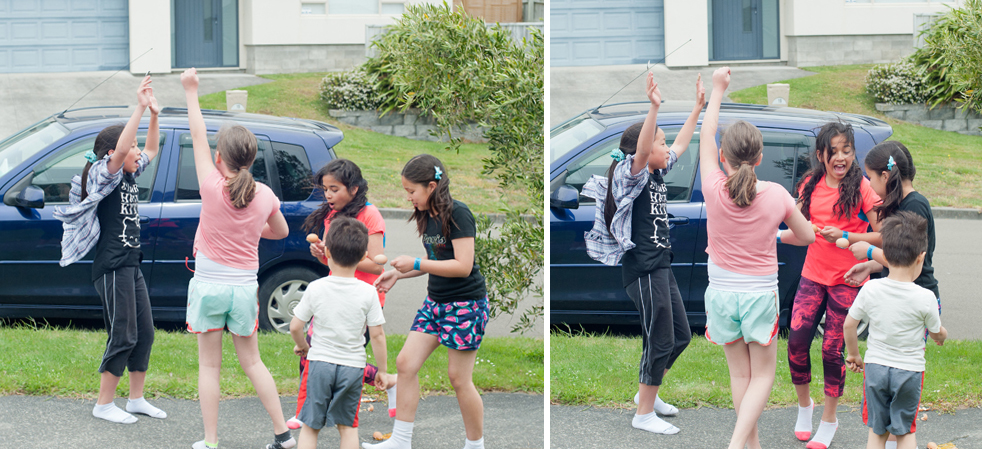
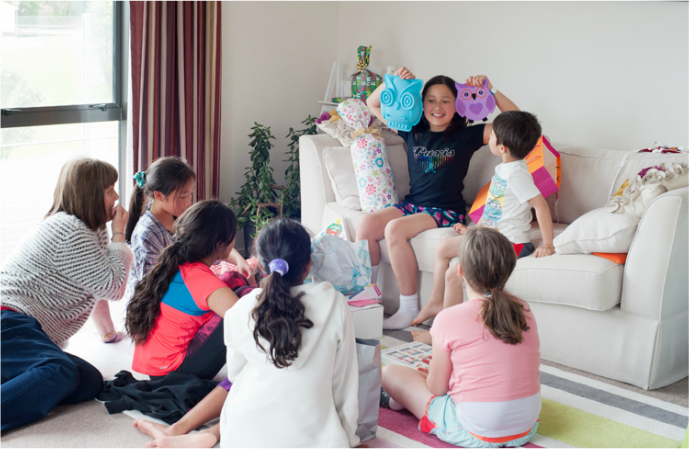
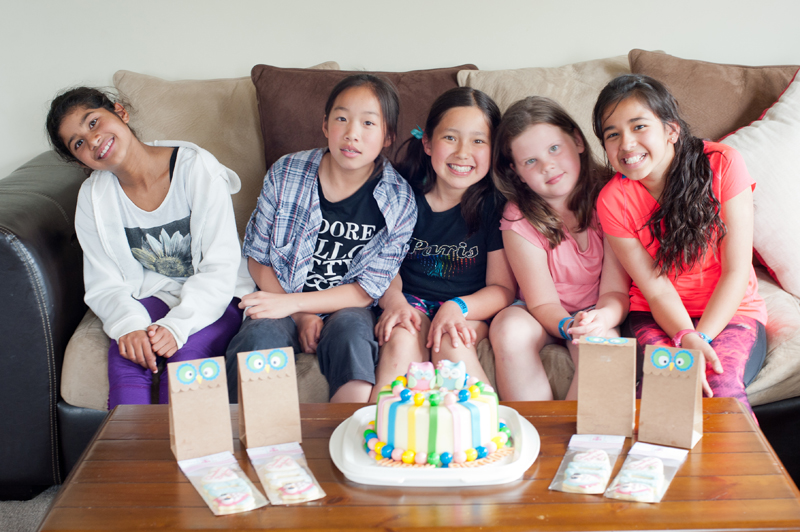
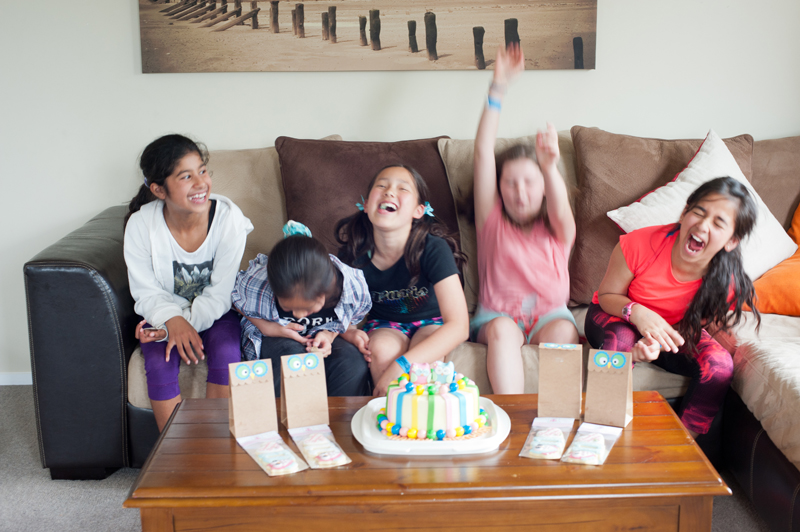
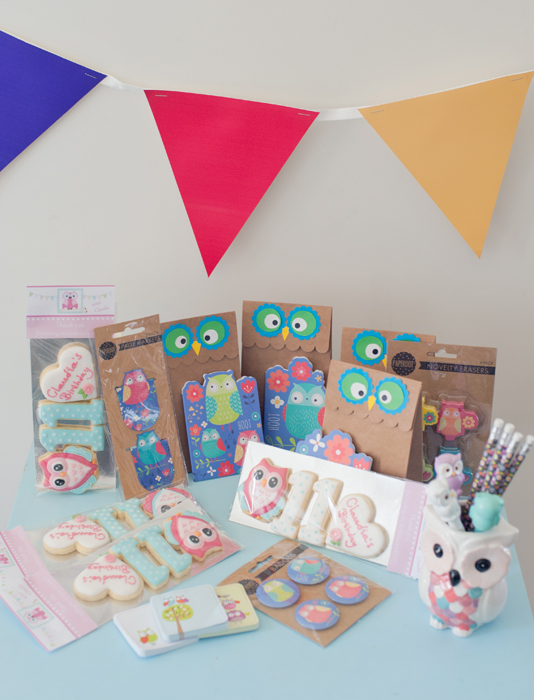
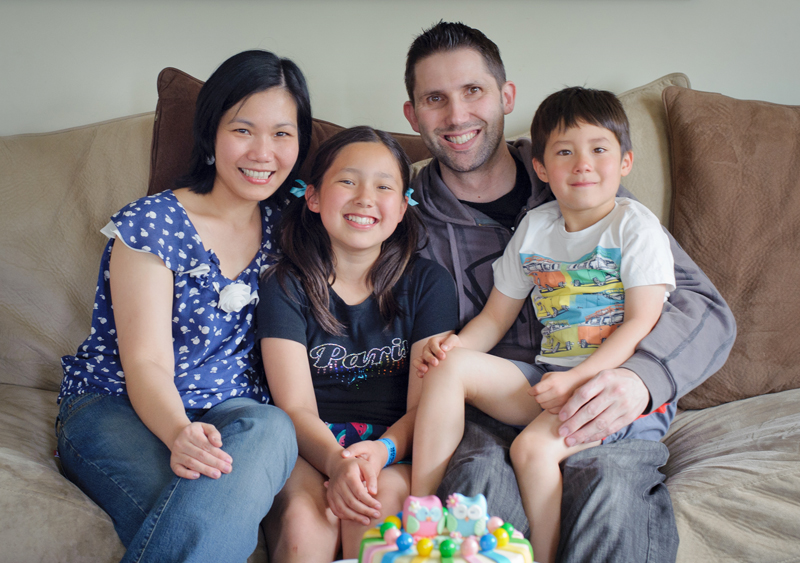
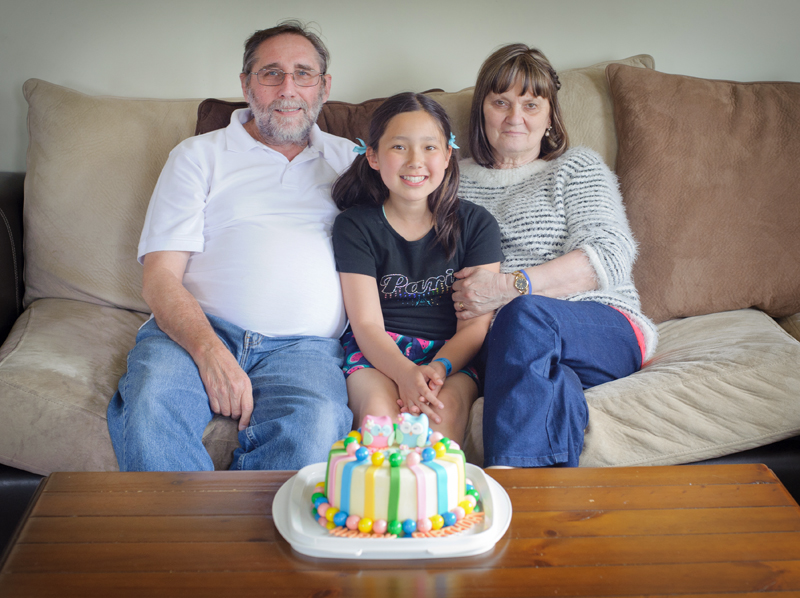
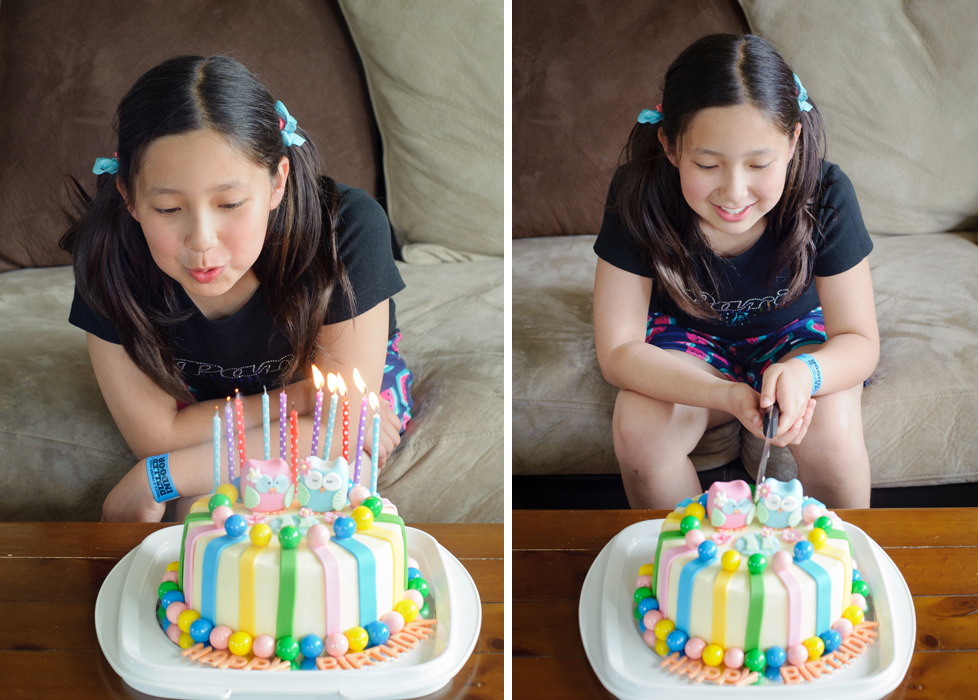
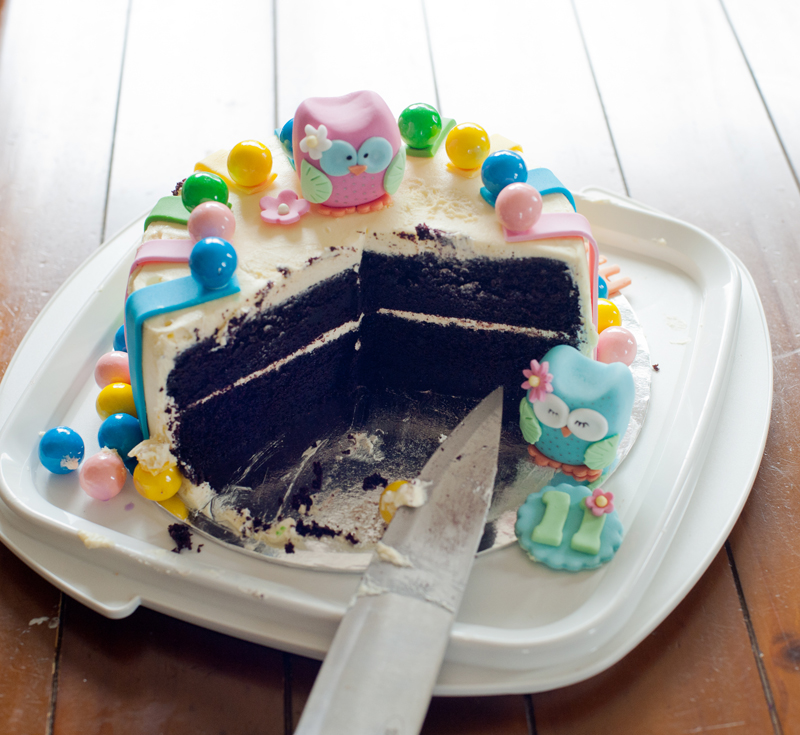
Well its party time today, her actual birthday was on Thursday 19 Nov. But she wants to celebrate it today instead, we decided to have a select few close friends. I managed to finish making her birthday cake last night (yeah, cutting it pretty close i know...) and it was the first time i had to make a cake without covering the whole cake with fondant, so for the first time ever i had to get the buttercream looking smooth all around so that it wont show in between the decorations. I can honestly tell that it was NOT easy! Luckily i got some advice from a cookier friend, without her advice we would ended up with a blotchy cake! So Anita, if you are reading this, thank you so much for your help ;-) Hats off to all the baker out there who had to do this often. It was definitely not my strong suit! I would rather make cookies any day than making a cake! LOL Anyway, so here is the finished result of the cake :) So let me give you a bit of a background for this cake. Claudia gave me a sketch/drawing of the cake she wants. She has 'envisioned' this cake and to give me a visual she had to draw it for me lol :) Here is the actual drawing of the cake she asked me to make... I think she is pretty happy with the result :) here she is...don't you agree? :P I tried to make the cake as close as possible to her drawings...so to make it easier for me to get everything done on time, I made the topper last weekend so get it ready for yesterday's baking session. Its been a while since we work with fondant so we had to dig out the tools to create it Because she specifically requested 2 Owls as the topper, I decided to make one pink and one blue. I searched for a You Tube video on how to make a small cute owls but i cannot find one that she likes. So I had to wing it....here is the finished result. So for the party today, we had the day planned out. We start at 11am at the Trampoline Park (Dialled Indoor), the girls had 1 hour to jump, bounce & flip all over. Then after that back to our house for lunch and then Claudia has chosen to do cake decorating as one of her activities. She also had some games planned and then open presents, cut the cake and finished the day! *Phew* it makes me tired to just write it all down LOL :P Here are the girls in the trampoline park, all flushed after one hour of jumping & bouncing around! After they finished jumping around at the trampoline park, we head back home to have some lunch. Lots of pizza to go around :) Then the next thing in the agenda is cake decorating. Claudia has prepared all the mini cakes for each of the girls to decorate. Here they right in the middle of it and busy getting creative and making a mess :) Here are the girls with their creations :) The result and aftermath of the cake decorating :) Each of the girls will take their cake creations home with them. Then they played some games...this is one of the games called 'Egg on a spoon race' Time to open some presents! :P Then we took some photos of the girls before Claudia cut her birthday cake :) Claudia's party favours :) Of course we have to take some family photos :) Nana & grandad came to celebrate her birthday too :) Finally blowing the candle, making a wish and cutting the cake :) This is what we have left after everyone had a piece of cake :) Well, its been a long day for everyone but we are so pleased that everyone seems to have a fabulous time :) Im just glad this is all done for the year. Happy Birthday again sweetheart, glad you get to celebrate with your friends and have lots of fun today. We love you lots like jellytots! :)
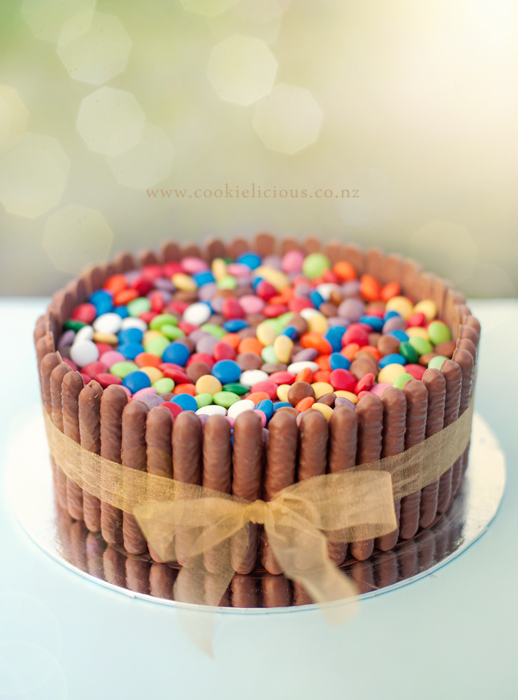
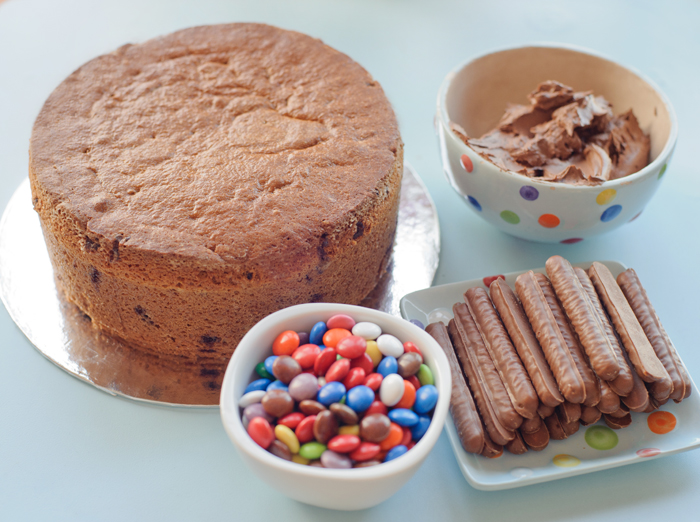
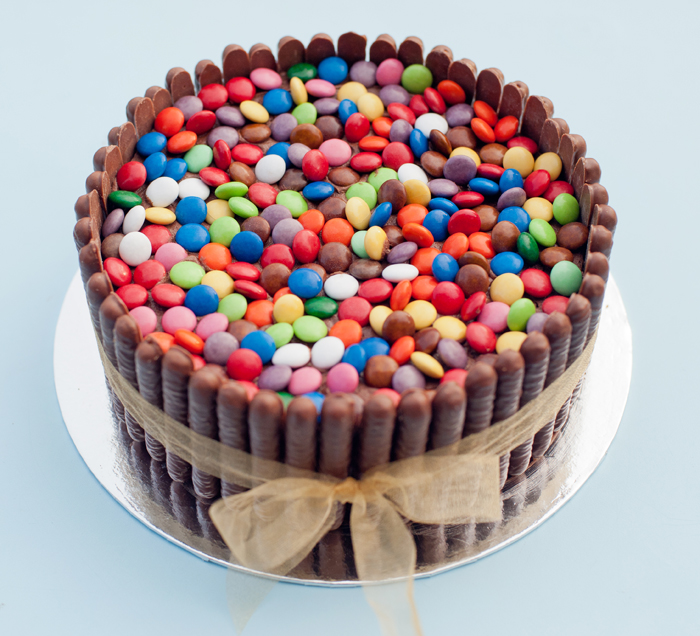
xoxo Mummy, Daddy & Logan ;-) Its that time of the year again, the annual school fair and as usual the kids came home with an empty cake box a couple of days ago so that we can fill it with home made cakes or slices :) Last year we made the Kit Kat cakes and it was the first cake that was gone as the baking stall opened lol So this year we got a request to make it again, but this time we decided to make it with chocolate fingers instead :) We didn't want a chocolate cake inside as there are plenty of chocolate all around it and the pebbles on top, so we made our family's favorite banana chocolate chip cake instead. So when the cake is cooled we prepared the essentials to decorate the cake:
Here is my cheeky monkey anxiously waiting for the cake to be decorated :P So all we need to do is cover the sides of the cake and the top of the cake with chocolate buttercream. Then lined-up all the chocolate fingers all around the side of the cake and secure it with a ribbon. After the sides are all done sprinkle the top of the cake with pebbles or m&ms :) That's all you need to do....anyone can do it, easy peasy lemon squeezy....as my hubby would say :P Here is my lovely daughter happily showing off the finished cake :) We had a great time at the fair today, check out some of the photos we did at the Photo Booth :) Our family photos are the middle strip, and the ones on each sides are Claudia and her friends: Denise, Amie, Rosie & Emily :) I hope the school will raise a lot of money today :) Have a fantastic weekend everyone!
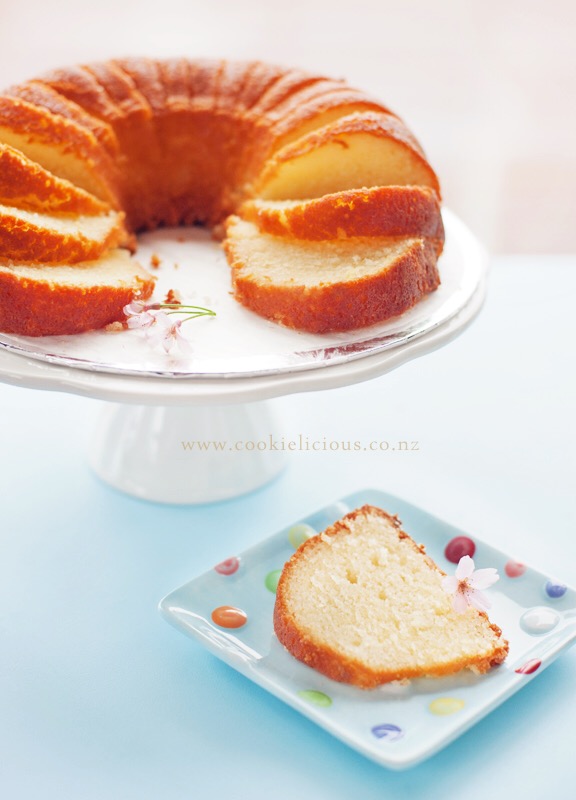
I had a hankering to have a lemon cake over the weekend so we decided to try making a Lemon Yoghurt Cake recipe shared by my dear friend Kelda....thank you so much for sharing my friend! :) It was so moist, light and super delicious! Because it contains oil rather than butter it is very easy to mix, either in a food processor, or whisk by hand in a large bowl. we didn't dust it with icing sugar, instead we use a lemon sugar glaze on top. It was a bit thin so next time we'll try adding a bit more sugar and see if it will come out better. Here is Claudia with the cake, she has given her seal of approval for yumminess :P For me personally its best to enjoy it with a cuppa :) My choice would be English breakfast tea and my hubby will declare its best with coffee, whatever is in your cuppa it will go splendidly with this delicious cake! I would highly recommend trying this recipe if you ever feel like having a lemon cake...you wont regret it! ;-) Have a great week everyone :)
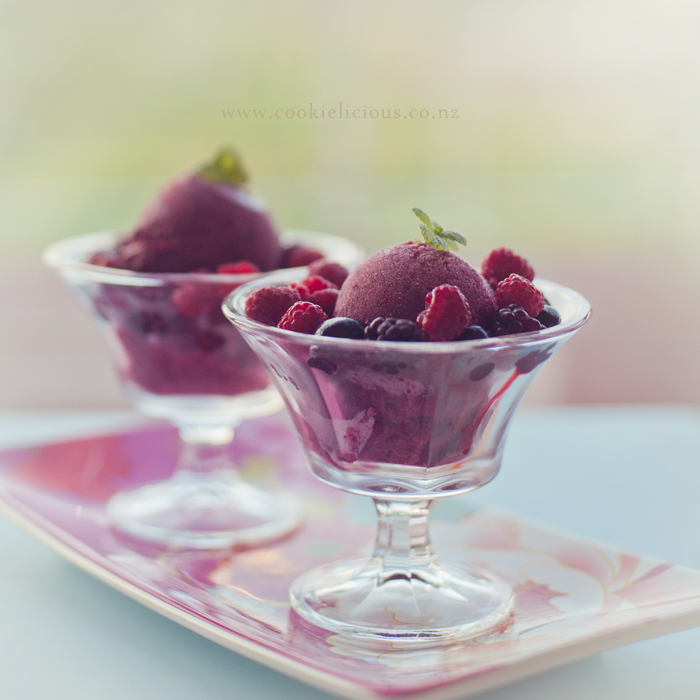
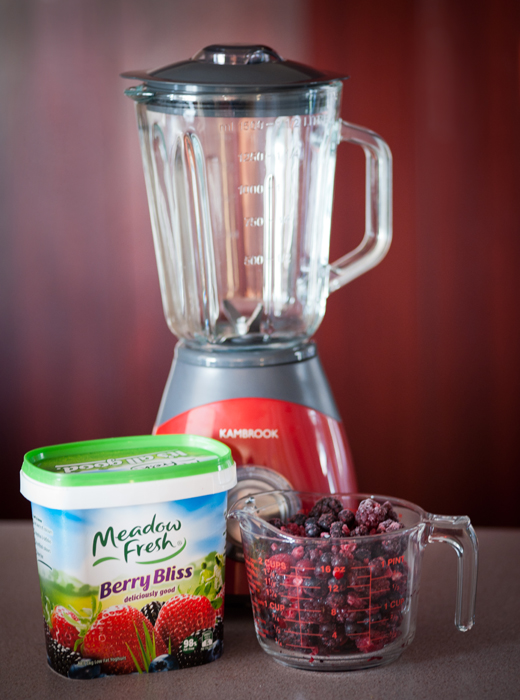
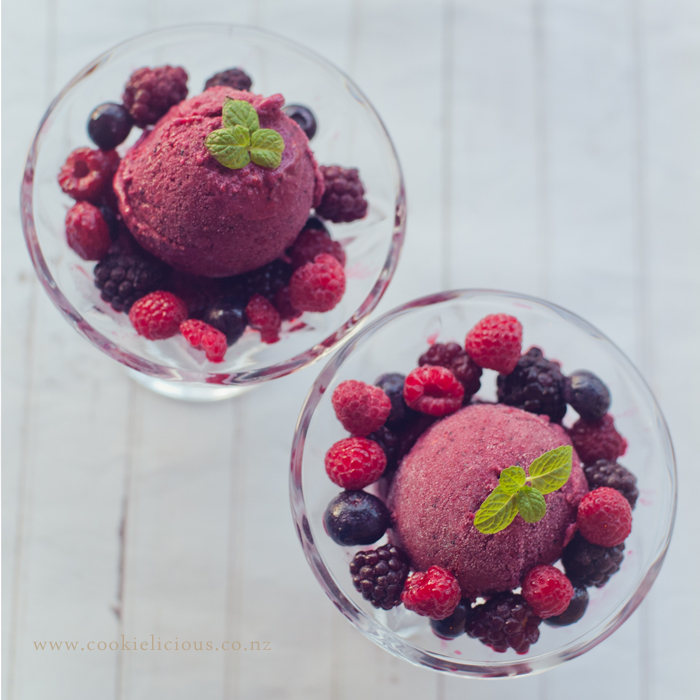
Spring is here! Yay :) The days are longer with more daylight and our blossom tree are flowering too, we are so looking forward to see the whole tree covered in pretty pink cherry blossoms :) Best of all....it also means that summer is right around the corner, yay! So to celebrate spring we decided to make a mixed berry sorbet, yummmm! Its really super easy to make, you can use any berry you have. We have a bag of frozen mixed berry in our freezer so we used them all up, we had raspberries, boysenberries, blackberries & blueberries. All you need is 3 things:
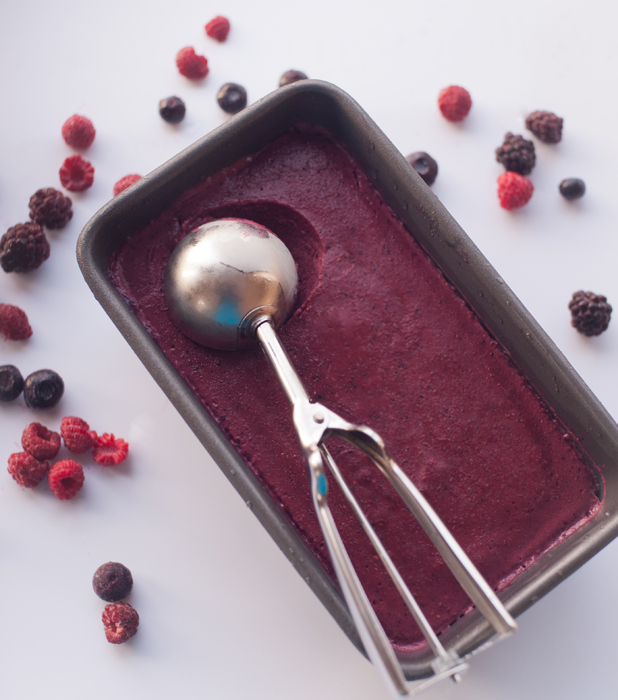
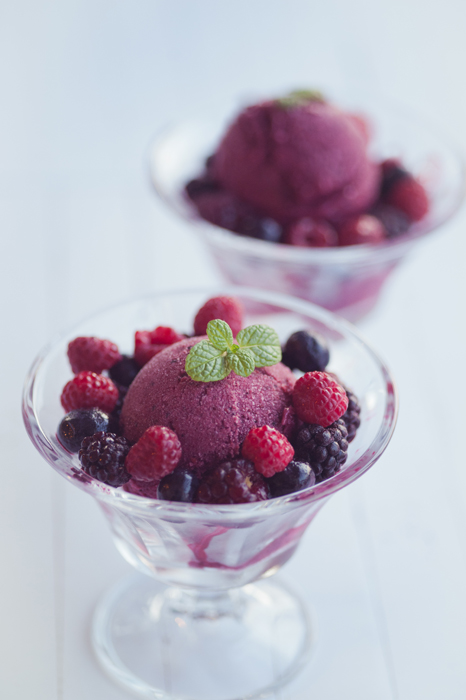
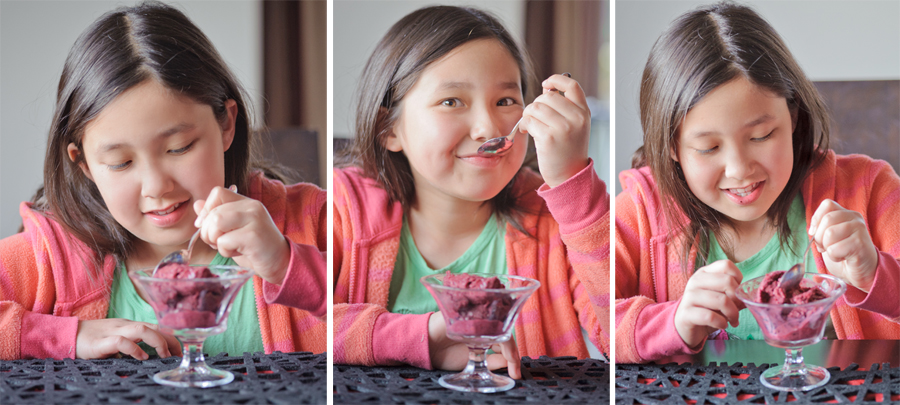
All you need is equal amount of berries and yogurt, in our case we used 500 grams of frozen berries and 500 grams of yogurt. Put them into the blender and blend together until smooth. Then strain the mixture (we just use our usual strainer that we use to sift flour) and then transfer to a small baking dish or any container that is freezer safe. Place the sorbet mixture into the freezer. When the mixture is completely frozen take it out and remove from the container and place it into the blender and puree again. Return the sorbet back into the freezer until you are ready to serve it. When you are ready to enjoy your berry sorbet, take them out of the freezer and scoop with an ice cream scooper into your dessert bowl, if they are frozen solid you can leave it out in the kitchen bench for about 15-20 mins and they will soften and be easier to scoop up. They are so refereshingly delicious and super easy to make. Here is my girl enjoying the sorbet :) You can have the sorbet on its own or you can enjoy them with some fresh berries with the sorbet :) The sun is out and shining brightly, hope you are having a super fabulous spring day ;-)
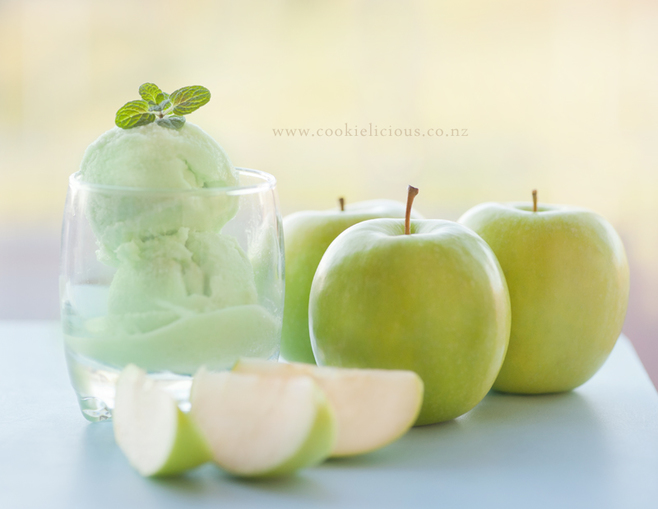
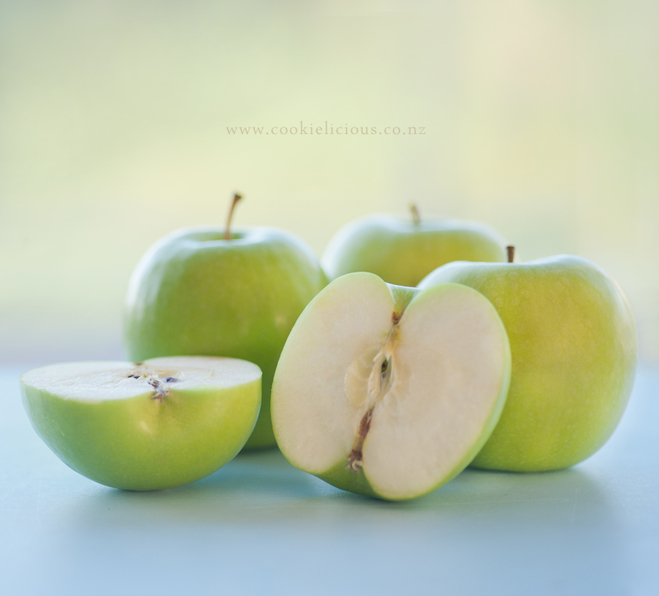
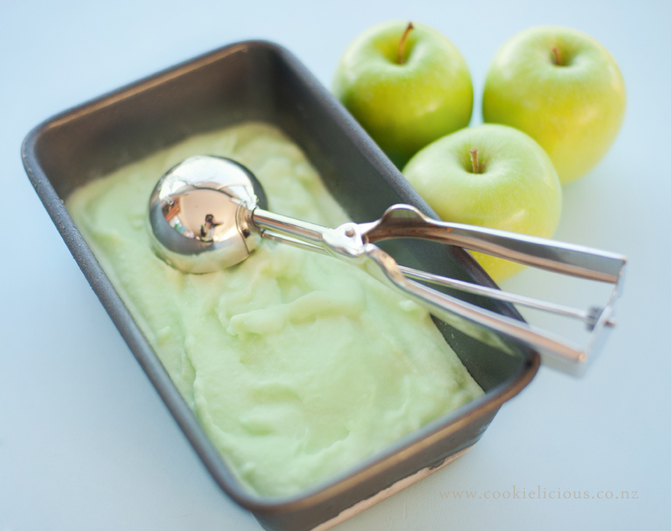
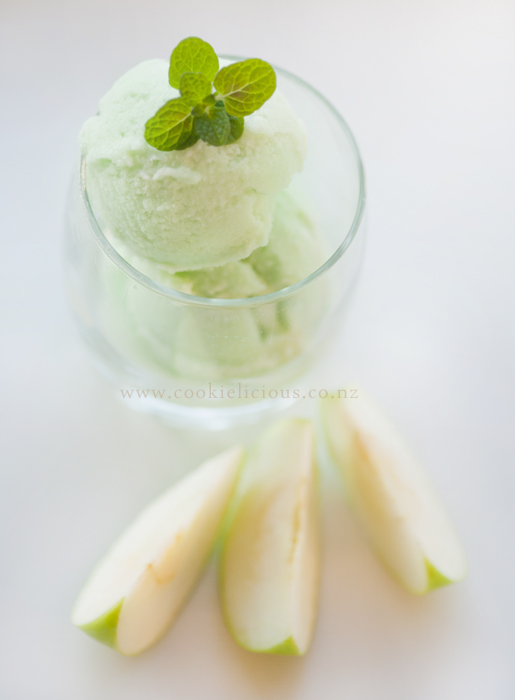
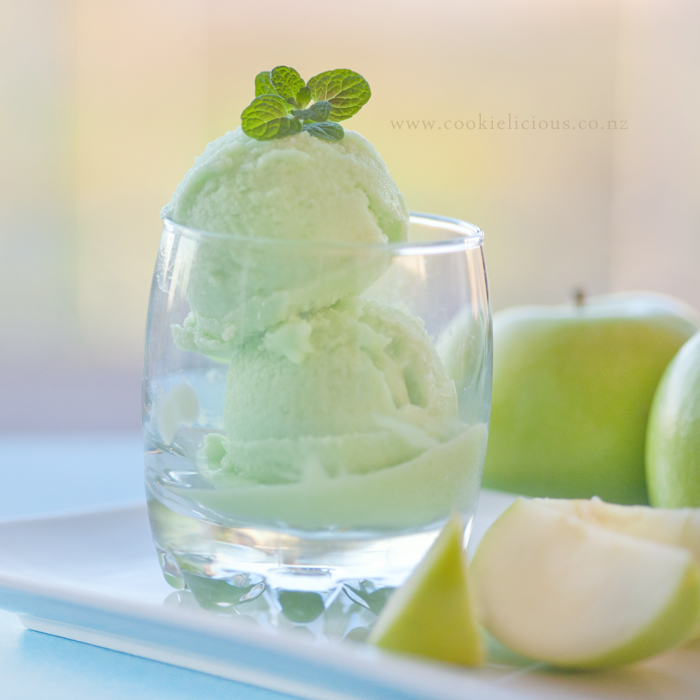
I know those of you who is living in NZ must be thinking "Is she crazy? making sorbet in this freezing winter?" Well, have you noticed that its getting lighter in the morning and we also get more daylight when we get home after work, so we are just gearing up for warmer days to come :) The weather has not been too bad lately with the sun shining for the past couple of days, and sometimes the urge to have a refreshing dessert strike us no matter what season it is...am i right? :P But so that you know, there is only 5 more weeks until daylight savings starts, yay! And yes, we are counting down....bring on spring and then summer! So we can have more fresh fruit sorbet like this more often :) so anyway, this is really easy to make and doesn't take long at all to whip-up, as long as you have a few green apples in your pantry you'll be good to go... To make this yummy sorbet, all you need is a few very simple ingredients:
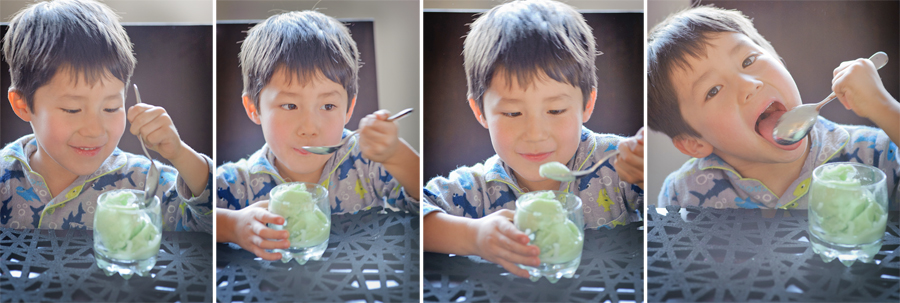
So we cut, core and coarsely slice the apples. We keep the skin on as we like the flavour of the skin but if you dont like it you can peel off the skin and just use the flesh of the apple. Then place them into a saucepan along with the lemon juice, sugar and apple juice. Boil them until they are soft. Then remove from heat and let it cool. Next step is to place the mixture into a blender or any food processor and puree the green apple mixture until its smooth. Strain the mixture (we just use our usual strainer that we use to sift flour) and then transfer to a small baking dish or any container that is freezer safe. Oh yeah, we also mix in a teeny tiny drop of green food colouring and mix well. Place the sorbet mixture into the freezer. When the mixture is completely frozen take it out and remove from the container and place it into the blender and puree again. Return the sorbet back into the freezer until you are ready to serve it. That's it, all done without even using an ice cream maker :) These are a sure favorite in our house, we will be making these again specially seeing that summer is coming, we will be trying out all sort of different fruit flavour combination :) This little guy has given me his seal of approval, he said "I really love it mummy!" There you have it, a sure winner in our household! Rest assured that will be making more sorbet in all different kind of flavours in our house, so bring on summer! Hope you are having a great day :)
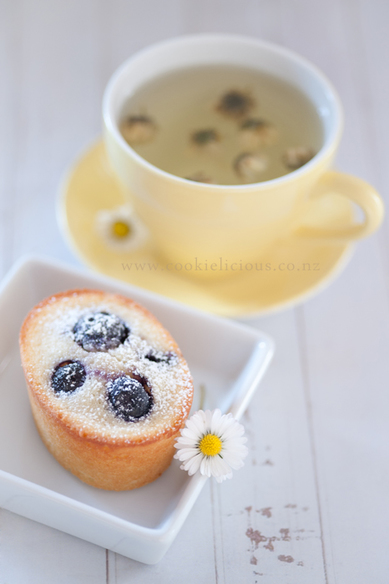
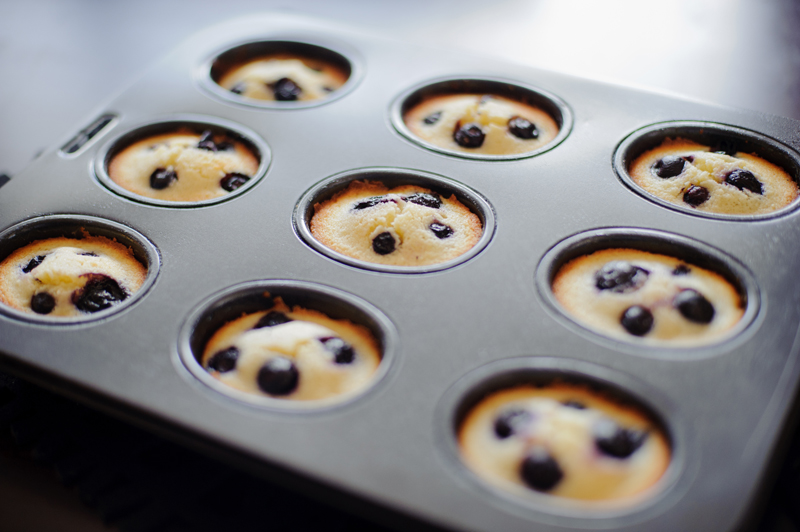
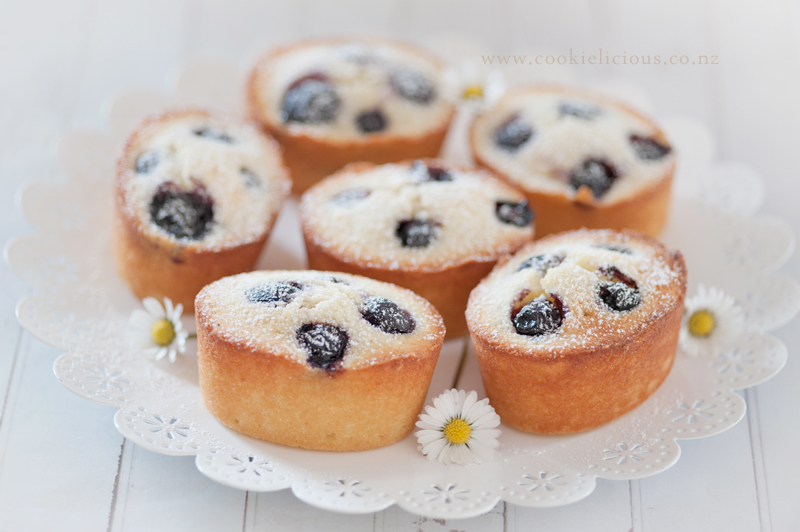
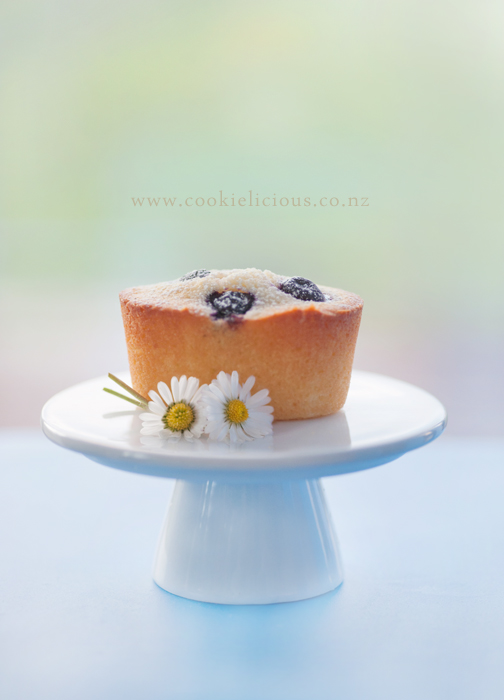
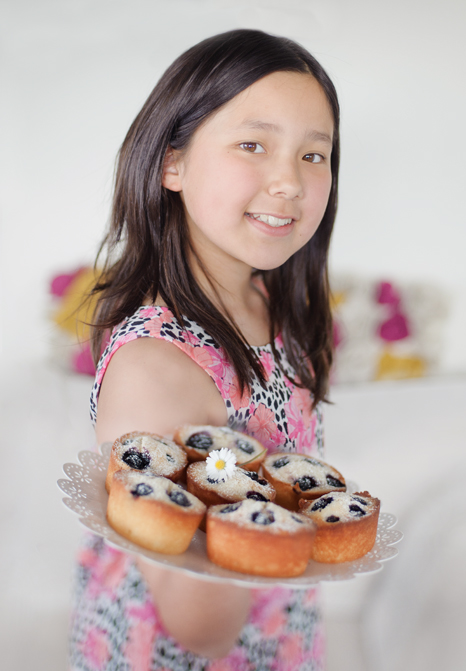
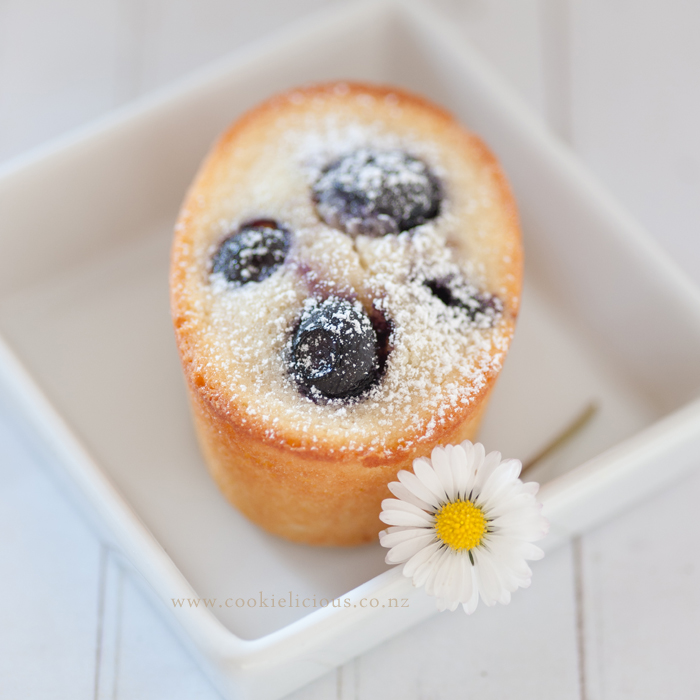
One of my hubby's fave treat is a friand...its one of those fancy lil french cake that is really yummy, moist and scrumptious! The main ingredients are almond meal, egg whites, butter, and icing sugar. This weekend we decided to make them seeing that we have all the ingredient handy in the pantry. If you would like to try making them, we have put the recipe in our recipe sections HERE. Today I had the pleasure of having of our friand with a chrysanthemum tea, whereas hubby decided coffee is the best way to enjoy them :) There is really not much to it, the key is to make sure you whisk the egg whites until they form a soft peak and then mix it with the dry ingredients. If you don't have any lemon then you can just leave that ingredient out and make just a blueberry friand, and if you don't have any blueberry and just want to make lemon friand you can do the same, they will still come our delicious either way :) Here they are fresh out of the oven. Make sure you apply a cake release batter generously around the pan, this will ensure they will come out easily after they have rested and cool. Ours came out perfectly without any effort at all :) You can serve them on their own or they are a perfect compliment to your tea or coffee. Here is my lovely assistant, showing off the finishing result :P A close-up of the delicious french cake :) Hope everyone is having a restful weekend!
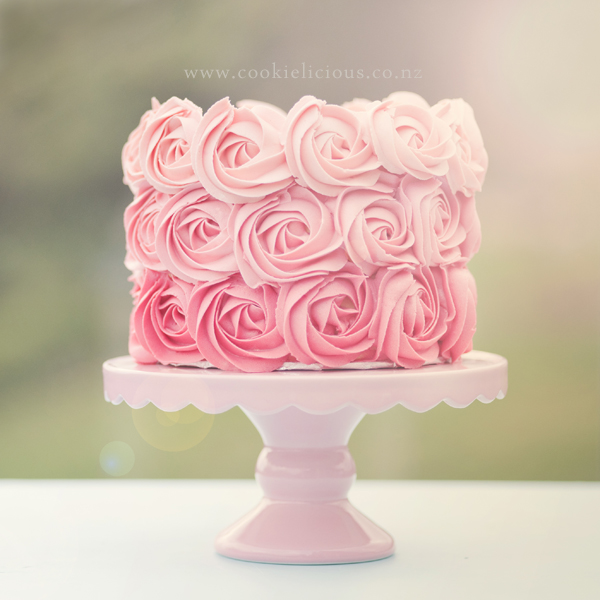
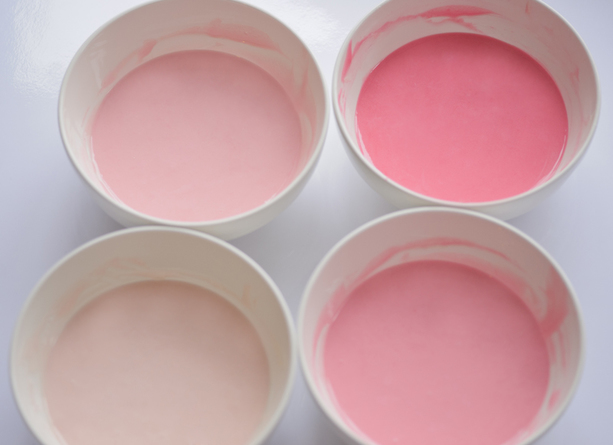
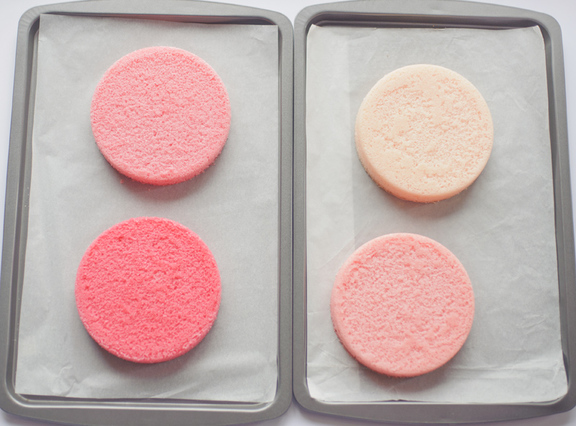
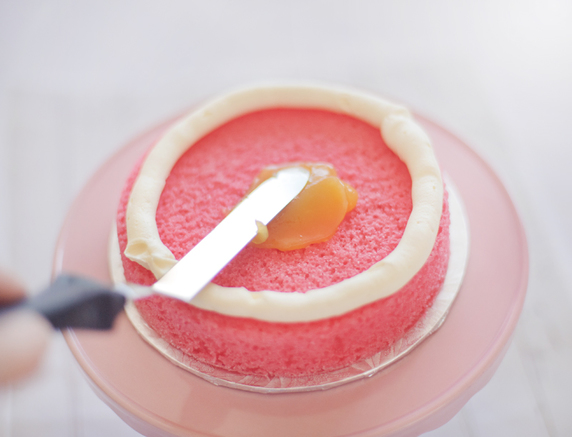
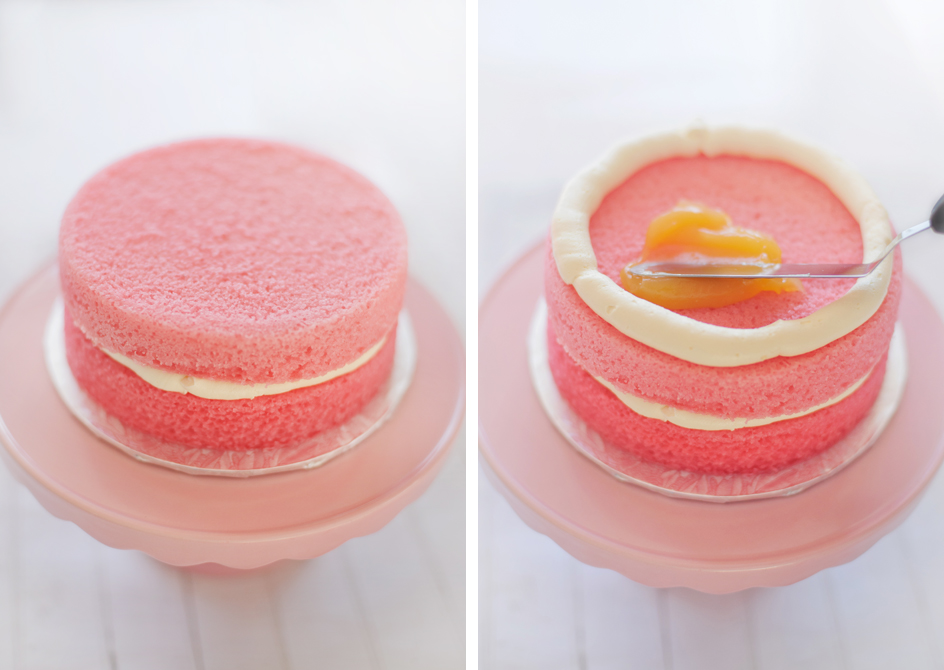
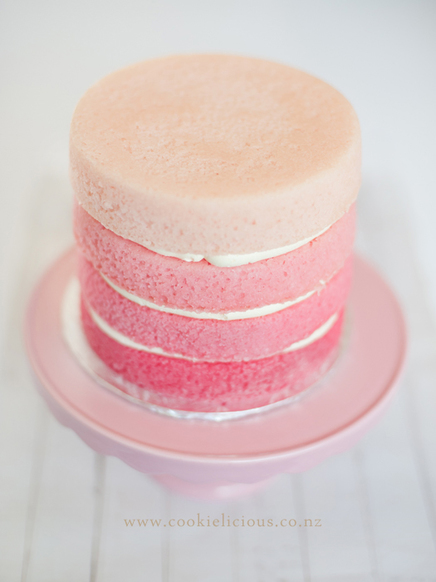
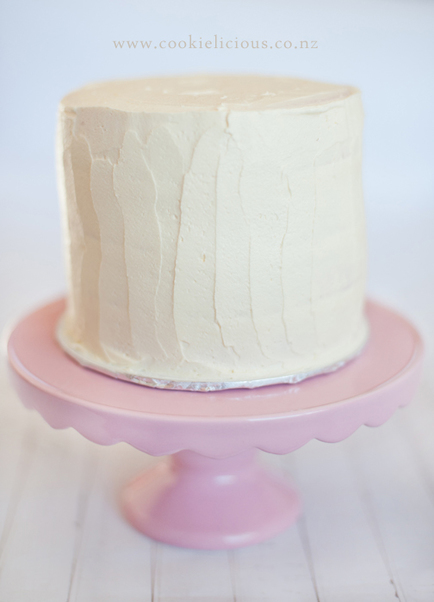
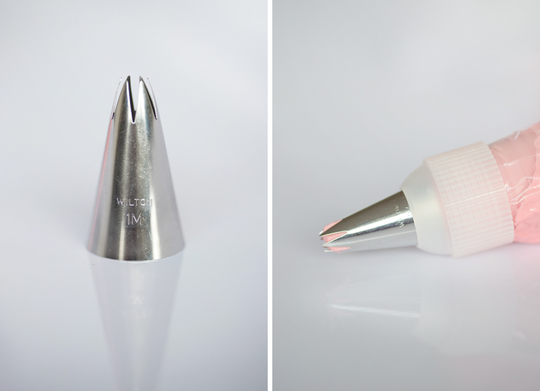
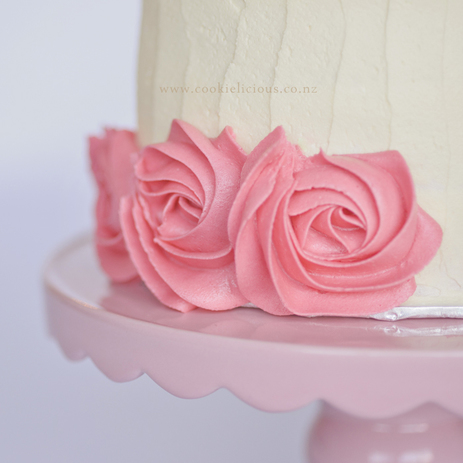
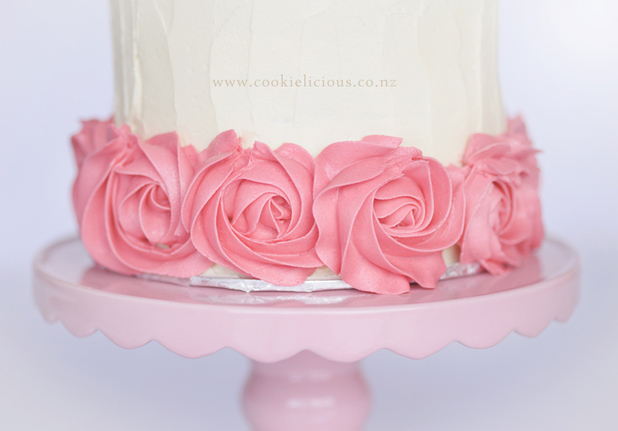
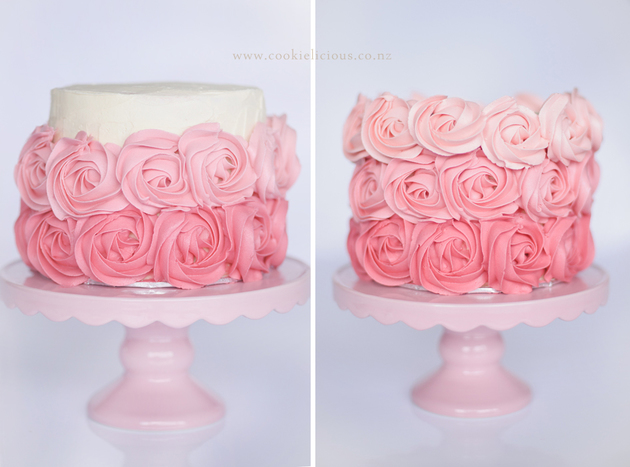
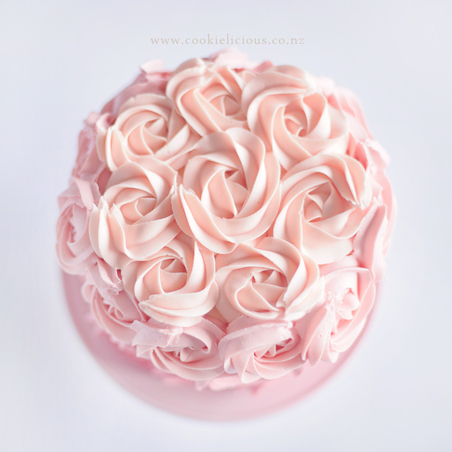
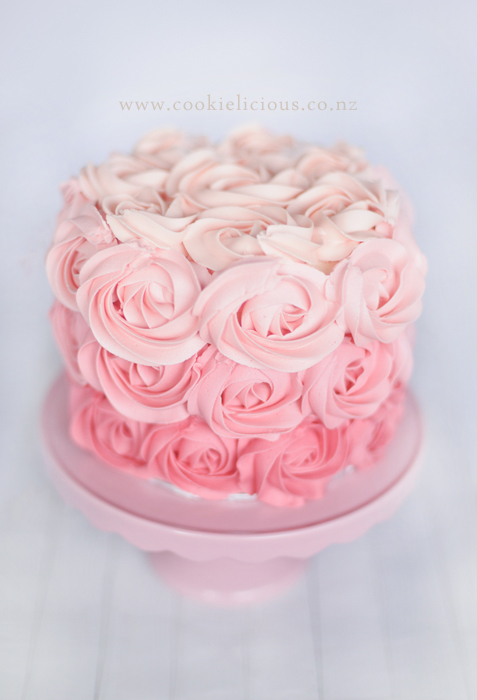
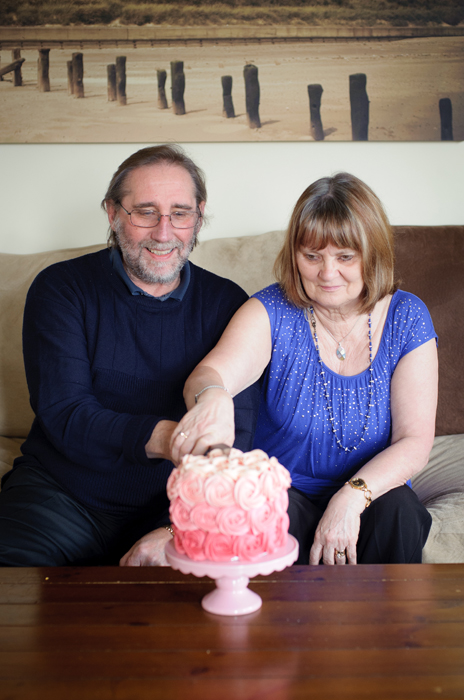
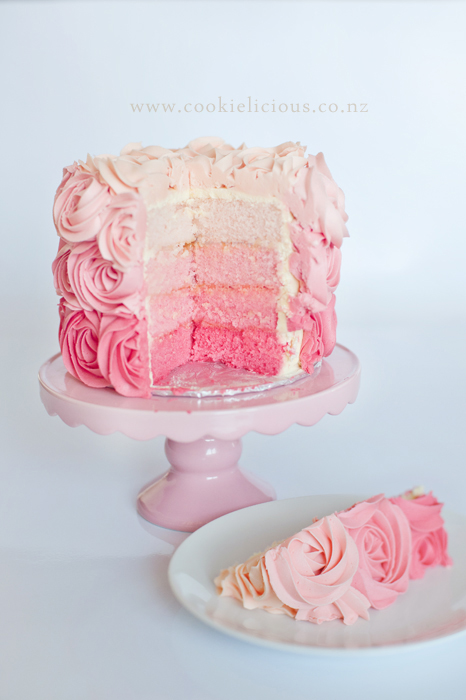
For the past few weeks we have planned to make a special birthday cake to celebrate my mother in law and father in law's birthday, their birthday is only a couple of days apart from each other so we were planning to make a cake to celebrate it. But of course we didn't count on the fact that I got sick the week of their birthday and then my son got sick as well after me. So the celebration got a little bit delayed...but the most important thing is that we get to celebrate anyway :) We had planned to do an ombre rosette cake and here is our finished cake And we'll give you the step by step process just in case you want to try and make it too. Its not too hard to make, just slightly time consuming :) You can use any basic vanilla cake recipe, the first thing we do is divide the cake batter into four bowls and each dyed (coloured by using a gel food colouring) into a progressively darker colour. We wanted a pink rosette for the cake so we used Wilton Rose Pink gel colour. Put each batter into a 6" cake pan and bake according to the instruction from the recipe you use. We baked ours for approximately 35-40mins (until the toothpick inserted comes out clean when you check the cake). We also use the 'cake strip method' to make sure the finished cake is flat. This trick is used to prevent a 'dome' on top of the cake so that you don't have to level the cake after baking. I put the link there in case you want to check out the trick ;-) Here is the cakes in each colours, perfectly flat and ready to be layered up! Okay so the next thing to do is to stack up each layer. We start with the darkest pink and we used a lemon curd filling to put in between each layer. We also put a bit of the buttercream icing on the edge of the cake to prevent the filling to bleed out into the buttercream frosting. Then put the next layer on top and keep stacking each cake layer from the darkest to the lightest colour When you have finished stacking them up, it should look like this :) Then we cover the cake with buttercream icing, we just did a crumb coating because we will be putting a lot of rosette all around it so we don't want the coating to be too thick. Then the fun part begins! It is now time to cover the cake with buttercream roses. We used the 1M piping tips to create the roses. Start at the bottom of the cake with the darkest pink colour. The same process is used when preparing the icing, do the darkest colour first and progressively lighten it by adding more buttercream. Remember when decorating that the colours will intensify after a few hours. So if its not the perfect shade when you mix it - walk away and leave it alone for a few hours and let it meld :) Oh and just to be on a safe side i woulds recommend practicing the rose swirl on baking paper before doing the roses on the cake itself. As you get more confident on making the rosette you can continue along the bottom of the cake until it covers the whole bottom circle. Continue to do the middle and top layer of rosette with a lighter pink colour icing. When you have finished piping the rosette all around sides then start covering the top of the cake with the lightest pink colour. And that's it, you're done! Taaadaaa! :) Here is the picture of the cake being cut by two very happy recipients, my mother & father in laws :) And this is what the inside of the cake looks like after being cut :) Hope everyone is having a restful weekend, specially those who had been unwell like our family :)
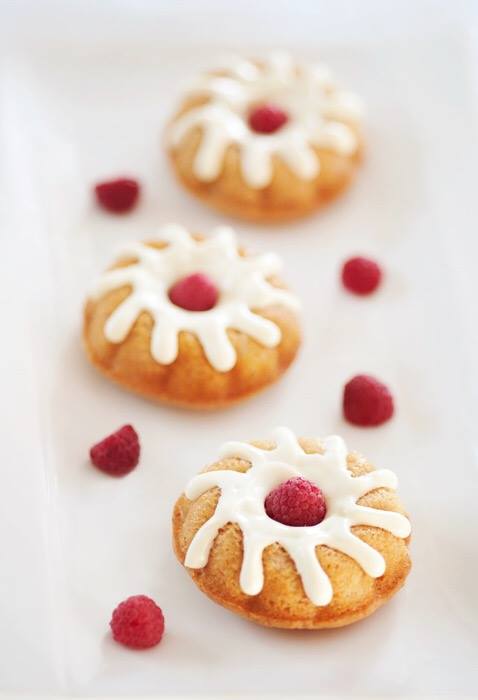
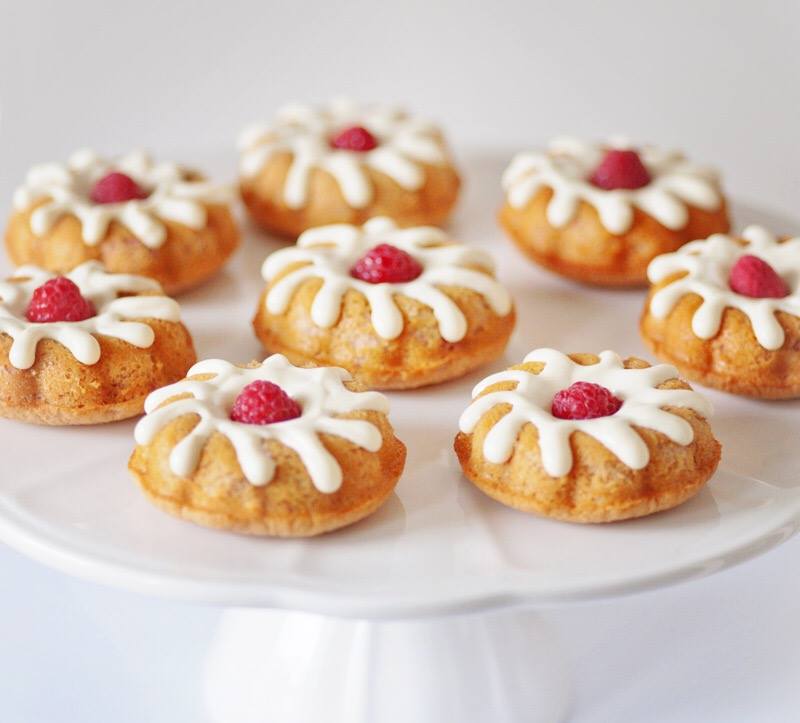
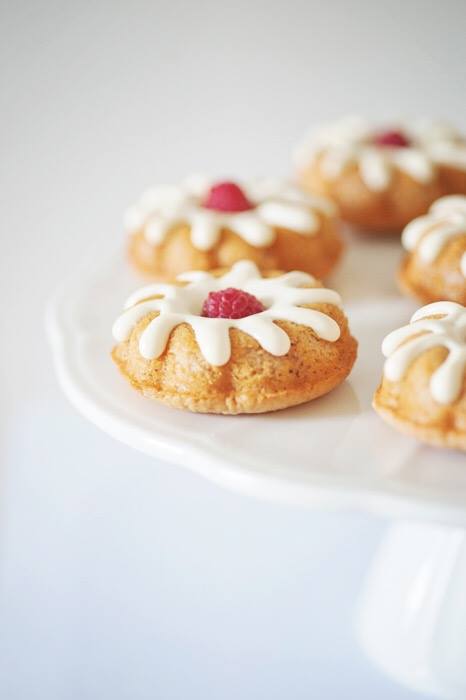
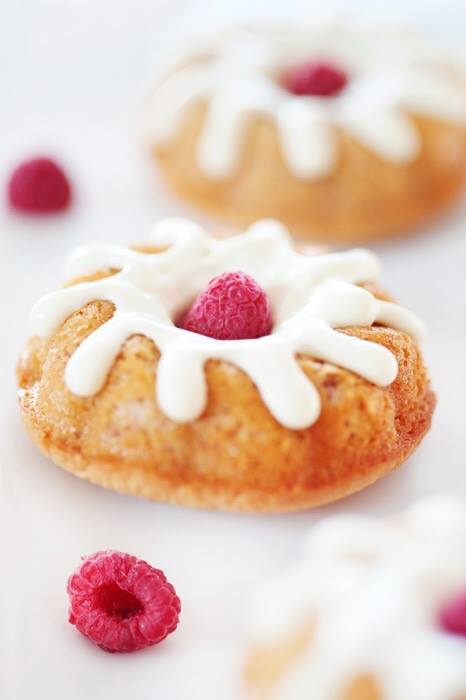
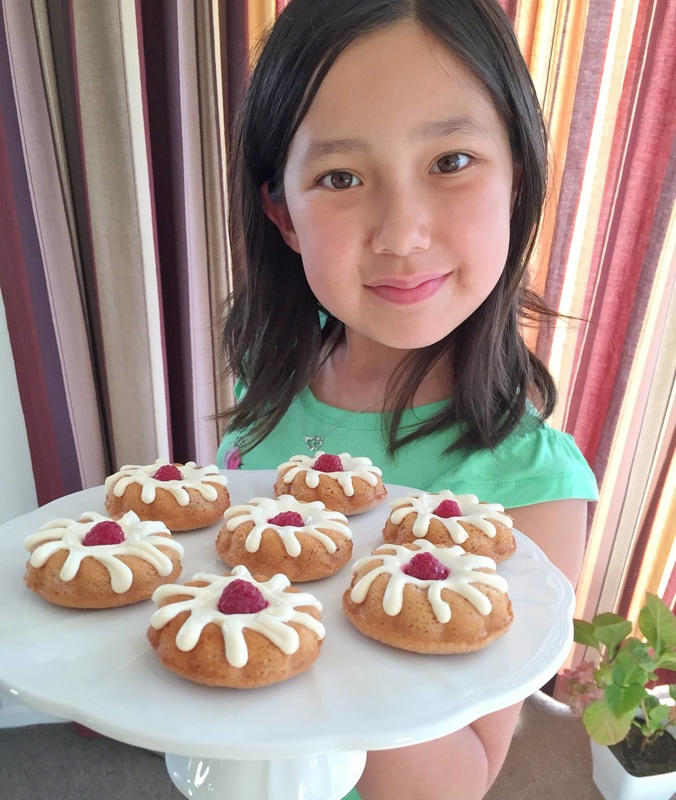
We spotted a really yummy recipe for a raspberry bundt cakes and on top of that, it has a cream cheese glaze which is the type of the icing that i have always wanted to learn how to make. After trying out the recipe, the raspberry bundt cake was delicious and so moist. However the cream cheese glaze did not turn out how we want it to, once again it was too runny and too yellow. We haven't had much luck with cream cheese icing so far. I had to send my hubby out to the store to get white food colouring so that we can tone down the yellow colour on the cream cheese icing. But all in all (apart from the icing drama) the bundt cake was delish....we might try making it again once we get to know how to make a good cream cheese icing :) Here is what they looked like... Here is a close-up of the cake :) And last but not least...my daughter presenting the result, she is a very lovely assistant ;-)
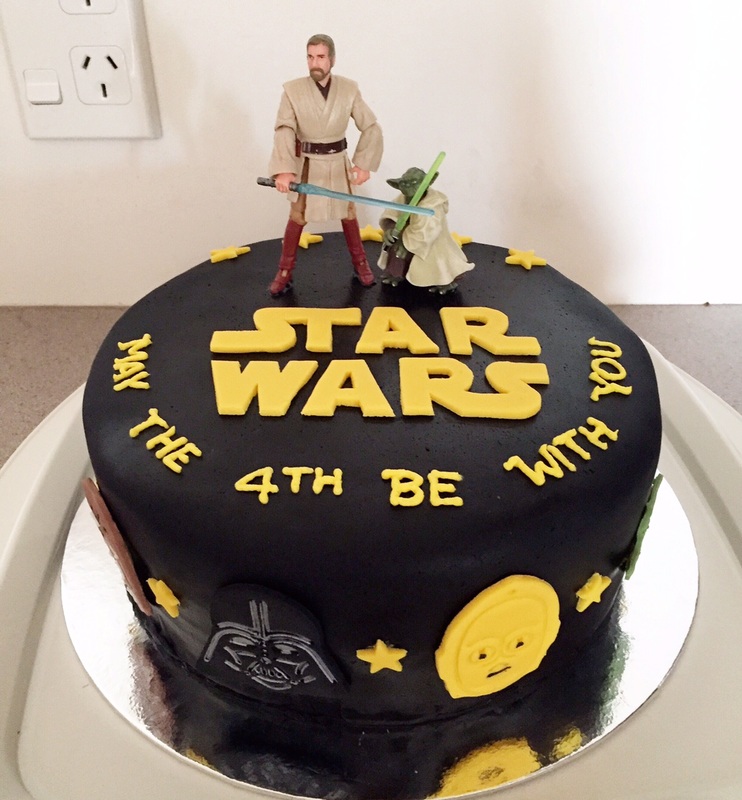
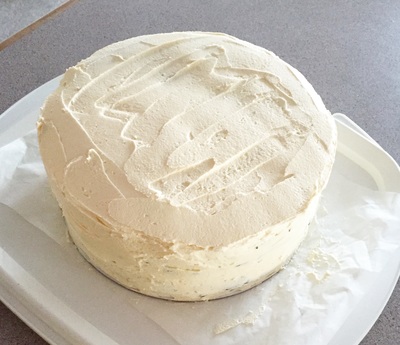
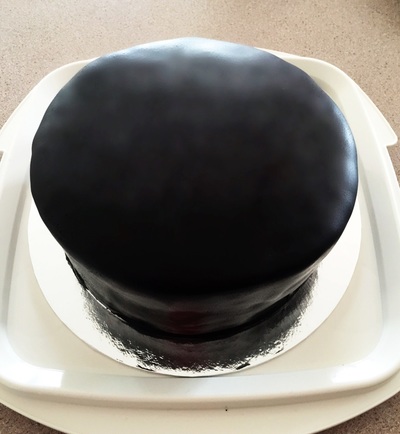
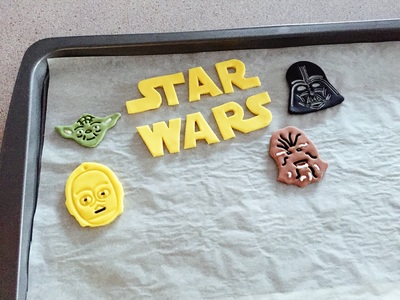
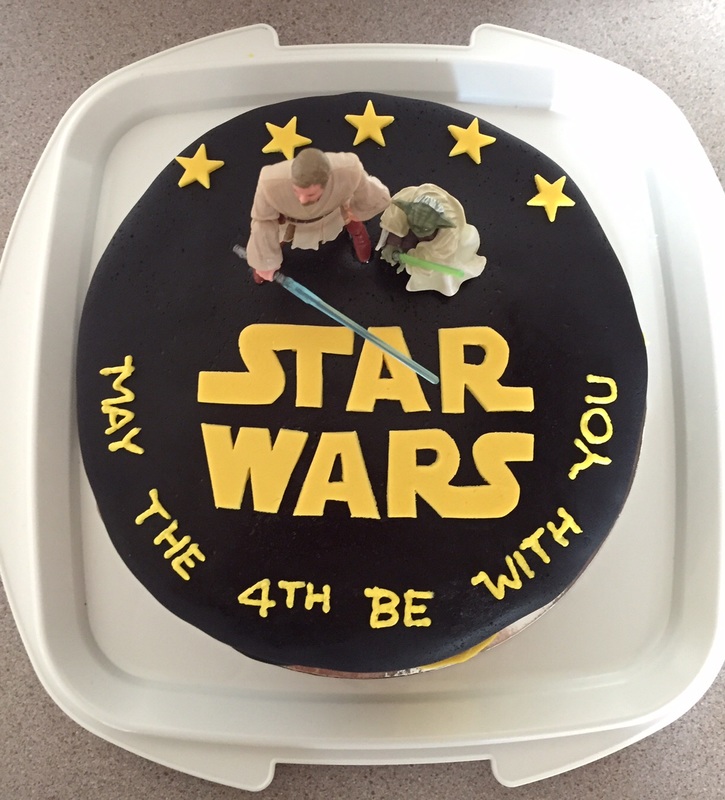
My dear hubby's birthday happens to falls on International Star Wars Day, yep you guessed it... the 4th May. And seeing that he is a fan of Star Wars we decided to surprise him with a Star Wars cake :) Originally we were going to try and make a Yoda cake topper, but it was wayyy too complicated for a newbie like us, so we decided we will get a little figurine as a cake topper. We found one that is the perfect size and as a bonus Yoda also accompanied by another Jedi, the famous Obi-Wan Kenobi. Here is the final result, and we are pleased to say that my dear hubby is really happy to get such an awesome cake for his special day :) So as usual we made the chocolate cake and cover it with buttercream icing. Then covered it with black fondant. We also made some Star Wars characters out of fondant to decorate the side of the cake. We used Start Wars fondant plunger cutter for that. I have also prepared a cut out the Star Wars logo, i cut this free hand with a template that I printed off. We also use fondant to make the little yellow stars to decorate all around the cake. I used the left over butter cream to write "May the 4th be with you" on top of the cake. I used a yellow gel food colouring to match the yellow colour from the Star Wars logo. Then the last step was putting all of the pre-prepared fondant decorations all around the cake, we used a little bit of water to stick them al around the cake, the water acts just like a glue with the fondant. Then the last step is to put the little figurine on top of the cake. To ensure that they will stand-up nicely without falling i had to use a bit of royal icing as a glue to stick them on. Because of the weight of the figurine water is not strong enough to act as a glue in this case. Here is the view from the top as the finished result :) So there you go, it was not too hard to make....just a few prepations in advance with the fondant decorations to make sure it was ready to go when the cake was ready. Hope you like it and may the force be with you, always ;-)
|
Archives
December 2016
Categories |
Our Blog
|
Blogs i love
|
|













 RSS Feed