|
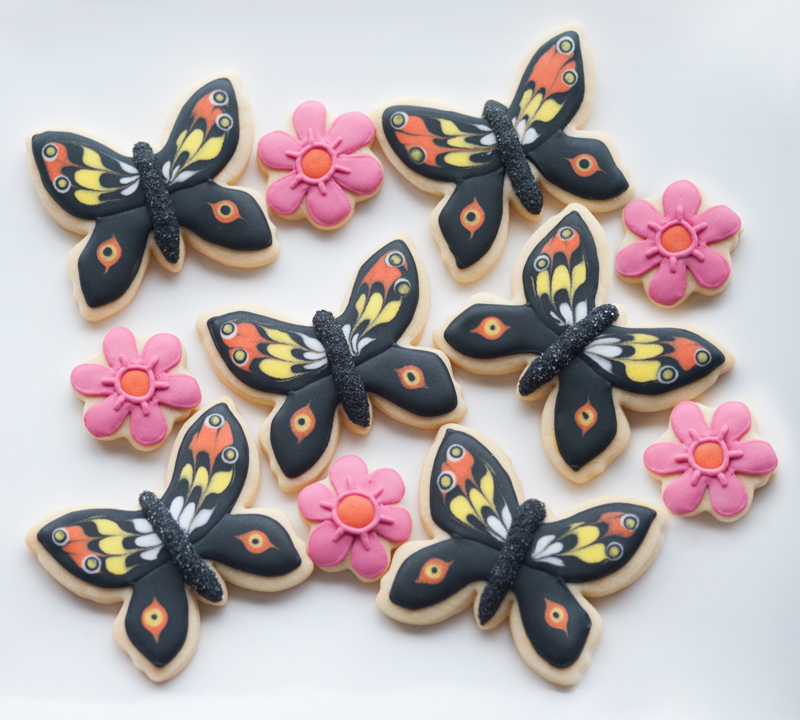
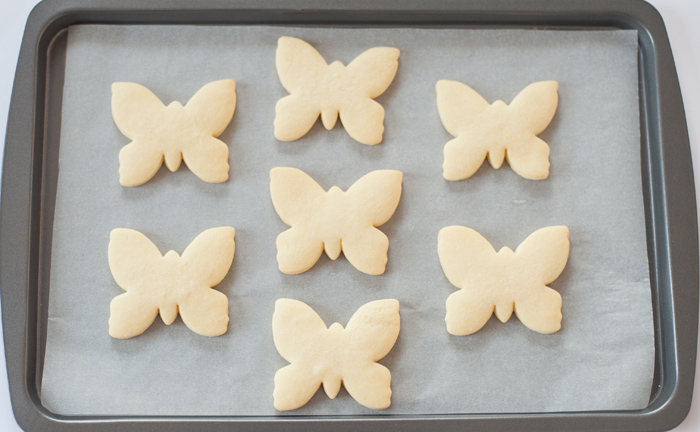
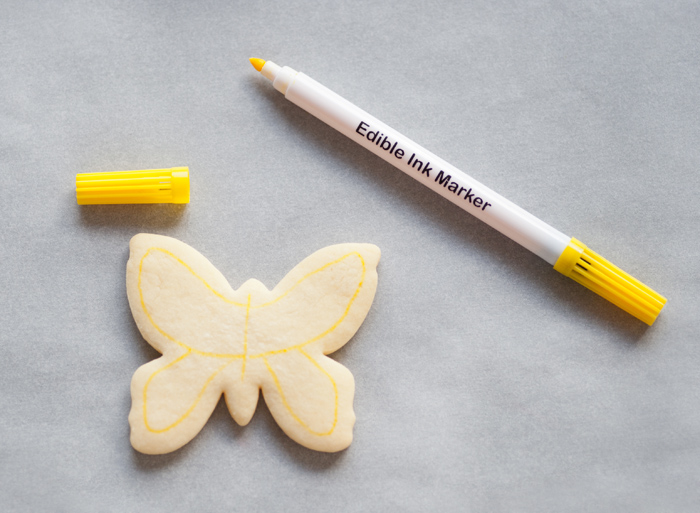
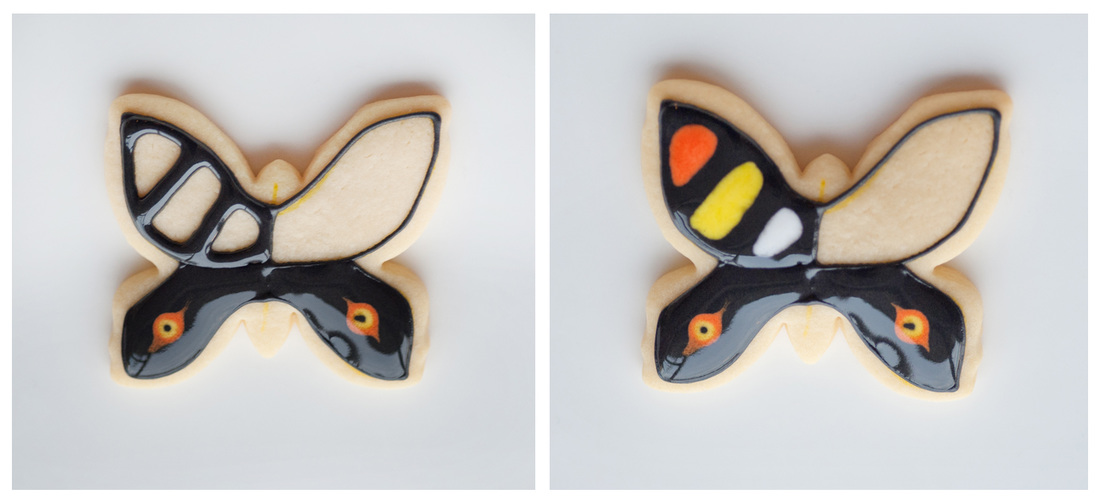
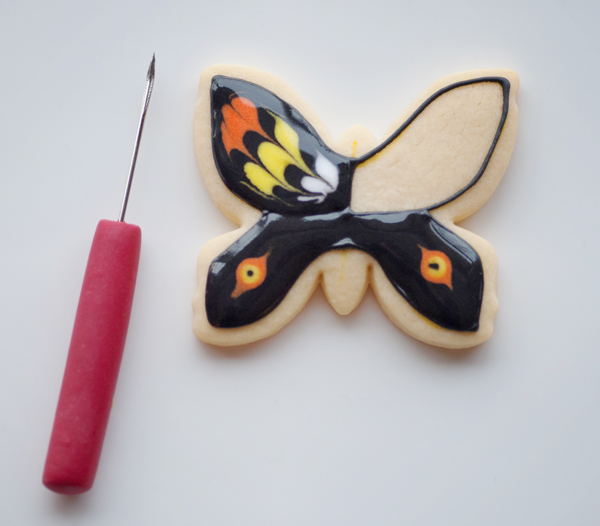
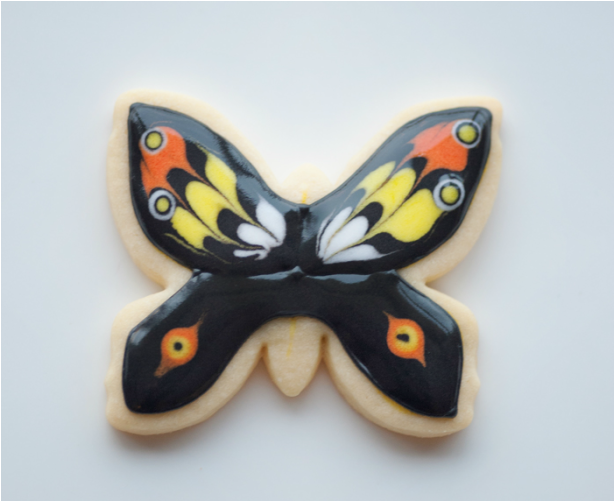
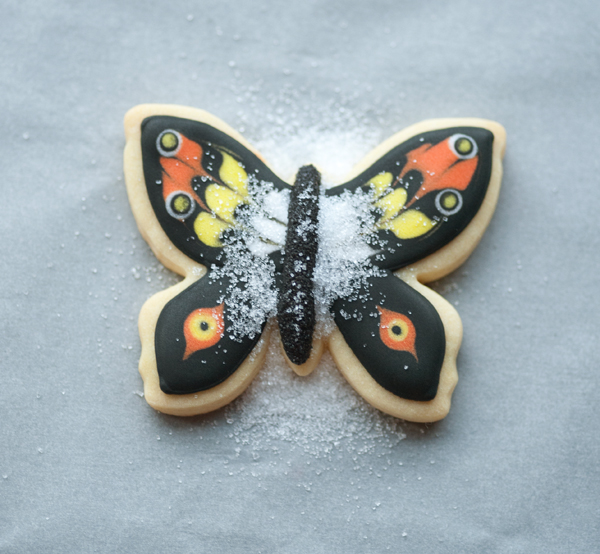
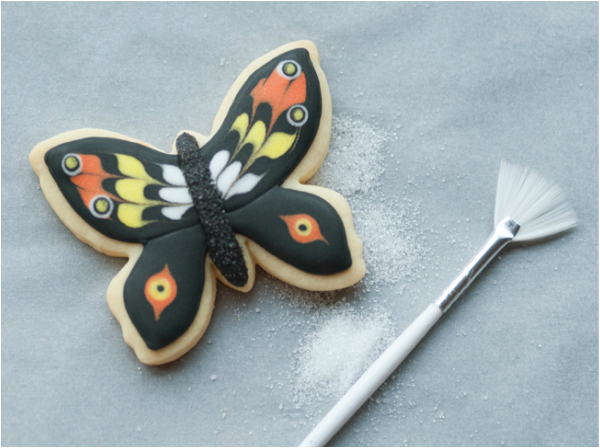
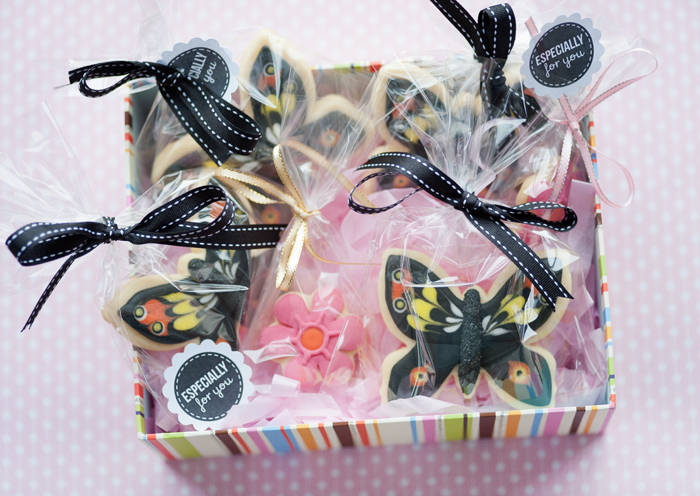
Because of our new found love in cookie decorating, my thoughtful father in law have recently given us a butterfly cookie cutter, so we thought this is a perfect opportunity to practice our marbling technique or some people refer to it as ' wet on wet' technique :) Here is what our butterfly cookie platter looks like....I love how they look so colourful! :) Our cookie making schedule usually takes a few days, the first day is for baking, the second day making up a batch of icing and do the first step of decorating, then the day after that for the details. For this butterflies, we did it reasonably quickly because its using the wet on wet technique we dont have to wait until the icing dries, we actually did the marbling technique while the icing is still wet. Here are the cookies fresh out of the oven First thing we did was mark the areas we want to fill in with edible food marker, this will make it easier for us to fill each wings :) As usual we outline the cookie with piping icing then we started with the bottom left wing. Fill with black flooding icing, however before you start flooding the cookie make sure you have all the icing colours you need in flooding consistency for the next step, which is when the wet on wet technique start. While the black icing is still wet, pipe a dot in the middle of the wing with orange flood consistency icing, then grab your scribing tool or a toothpick if you don't have a scribe tool. With a toothpick/scribe tool, pull the orange icing upwards and also pull it downwards to create sort of like an eye shape, then straight away drop another yellow dot (also in flooding consistency) on top of the orange colour while the icing is still wet. Then again drop a small black icing dot on top of the yellow while the icing is still wet. repeat the same steps for the other side of the wing. Next we work on the top wings. Fill the outer sides of the top wing with black icing as outlined in the picture below. Then while the icing is still wet fill the wing areas with white, yellow & orange flood icing. The picture below should give you a better idea of what we did :) The next step is where the marbling technique comes to play. While the icing is still wet take a toothpick or a scribe tool and drag the icing through the wings (from the top corner of the wings into the middle of the butterfly) and repeat the steps 3 times until you see the wing pattern emerging. Its really hard to explain this, i think its easier to understand when you watch it on video, Here is a video of Marian from Sweetopia explaining how to do the marbling technique. Repeat the same steps on the other side of the wings Then its time to wait until the icing is dry, you can wait for a few hours but we prefer to let it dry overnight. After the icing is dry, pipe the middle body of the butterfly with #5 piping tips and black piping consistency icing. Then while the icing is still wet sprinkle some sanding sugar on top to give it a more sparkly look. With a brush gently brush off the excess sugar from the wings and body. That's it, all done :) This is probably the fastest cookie we made because we don't have to wait around for long as we do most of the decorating process while the icing was still wet. Here is the gift pack ready to go Hope everyone is having a great day ;-)
1 Comment
|
About MeCookie Artist & Content Creator, who loves spreading the cookie love. Archives
February 2020
Categories
All
|
Our Blog
|
Blogs i love
|
|





 RSS Feed