|
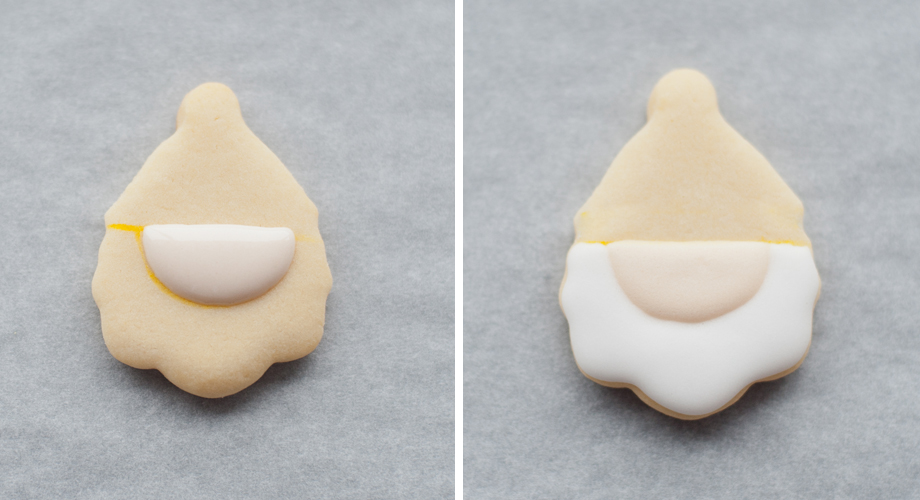
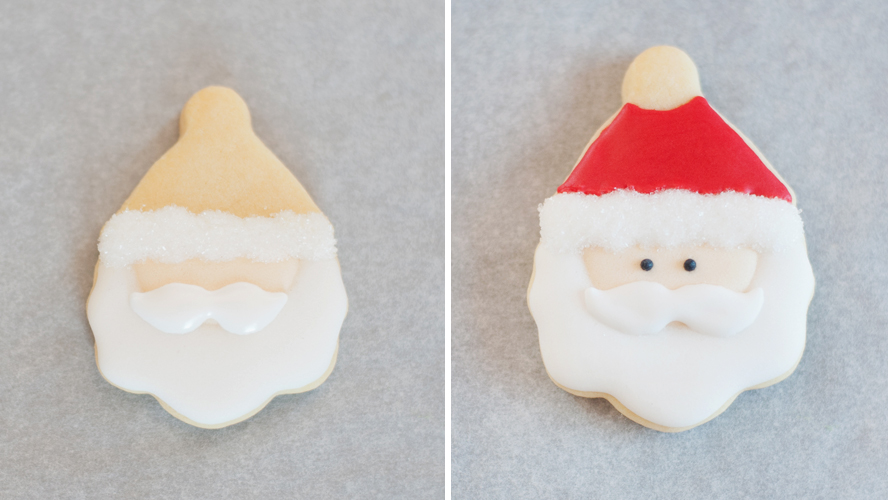
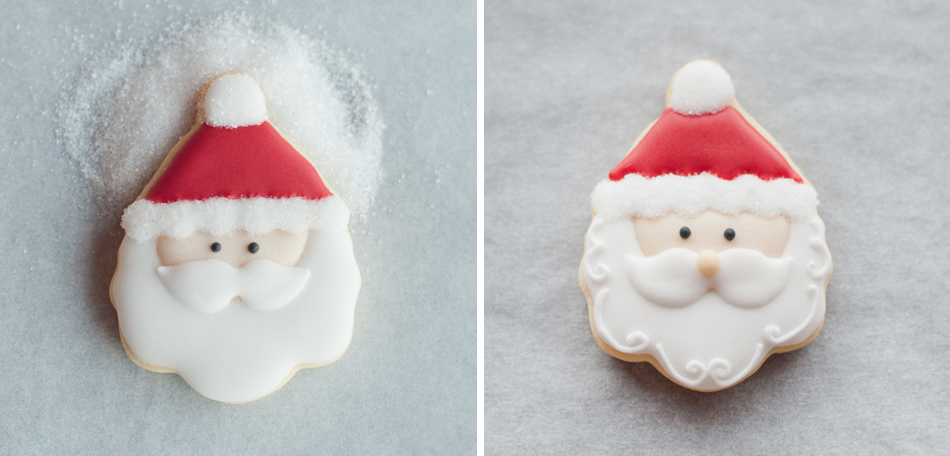
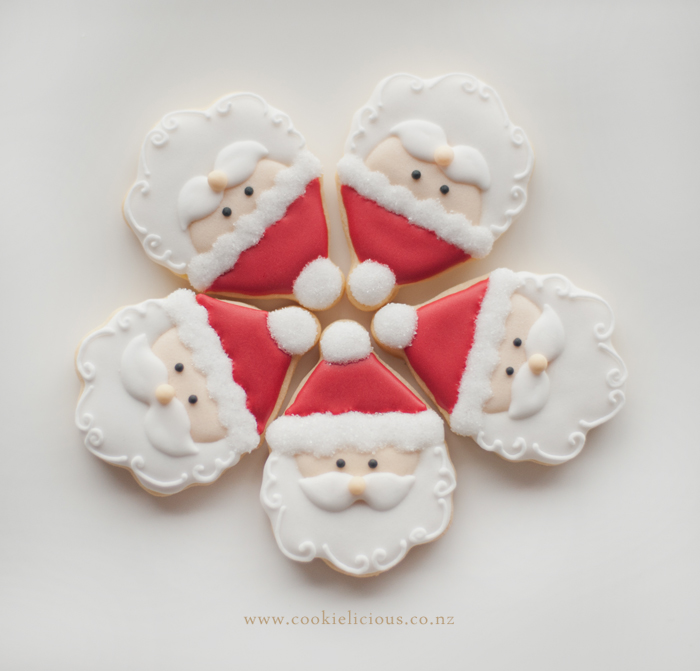
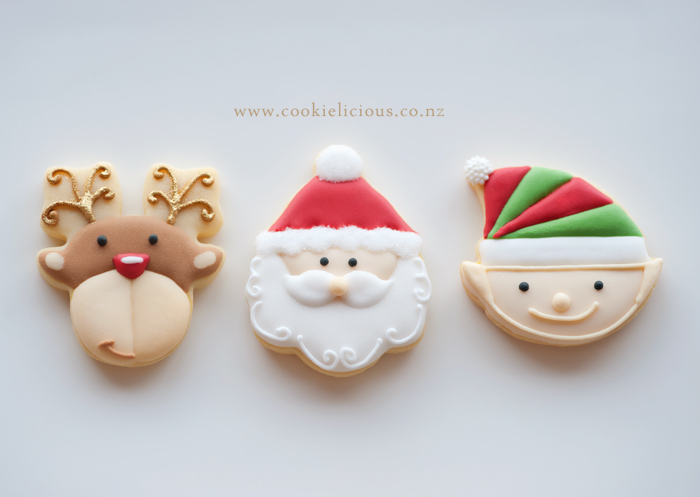
I've decided to make little mini cookies to share with friends and workmates this Christmas :) These are a set of traditional Christmas cookies, we have included Santa, Rudolph, Santa's Elf and some Christmas trees :) I got a chance to take step by step photos on how to make Santa, so will share how to him below :) Note to self: make the elf ears more pointy when we make these little dudes again in the future :P Start with Santa face, we mark the area with an edible marker and fill with skin colour icing. Wait for a bit until its dry and add Santa's beard with white icing. Let it dry. The next step we add the rim of Santa's hat, use white icing and while the icing is till wet sprinkle some white sanding sugar and let it dry. While we are waiting for it to dry add Santa's mustache with white icing in the middle of Santa's face (see picture below for a visual). After the white rim of Santa's hat is dry add the hat with red icing and let it dry. Then pipe 2 black dots in Santa's face to create the eyes. After the red icing is dry, we add the white pom-poms on top of Santa's hat and just like the rim of Santa's hat, sprinkle with white sanding sugar. Let it dry. Lastly, add Santa's nose and with an outline consistency icing add the swirls in Santa's beard That's all you do to make Santa cookies. Here are a few of the Santa cookies together :) Here are the three characters together, Santa, Rudolph & Santa's Elf :) Here is a closer look at the trees and the Merry Christmas plaque :) There you go, hope that helps you and encourages you to try making a few Christmas cookies. Its not long to go now....only four more sleeps to Santa!! :)
1 Comment
Amy Deckman
1/7/2018 03:30:16 am
I'm pretty sure I watched a youtube video showing these gorgeous cookies come to life. Thank you so much for sharing - I find all of your cookie artwork inspiring!
Reply
Leave a Reply. |
About MeCookie Artist & Content Creator, who loves spreading the cookie love. Archives
February 2020
Categories
All
|
Our Blog
|
Blogs i love
|
|






 RSS Feed