|
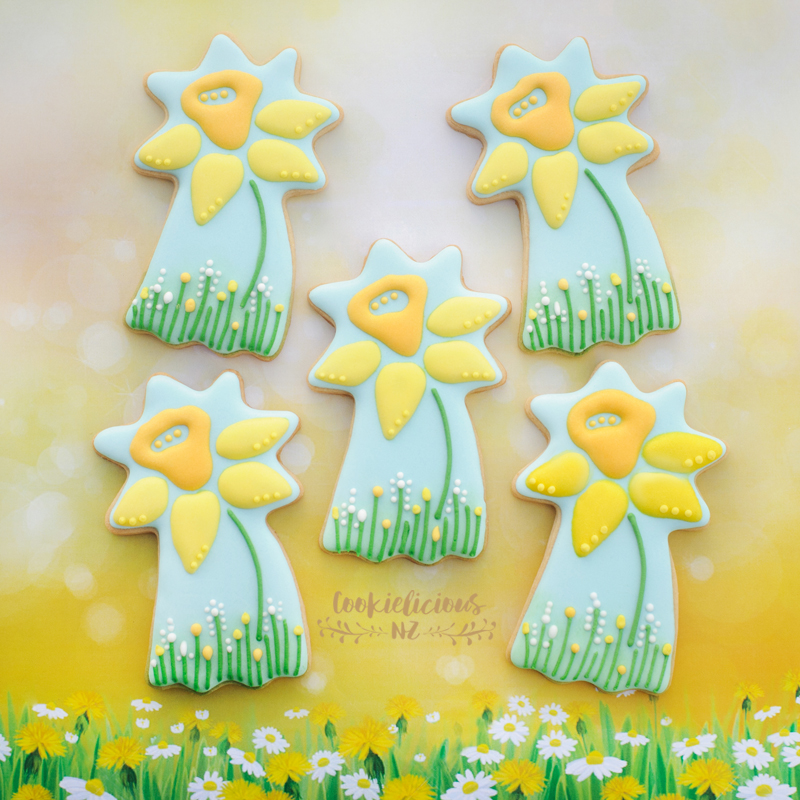
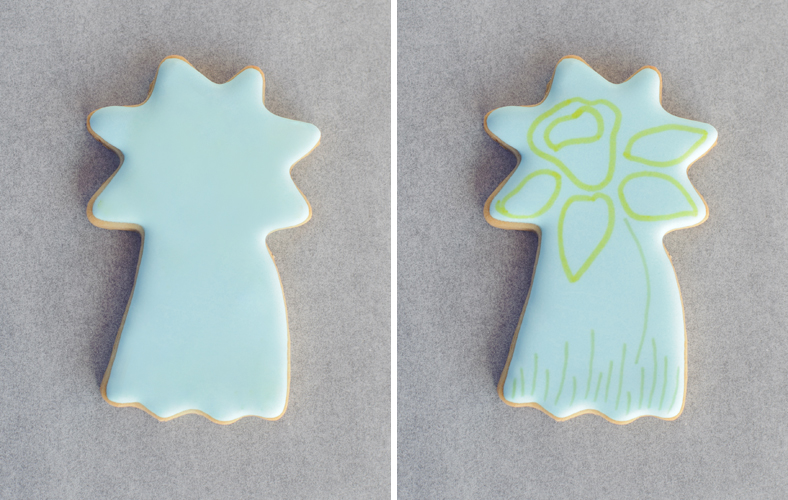
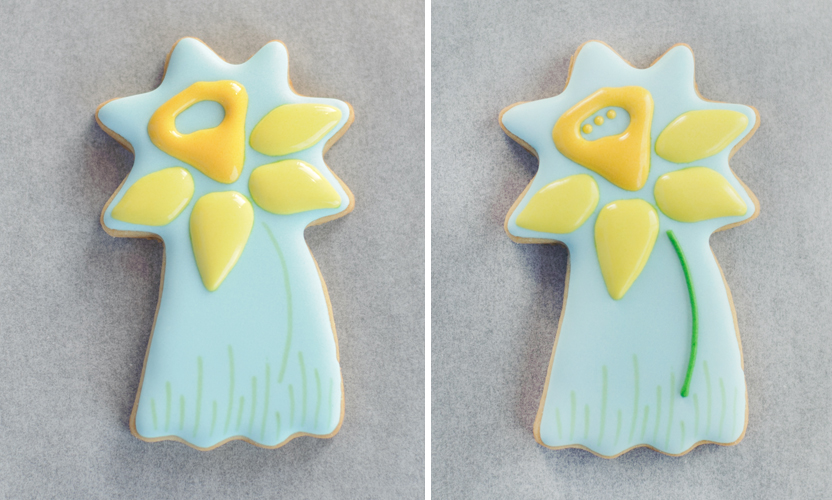
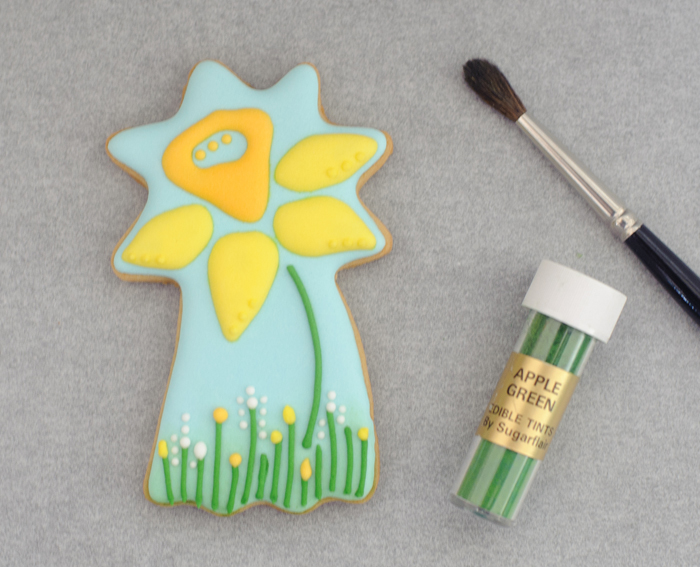
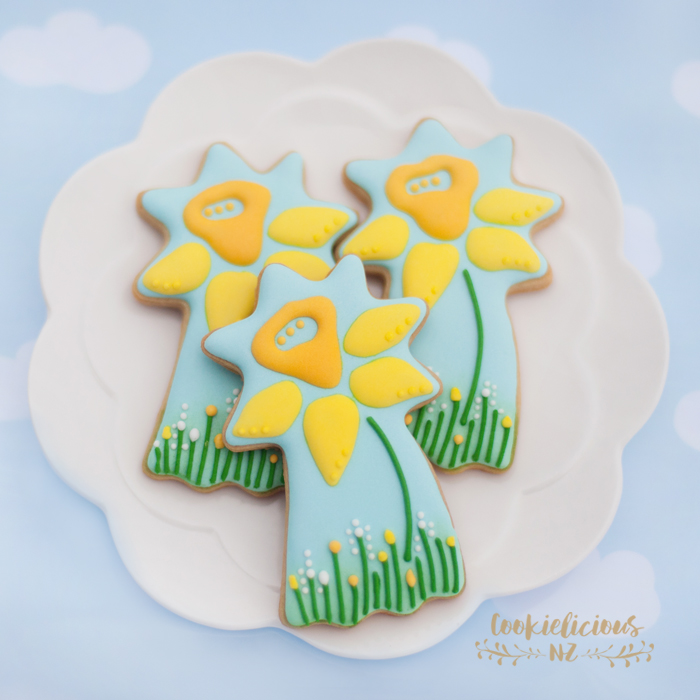
So happy that daylight savings have started and we can officially say that Spring is here :) To celebrate the arrival of Spring we have created daffodil cookies and we will share how to create these gorgeous flowers, using an alternative cutter as we dont have an actual daffodil cookie cutter. Here are the finished daffodil cookies :) Because we don't have a daffodil cutter we used a shooting star cutter to create the cookies :) To begin decorating the daffodil cookies, here is the step by step with picture tutorial" Step 1: Start with flooding the entire cookie with light blue icing in medium consistency, let it dry. Step 2: Mark the areas for the daffodils with edible food marker. Step 3: Use medium consistency yellow icing and fill the petals of the daffodils, then fill the middle part of the daffodil with an orange colour icing and let it dry. Step 4: Next, we use a stiff consistency icing to create the green stem and the grass and let it dry. Step 5: Last step, once the green icing is dry, add the little flowers all around the grass and dust a little bit of green lustre dust around the grass area to give some subtle shading and a bit more dimension between the blue sky and the grass area - see picture below. Here is the picture of the finished cookie in a platter :) Hope you enjoyed the tutorial, Happy Spring everyone :)
1 Comment
Emily Rosenzweig
2/3/2021 08:27:36 am
Hi I love how you decorate your cookies they are beautiful. Thank you so much for sharing this website and your YouTube channel with me. I am definitely going to give you a thumbs up and subscribe to your channel.
Reply
Leave a Reply. |
About MeCookie Artist & Content Creator, who loves spreading the cookie love. Archives
February 2020
Categories
All
|
Our Blog
|
Blogs i love
|
|




 RSS Feed