|
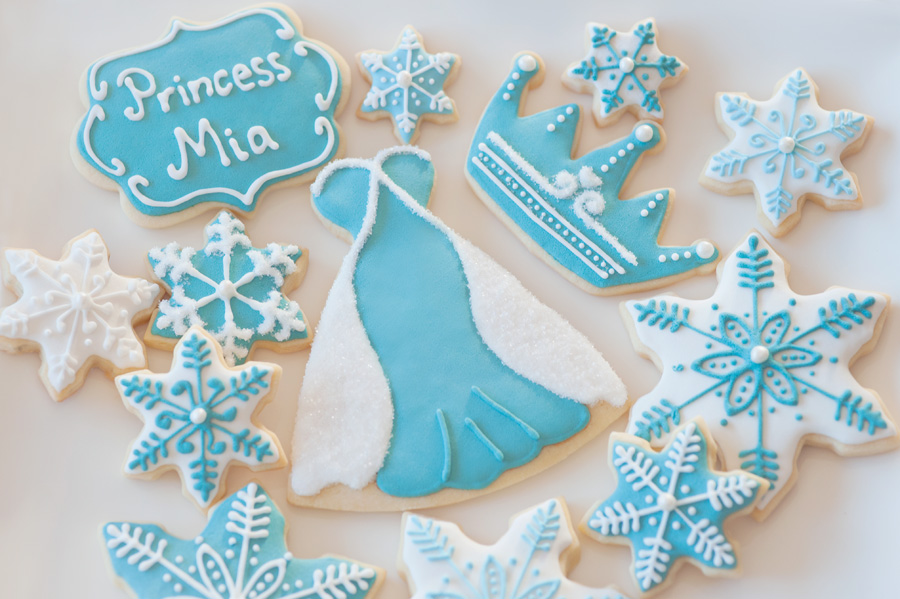
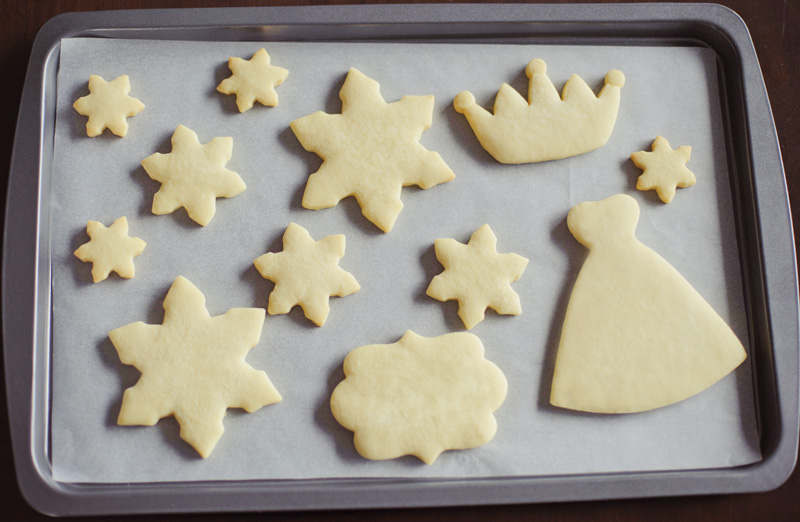
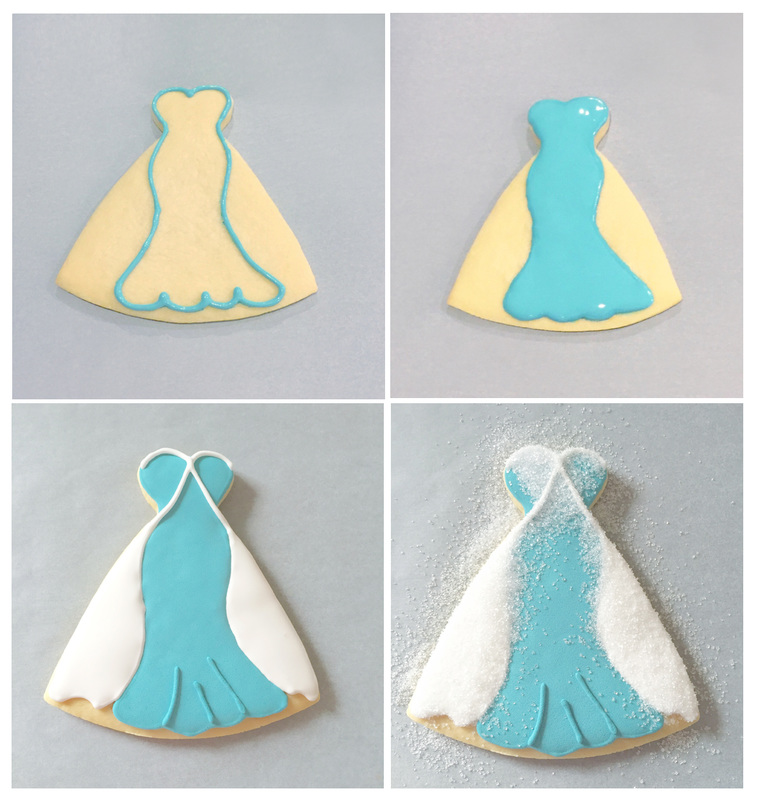
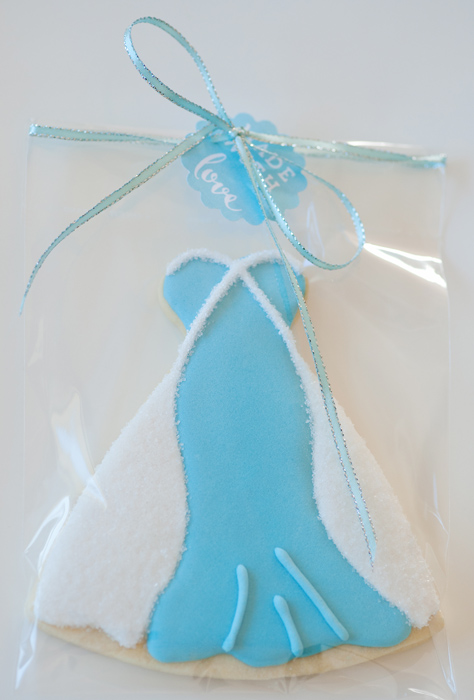
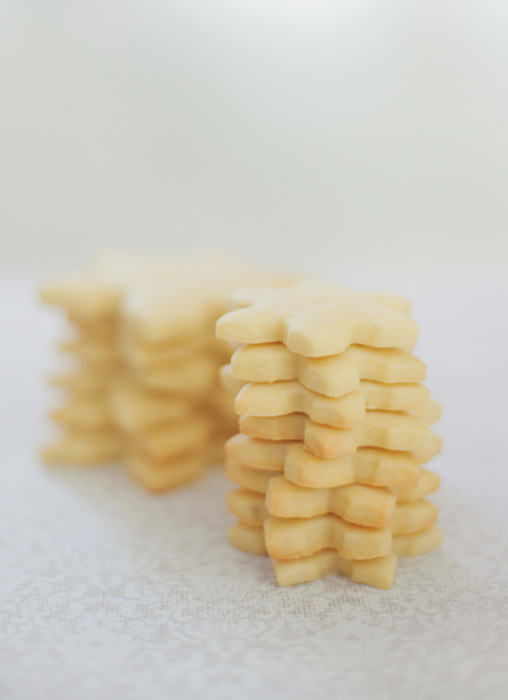
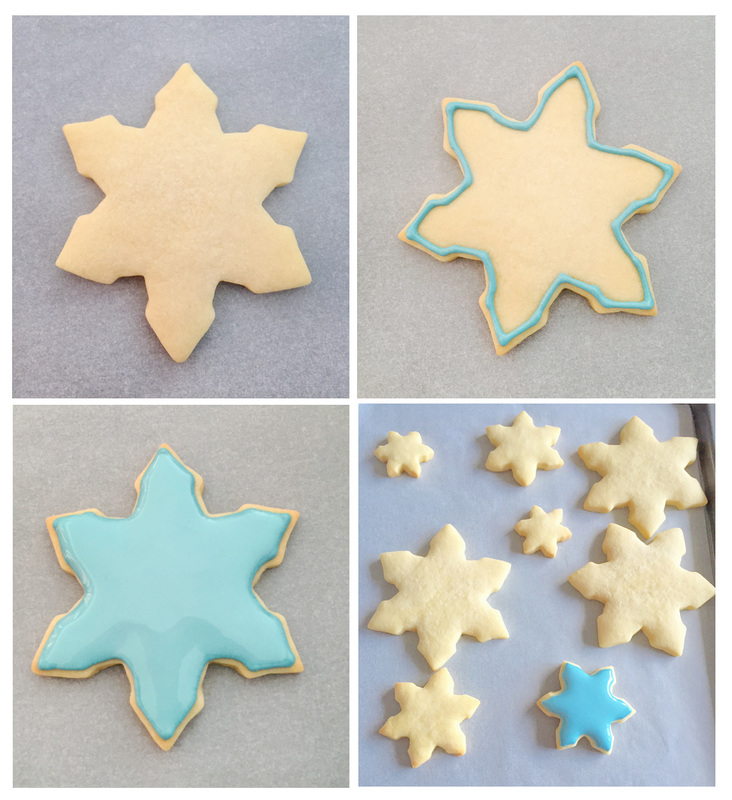
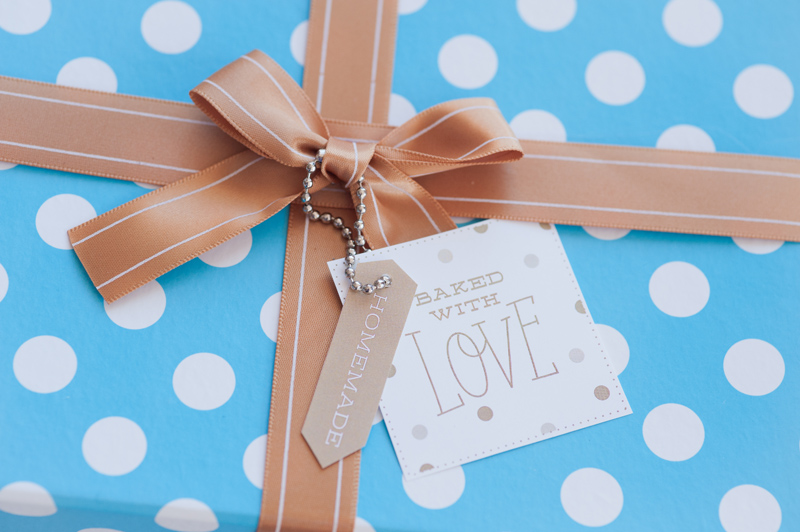
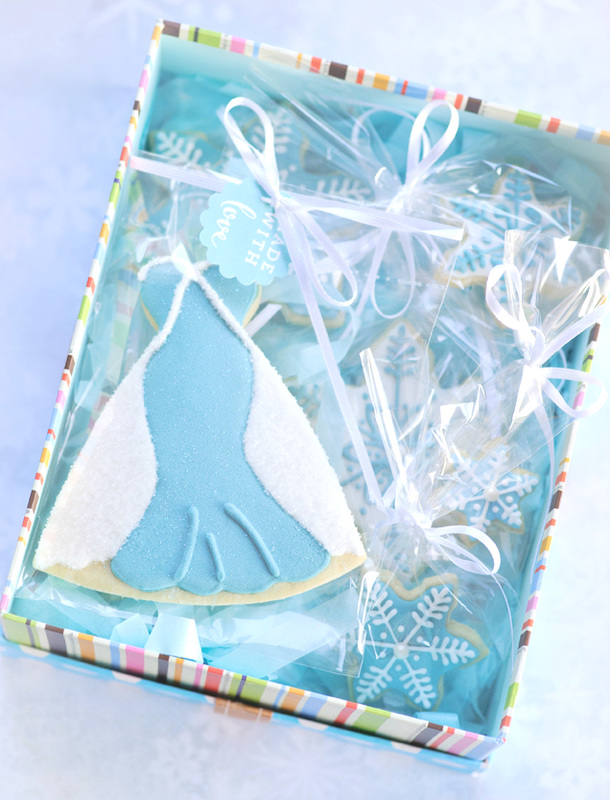
It was my niece's birthday last week, and just like any little girl we know she loves the movie Frozen and Princess Elsa. So we decided to make her a special birthday package filled with Frozen cookies. Well unfortunately, I don't own a princess dress cookie cutter, but we wont let that stop us...so I decided we can make a dress template and cut out the cookie dough free-hand. I do however own the snowflakes cookie cutter which makes life a bit easier. I saw a Princess Elsa dress cookies from one of my Pinterest cookie inspiration and I knew as soon as i saw it that i want to make one just like that. I will go through some of the steps that i did to make it, however just to show you what we had in mind, here is what the end result looks like... I also have another lovely friend who happened to have a little girl that is a huge Frozen fan (i think almost every little girls are to be honest!), and because i know that if i make one batch of cookies, i will have quite a bit of cookie dough to work with we decided to make a another set of Frozen cookies for her too. Both of these girls lives overseas so we are sending these cookies away on a long trip :) So now lets talk about the baking and decorating process.... We started with our favorite sugar cookies recipe from Sweet Sugar Belle and when we finished making the cookie dough we cut them out to to size using the template that i made for the dress and using snowflake cookie cutter. While we are waiting for the cookies to cool off, we prepared the royal icing to decorate the cookies. Because meringue powder is soo expensive in this country (NZ), we made our royal icing using egg whites, cream of tartar and icing sugar. When the icing is ready, we separate them into bowls to be mixed with gel food colouring to create the colours we need to decorate the cookies. In this project we only need 2 colours, blue and white. Then the fun part begins! With Princess Elsa's dress we started with outlining the middle bodice of her dress with blue icing. We used tip#2 and piping consistency for outlining, then fill it up with flood icing. Let it dry for 4-6 hours. Because we did it at night we just leave the icing to dry overnight. After the blue icing is completely dry, add a few little lines at bottom of the dress to give it some dimension, just to make it looks like a dress has a little bit of a ruffle at the bottom. Next step is to outline the white cape with tip#2 again and then fill it up with white flooding icing. While the white icing is still a bit wet, we sprinkle it with white sanding sugar to give the look of snow and add a bit of spakle to the dress. Here is the step by step visual to give you an idea of the work in progress. Then give it a few hours to dry completely. When its all dry and ready to be packaged up we put it inside a clear plastic cellophane, sealed it and put some ribbon to dress it up. I just love pretty packaging :) Then we move on to the snowflakes. Here are the first batch of snowflakes after they have cooled-off To decorate the snowflakes, we used tip#2 again (this is probably out favorite tip for outlining) and use a piping consistency icing to outline the snowflake, then fill it up with flood icing. Let it dry for 4-6 hours. Here is the step by step visual to give you an idea of the work in progress. When all the snowflakes base colour icing are dried, then you can get creative and try out all sort of different snowflake designs to give them a pretty and unique look. You can also mix and match the icing colours. They are really fun to make and they look amazing in a platter. This is what our snowflakes look like in a platter... Here is a closer look at some of them Now these cookies are going to travel a fair bit so i had to make sure that they are well packaged with lots of safety bubblewrap. And a lot of prayers, so that they will arrive safely without any breakages. However this time i remember to take a photo of the packaging before i wrapped them for shipping. If i didn't have to ship it overseas i would love to have given the package to them just like this... Unfortunately seeing that they will have to travel a long way, we had to choose safety over pretty packaging :)
2 Comments
Sherrilyn van Asch
3/9/2015 05:31:12 pm
I'm fundraising for my son who has been selected for the NZ gymnastics team to compete in USA in December. Can we sell your cookies to help us fundraise? Love to hear from you. Sherrilyn
Reply
Natalia
4/9/2015 01:16:33 am
Hi Sherrilyn, will email you and get some details :)
Reply
Leave a Reply. |
About MeCookie Artist & Content Creator, who loves spreading the cookie love. Archives
February 2020
Categories
All
|
Our Blog
|
Blogs i love
|
|









 RSS Feed