
|
Two blog post in one day....i think that is definitely a record for us :) We just wanted to share simple Halloween cookies this time :) 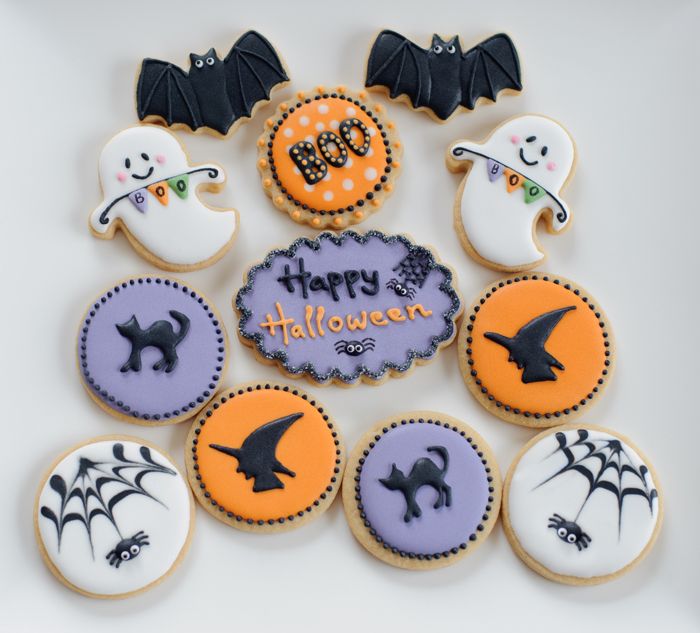 So you've seen the ghost and the bats from our previous blog posts. The ones we have not share are the plain round cookies and the spider webs cookies. The round cookies were very simple, you just need to iced them with any Halloween colour, either orange or purple or even black icing if you want to, then let it dry for a few hours. When they are ready you can attach any royal icing transfer on top as a black silhouette. For these set of cookies, we made a witch silhouette and a black cat silhouette. After the royal icing transfer dries you can then attach them with some royal icing. Then the last step was to pipe the black dots surrounding the cookie :) 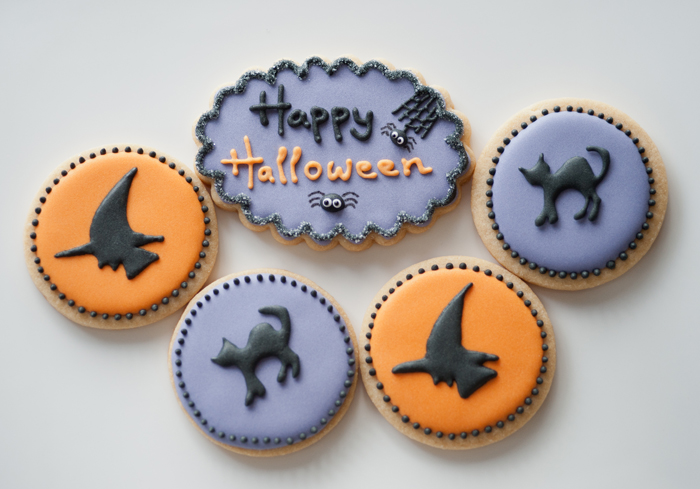 The other set of cookies that we have were the spider web cookies, they were made with "wet on wet technique". We didn't get a chance to take a step by step photos for them, so sorry about that. We simply iced the cookies with royal icing, for ours we choose white & green. Then while the icing is still wet draw either a few full circle or 3 half circles then drag the icing from the outer point into the middle with a toothpick or a scribe tool to create a spider web look. Then let it dry. 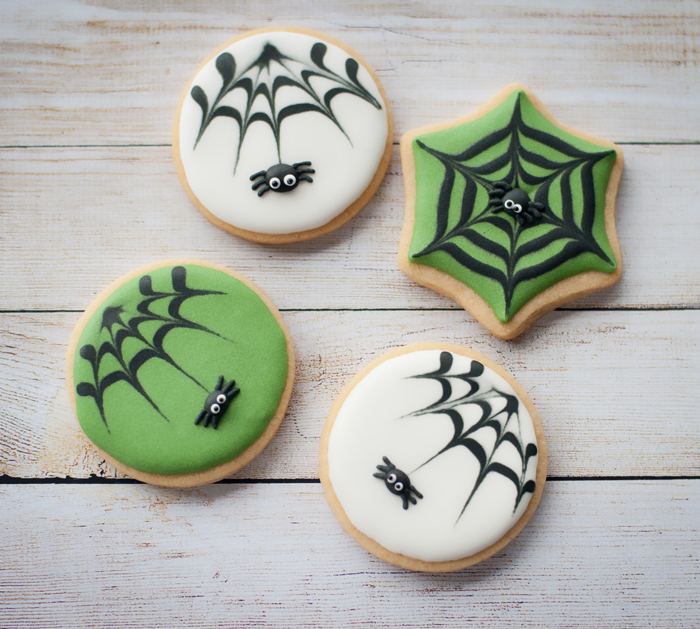 After the base icing colour is dry then add the little spider on top, put a blob of black icing for the body and let it dry for a few minutes and then add the spider legs. We waited a bit longer before putting the eyes on the spider because we want to make extra sure that the black icing were dried completely as we don't want any colour bleeding into the white eyes. 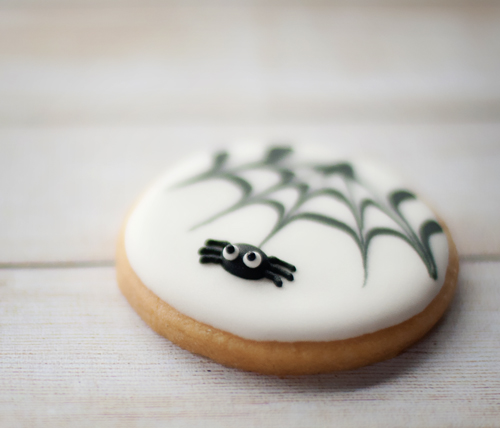 With the green spider webs, we put a few black circle while the icing are still wet and then drag the icing from the middle to the outer part of the cookies with either a toothpick or a scribe tool. 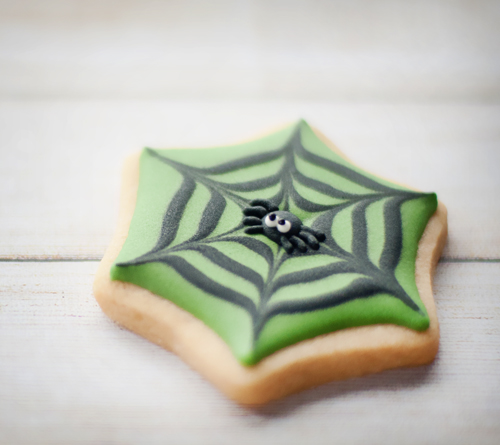 Okay, that was all the Halloween cookies we have today. We are really sorry that we completely forgot to take a step by step photo of how to make them. I did try to explain how to do them on my post, hopefully that's clear enough :) Here is one last photo of the spider cookies in their packaging. 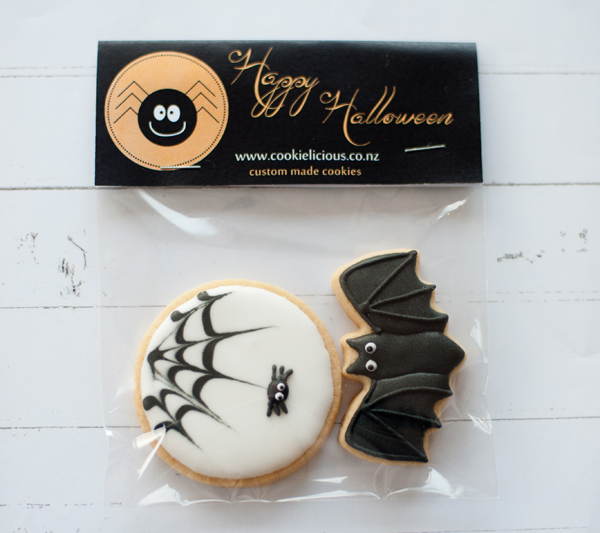 Happy Halloween everyone and enjoy your spooky weekend! ;-) 
0 Comments
Leave a Reply. |
About MeCookie Artist & Content Creator, who loves spreading the cookie love. 

Archives
February 2020
Categories
All
|
 RSS Feed